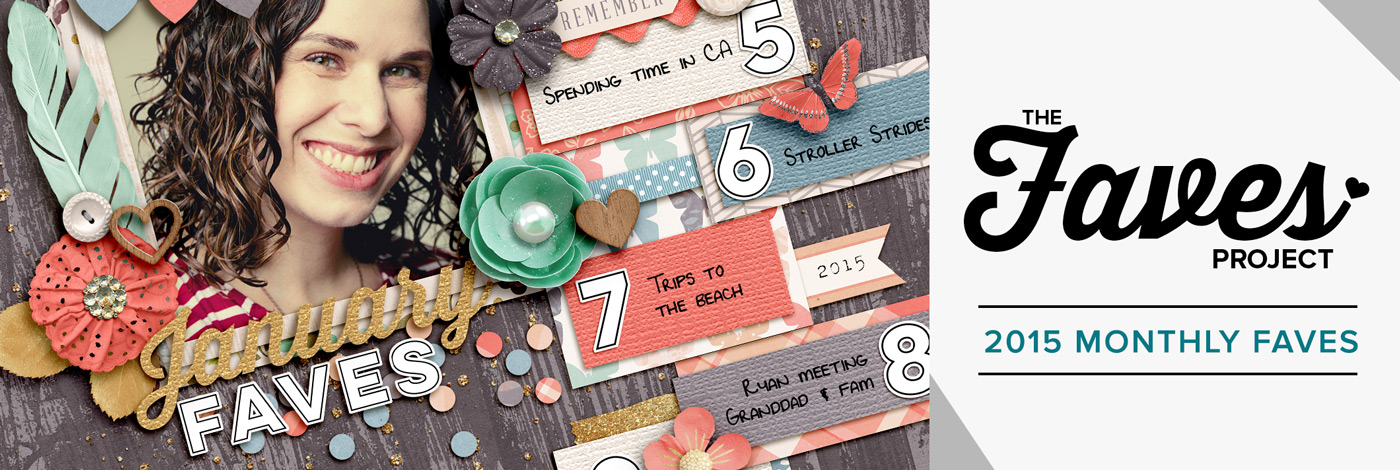
If you know me, you know that my Monthly Faves project has kind of become an odd-numbered year thing around here. And since this is 2015, you know what that means: the Monthly Faves are back!
This year instead of going it alone, I’m inviting you to join me as part of the 2015 Monthly Faves Project: a year-long digital scrapbooking workshop designed to help you get more of YOU in your albums.
When you sign up for the 2015 Monthly Faves Project, in addition to an exclusive digital scrapbooking Monthly Faves-themed template designed by me, you’ll also receive a monthly email from me with tips & inspiration and access to a private Facebook group where you can share your work and connect with me and other Faves Project scrapbookers.
Here’s why you should join me in The 2015 Monthly Faves Project:
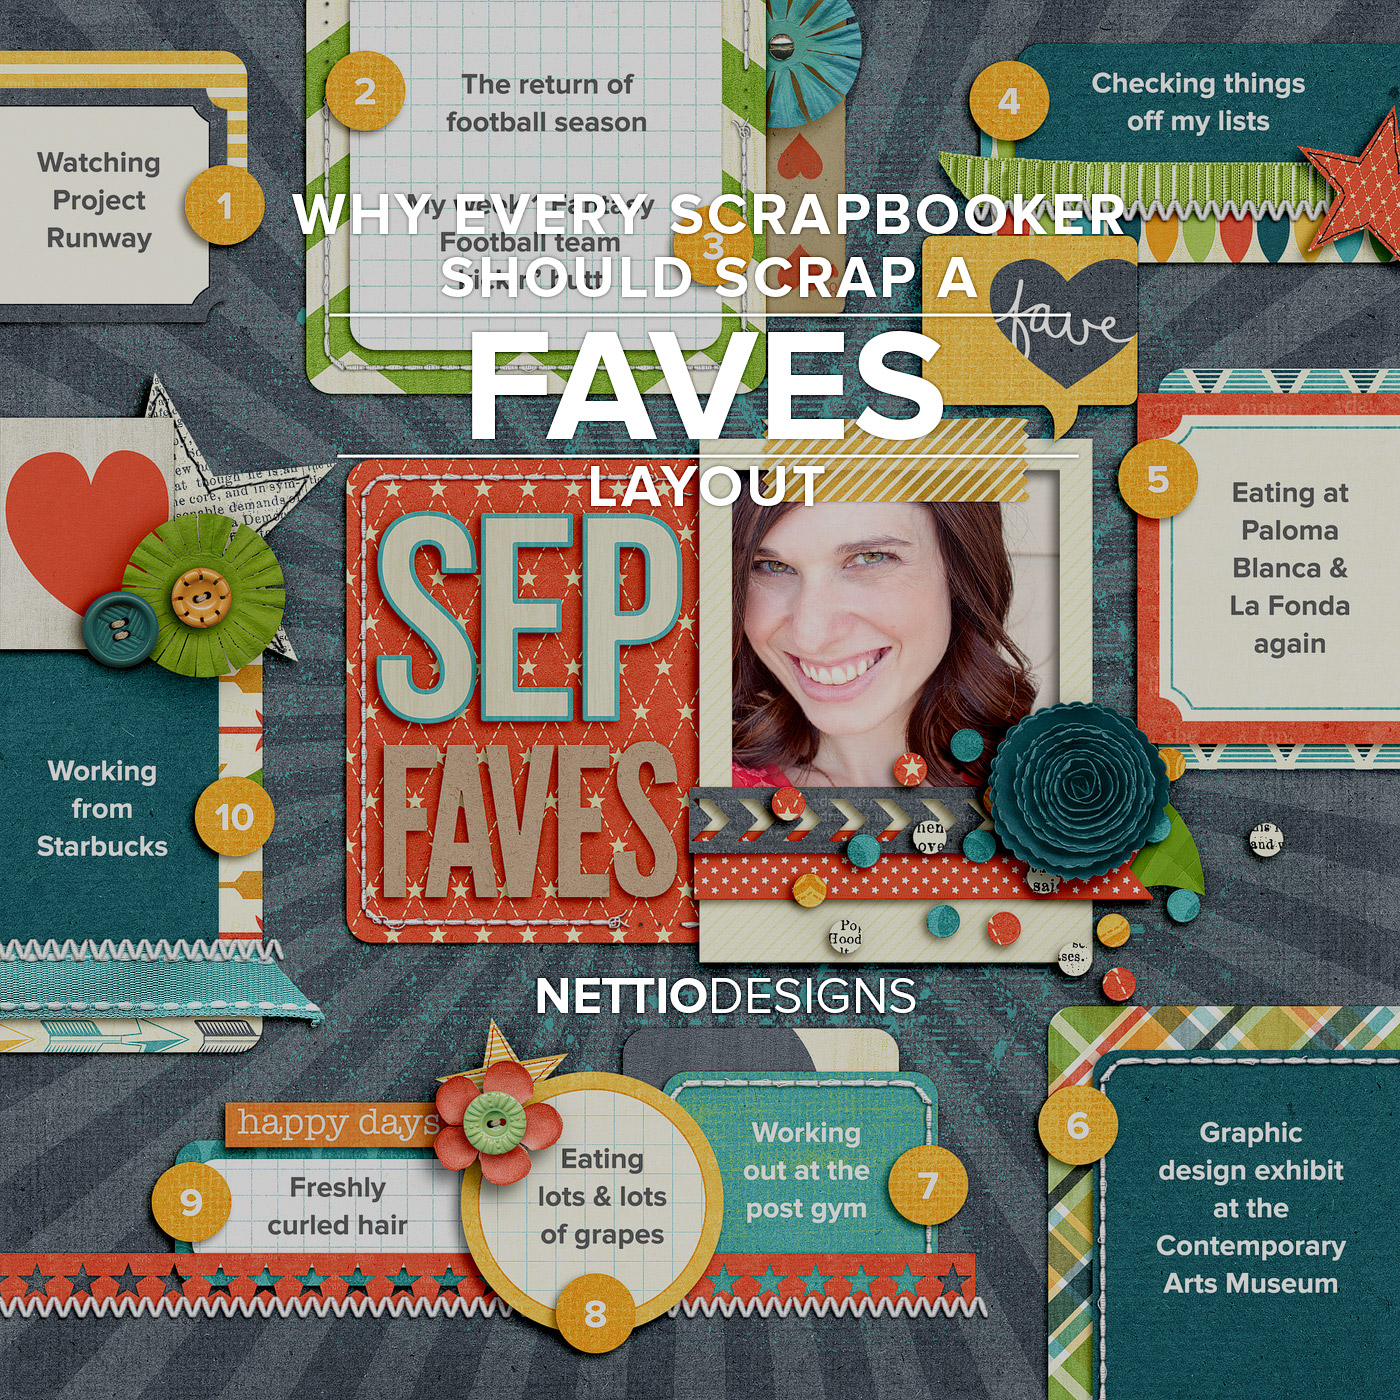
- Because a top ten list is one of the easiest forms of journaling you can do.
- Because a list of your personal faves will say more about you than a travel/event/birthday layout ever will.
- Because you don’t remember nearly as much stuff as you think you will. Seriously, I look back at the layouts and am constantly reminded in an “oh YEAH!” kind of way.
- Because scrapbooking with friends is always more fun.
- Because it’s an awesome way to make sure YOU are featured in your scrapbooks too.
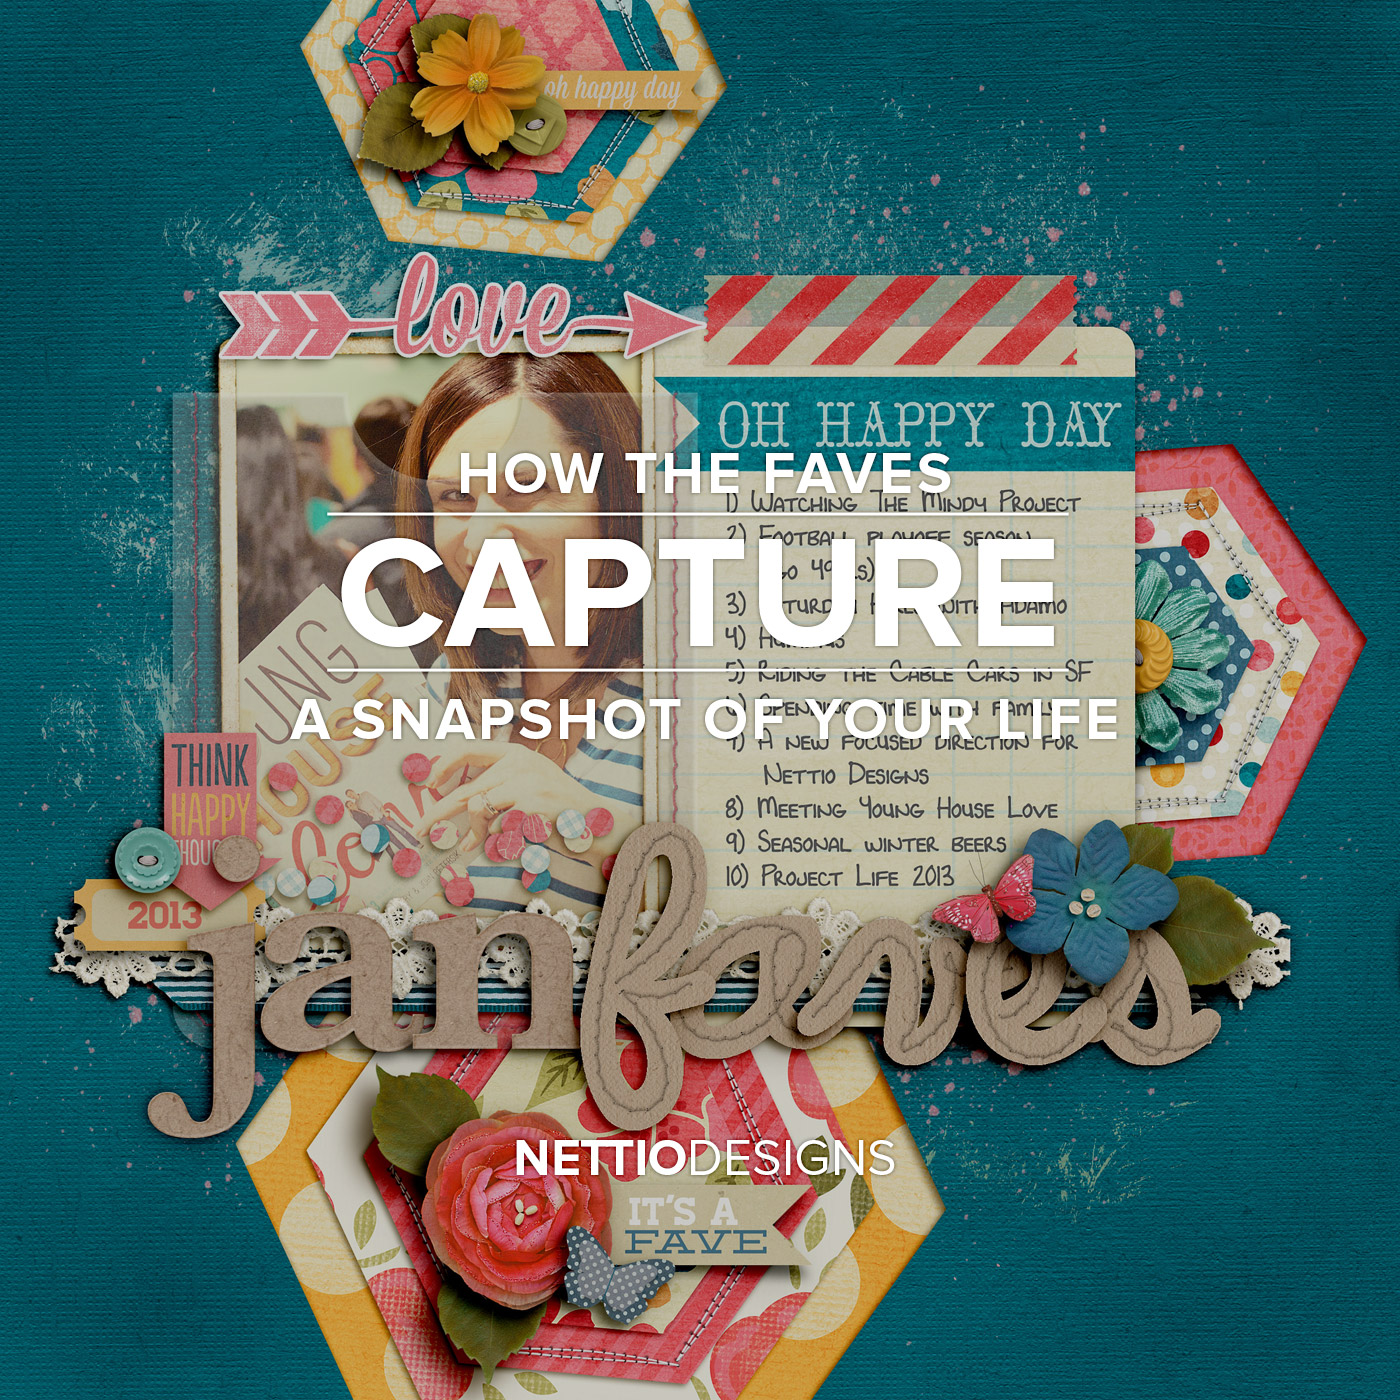
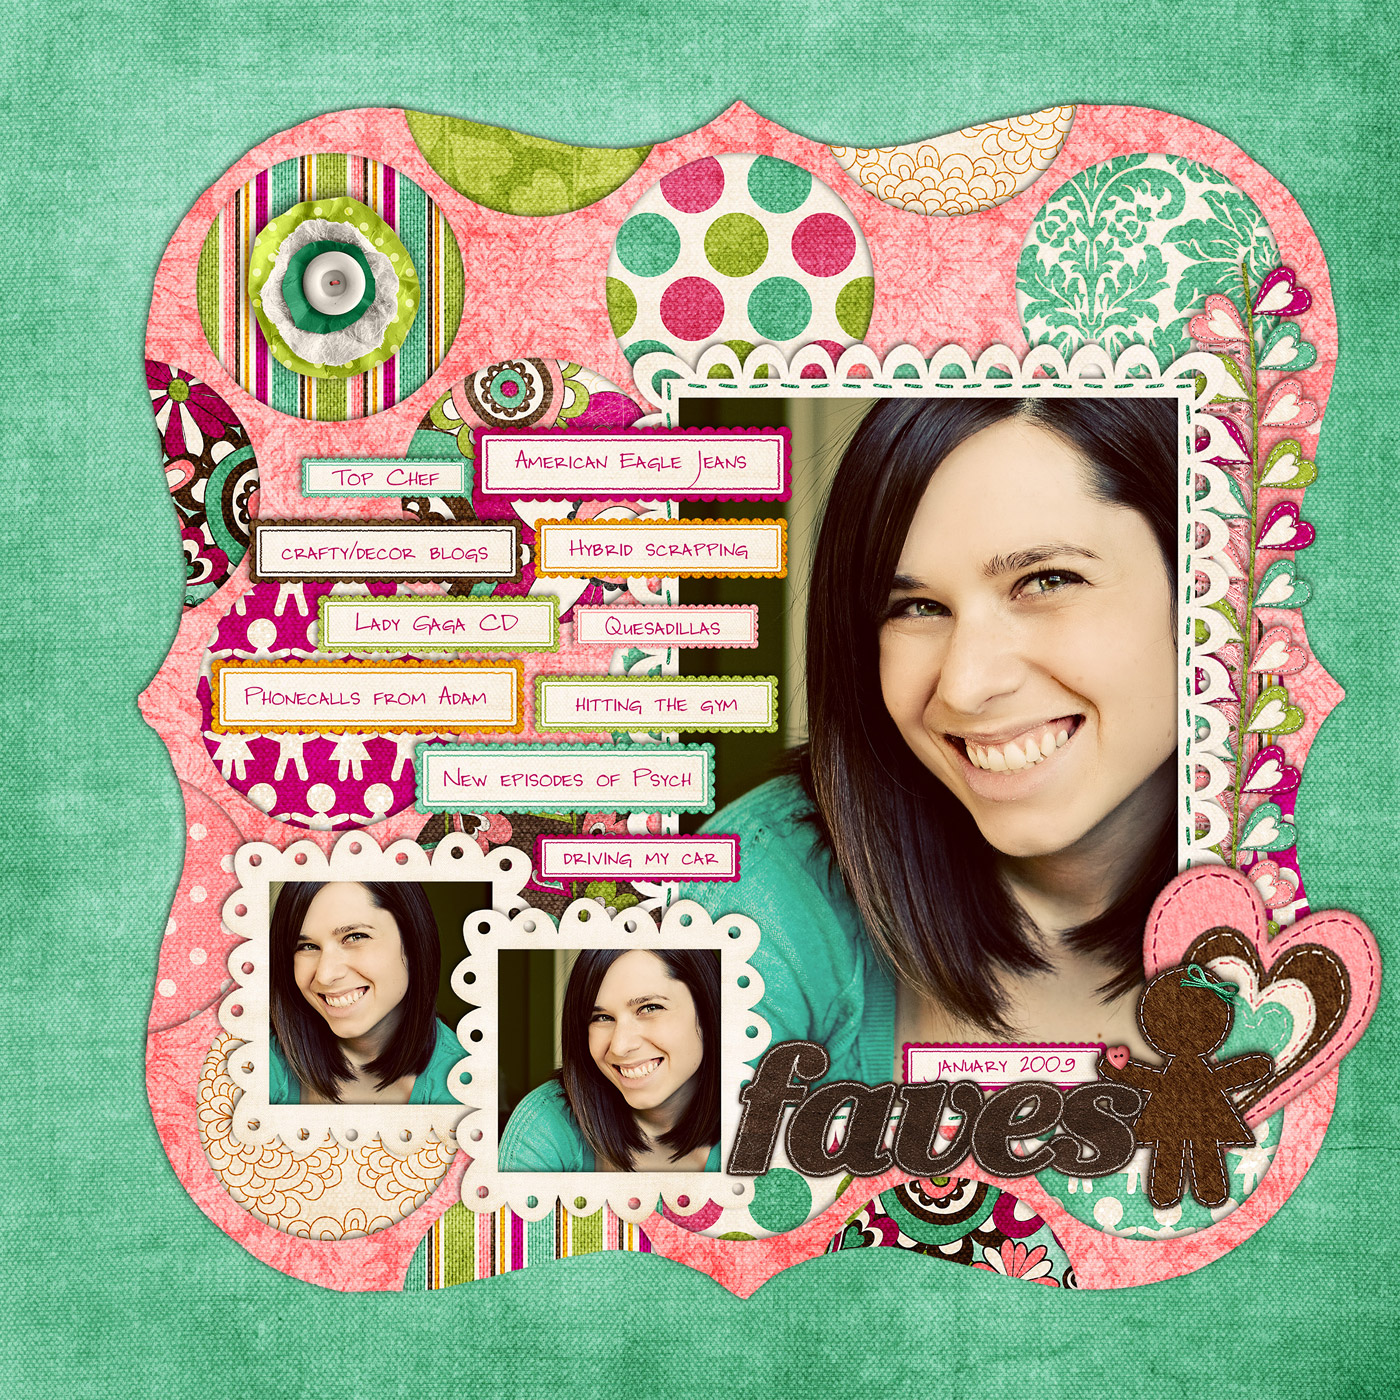
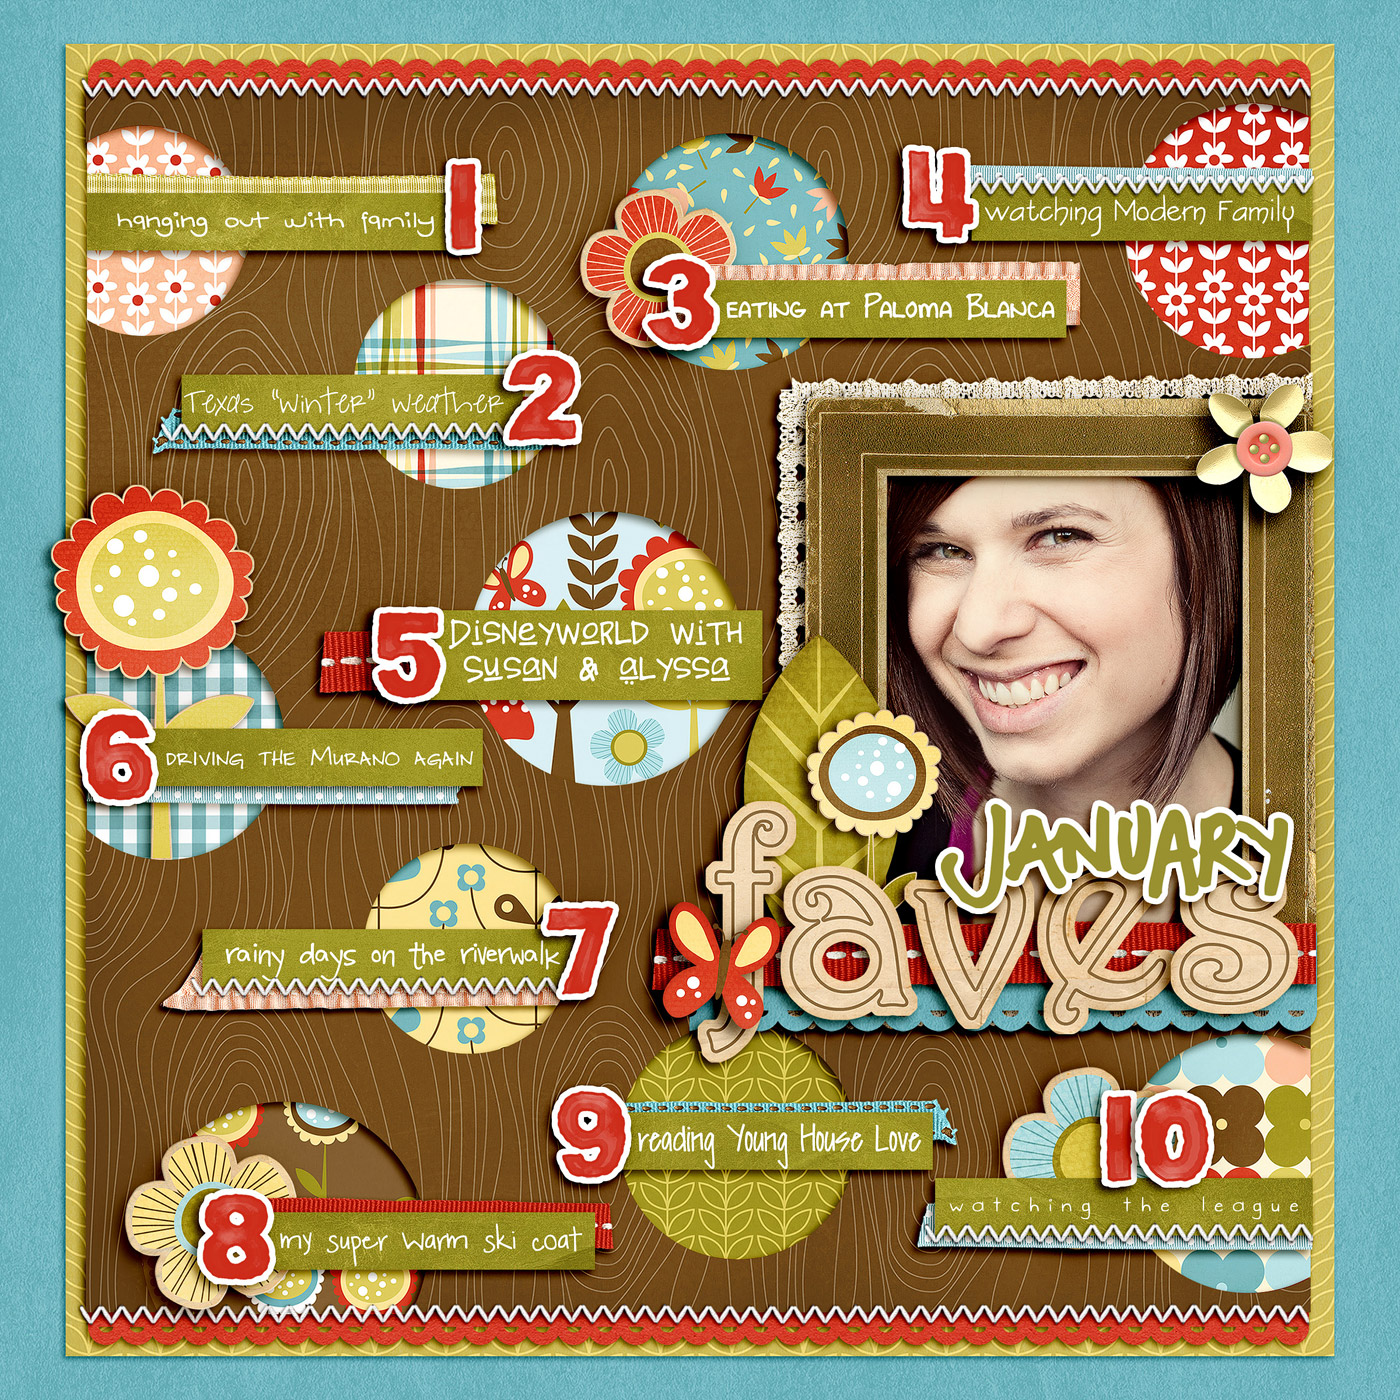
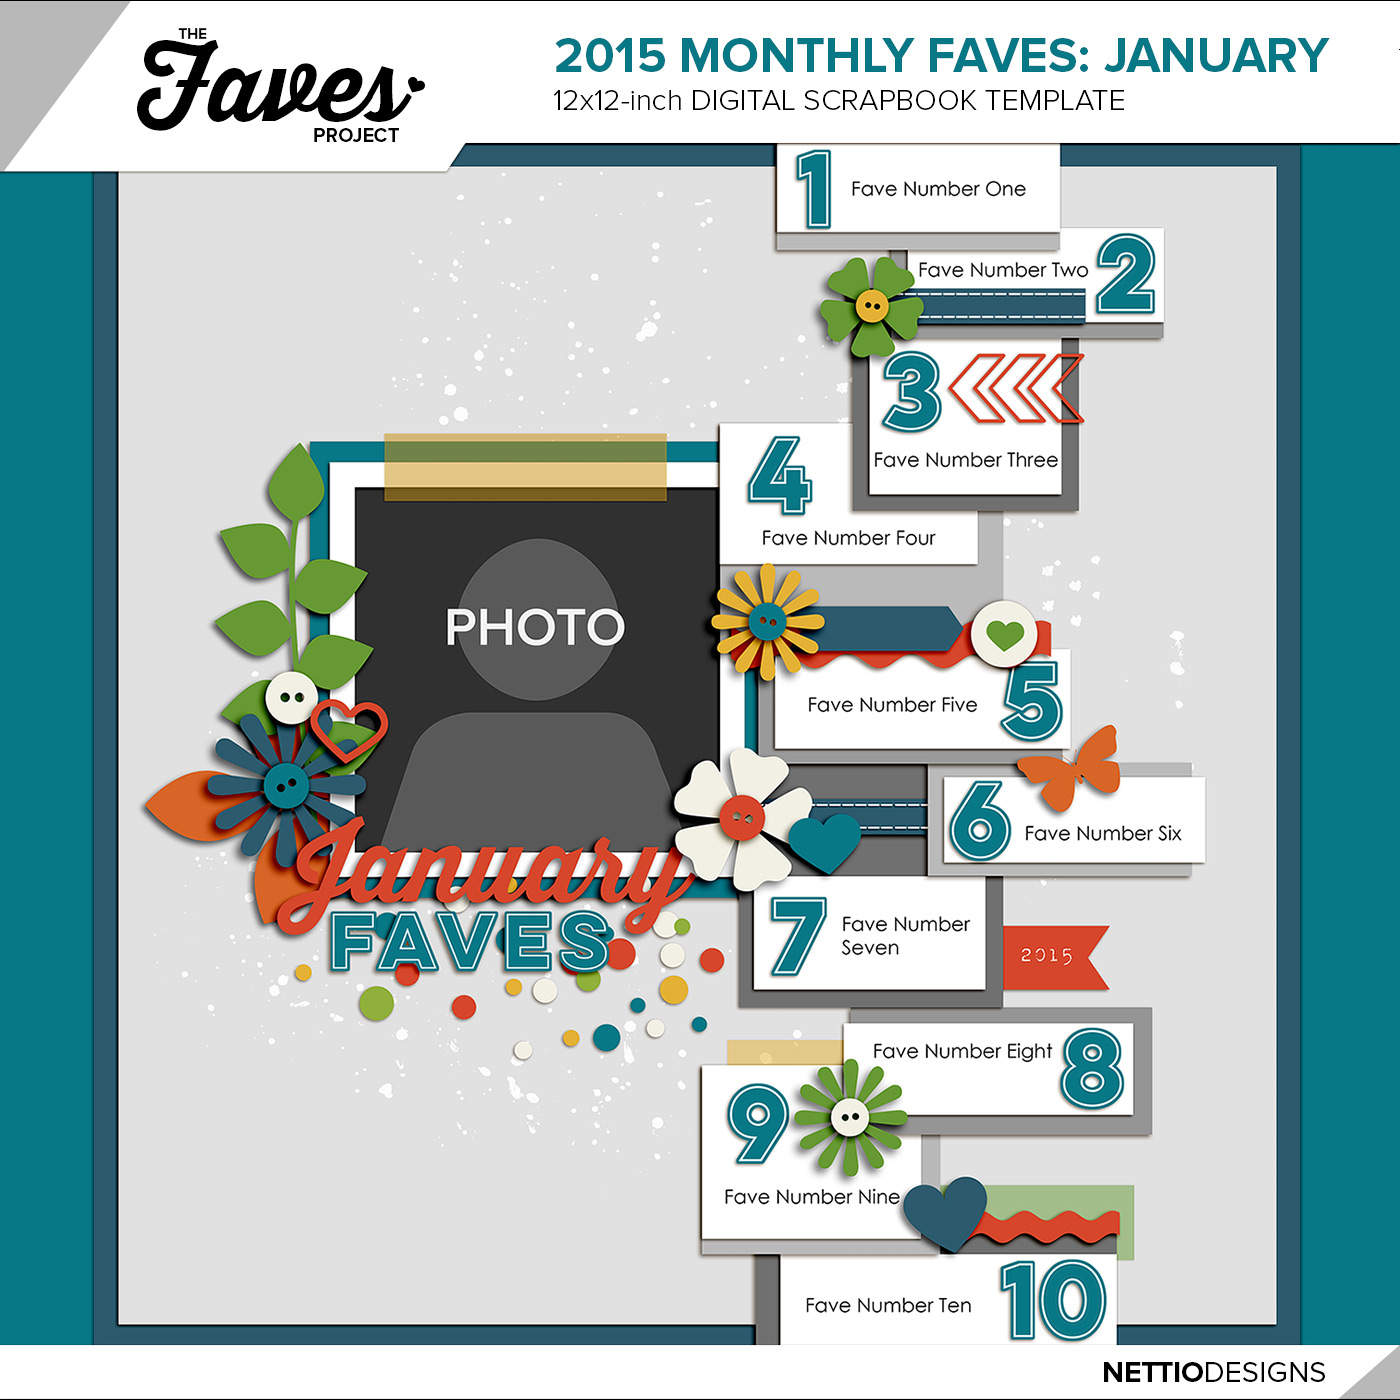
Need some eye candy? Here’s a look at the first 2015 Monthly Faves Project template, the January Faves:
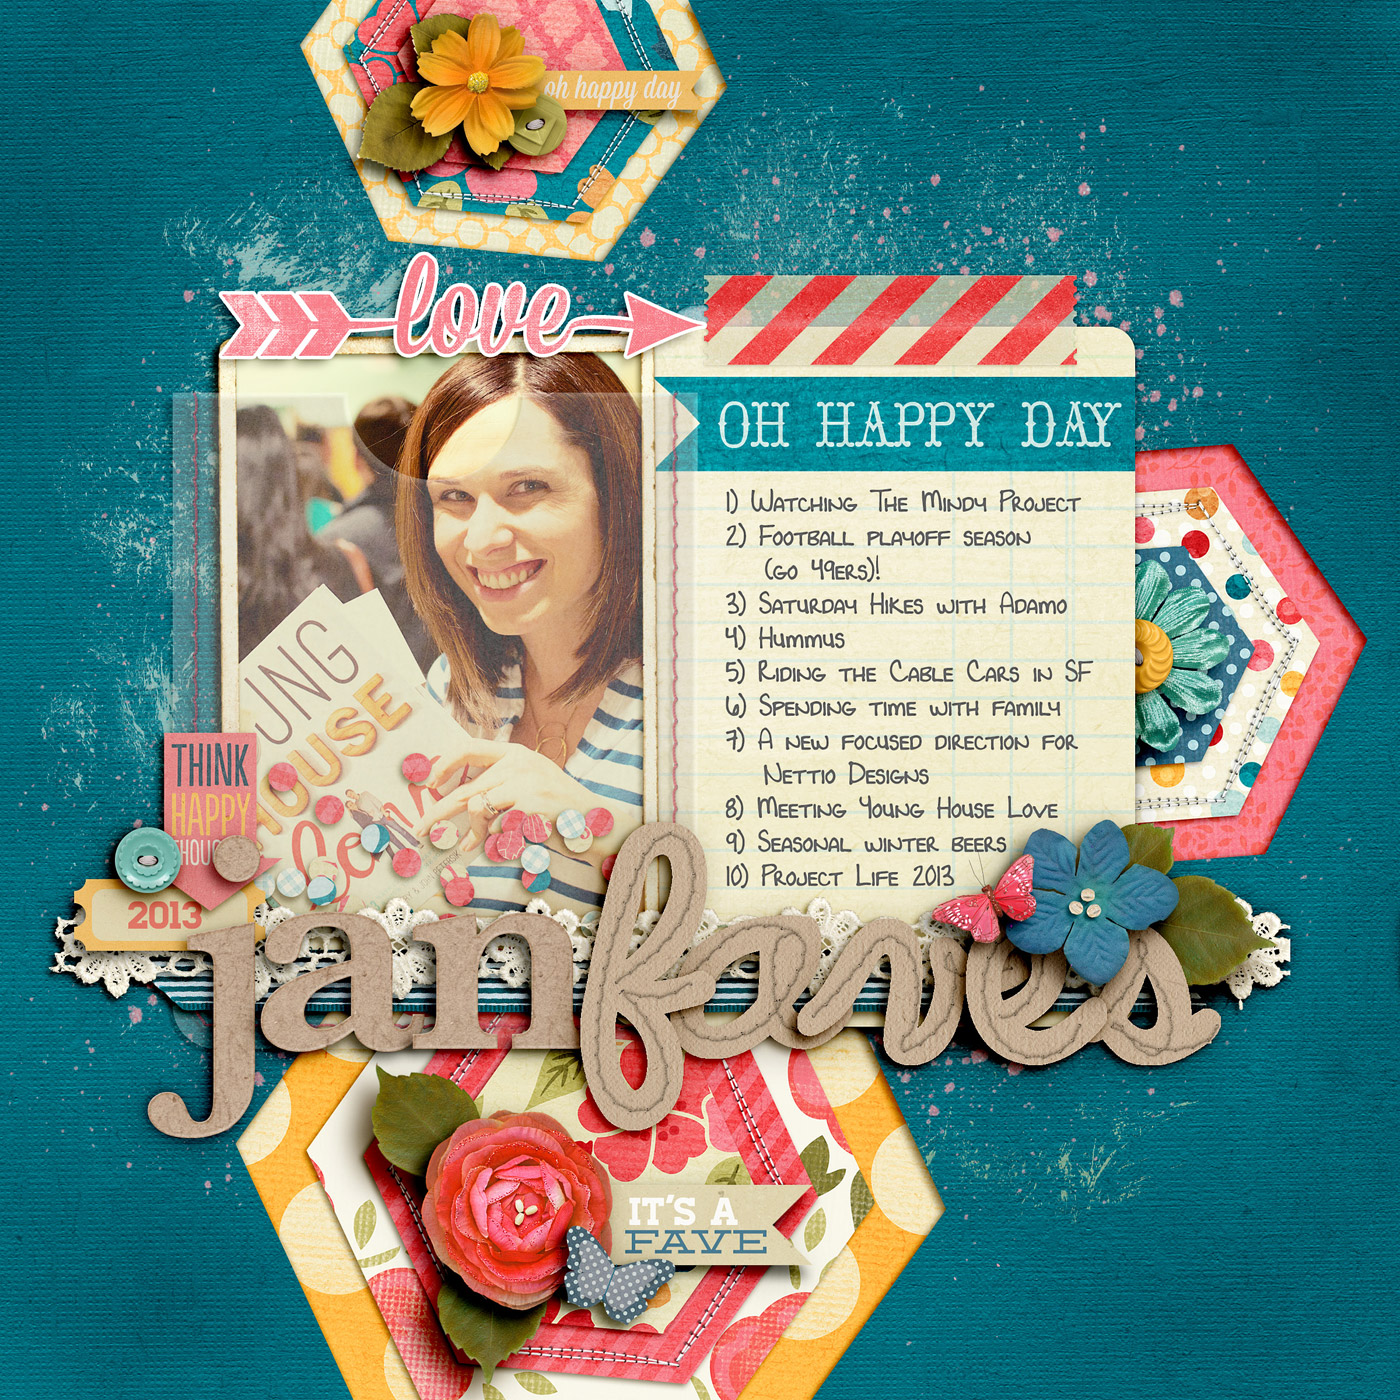
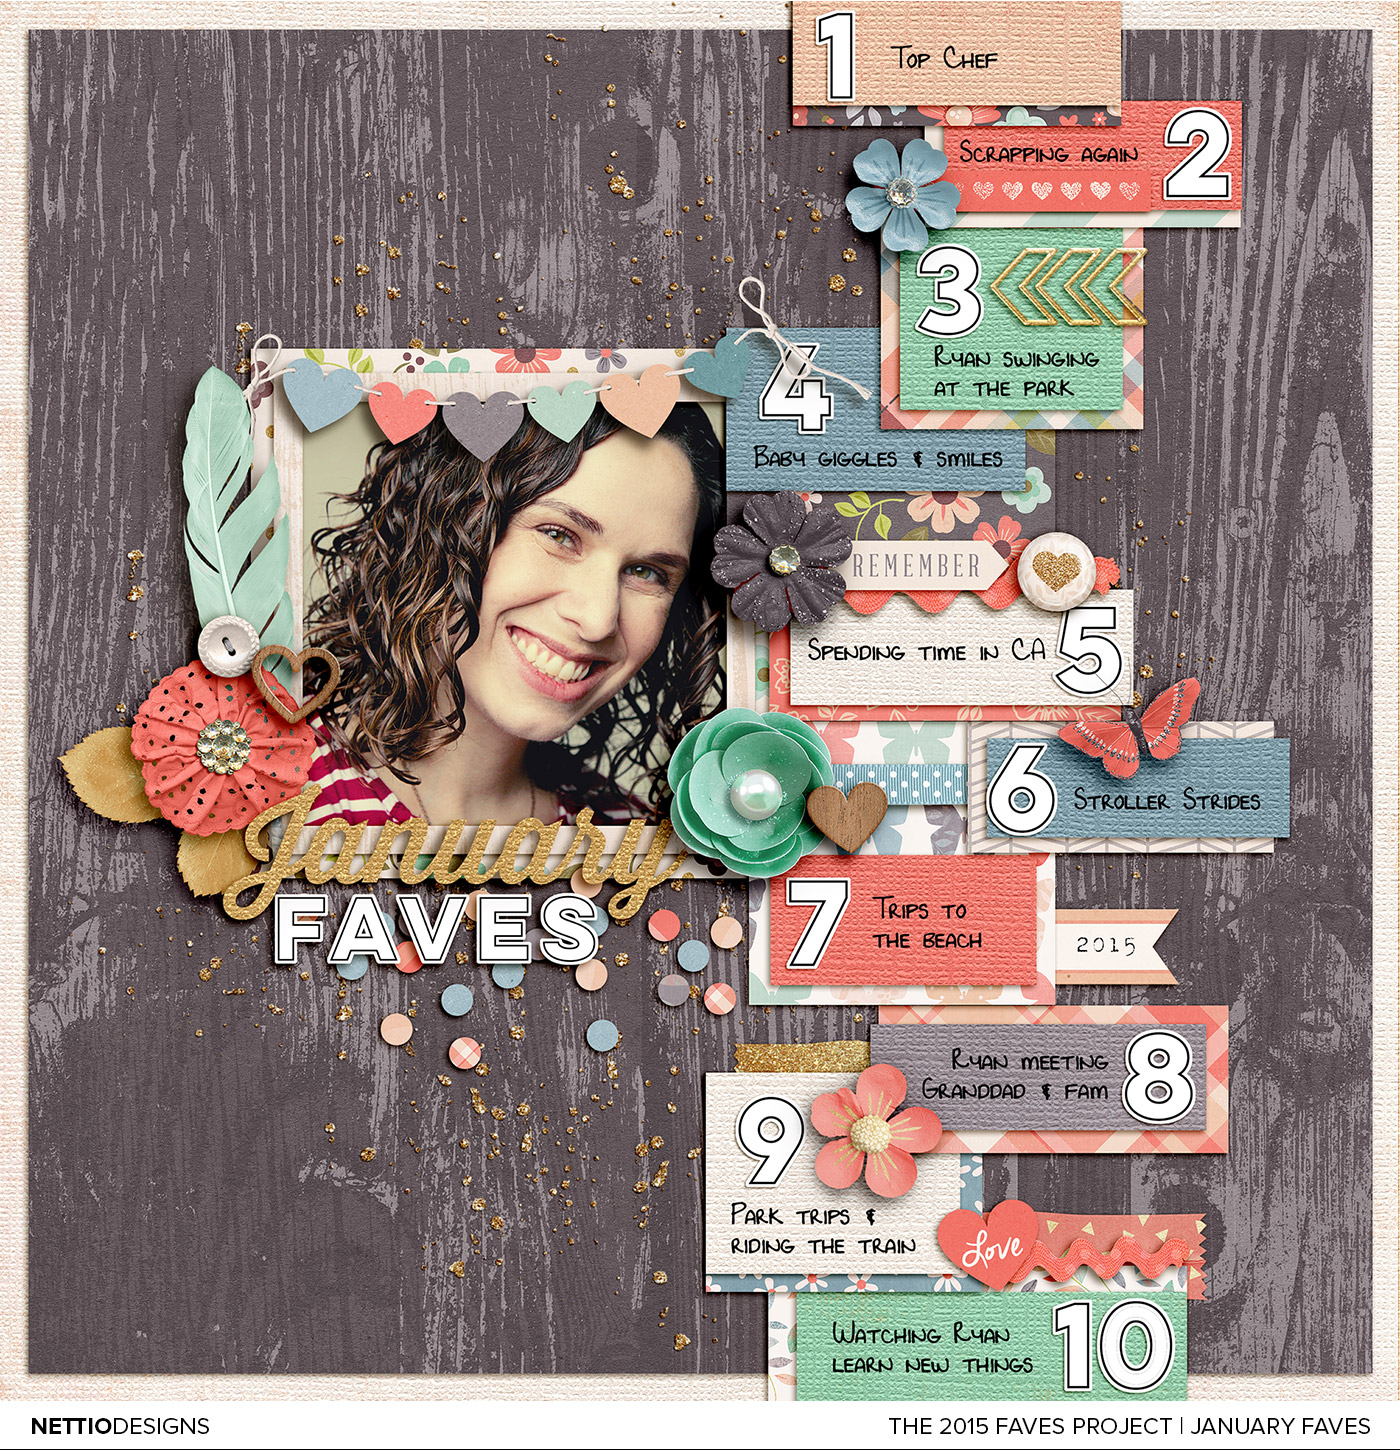
And here’s a peek at my 2015 January Faves layout:
I can tell you I’m excited about the return of the Faves but really you should just picture me over here doing a happy dance to Pharrell’s Happy because that’s how excited to be doing this project once more.
Want to join me on this fave-tastic scrapbooking adventure?