Nettio Designs

Design + Creativity + Adventure = LOVE

  • HOME
  • JOIN THE 2023 MONTHLY FAVES
  • THE SHOP
  • ABOUT
  • CONTACT
You are here: Home / Archives for Hybrid Scrapbooking

Holiday Faves Album | Intro & Faves #1 & 2

POSTED ON December 6, 2011 IN Holiday Faves, Holiday Faves 2011

Welcome to my Holiday Faves Album Update #1 – the Intro Page and Faves #1 & 2!

I’m not going to lie – this little Holiday Faves album and I got off to a bit of a rocky start this weekend, due to some printing issues and my inability to punch holes on the proper side of the page, haha.

But despite that little non-digital reality check, I’m feeling good about how things are coming together so far.

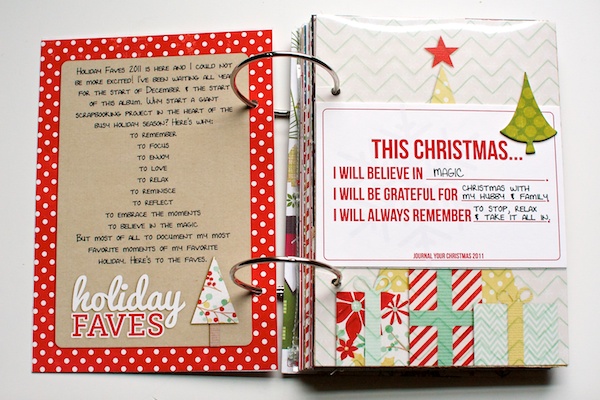
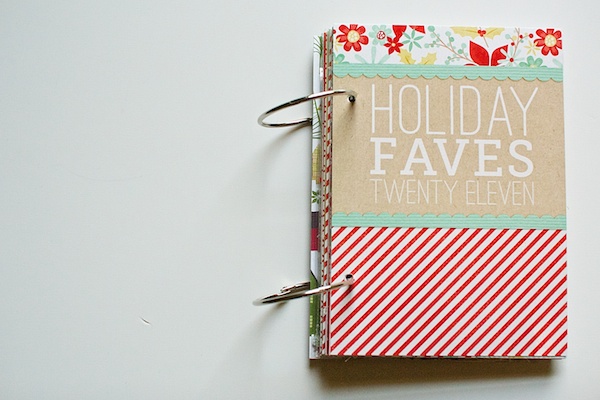
As I mentioned in my Foundation Pages post, on the backside of the cover page, I planned to add an intro page. Here’s a look at what I did:
Nettio Faves1 2 1

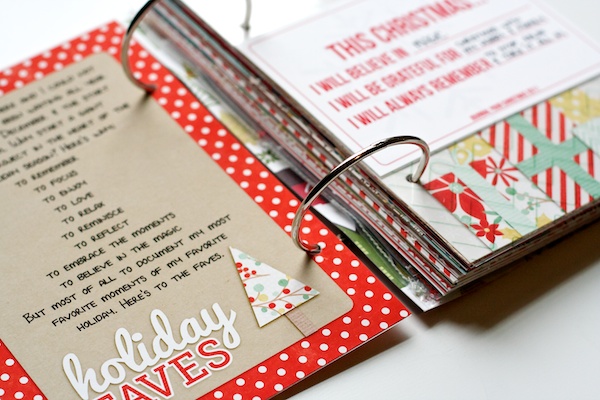
Here’s a close-up look at the intro page. And no, my handwriting is not usually that neat, haha. I added the journaling onto the card in Photoshop using my custom handwriting font from Darcy Baldwin and then printed the entire card out at once. So it’s my handwriting but WAY more perfect, haha.
Nettio Faves1 2 4

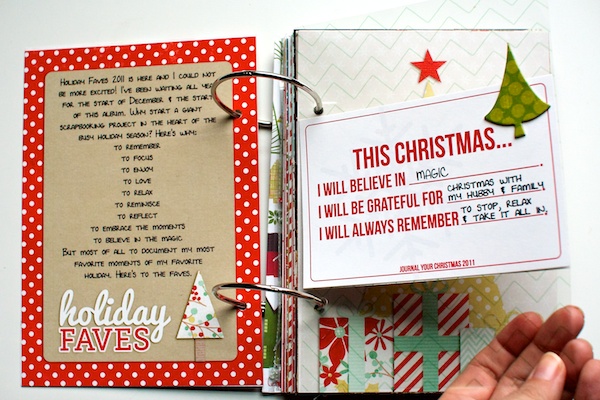
On the transparency page on the right side, I added one of the free downloads from Shimelle’s Journal Your Christmas class. On the front is a fill-in-the-blank card…
Nettio Faves1 2 2

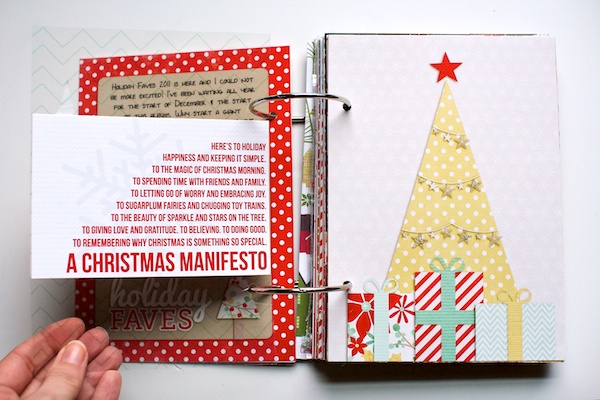
And on the back is a copy of the Christmas Manifesto from this year’s class. Sums up my thoughts on the season perfectly.
Nettio Faves1 2 3

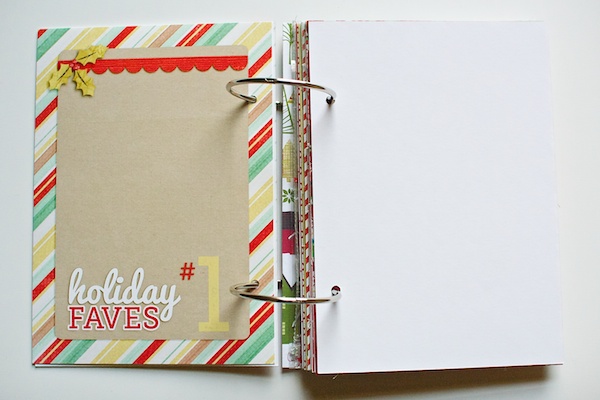
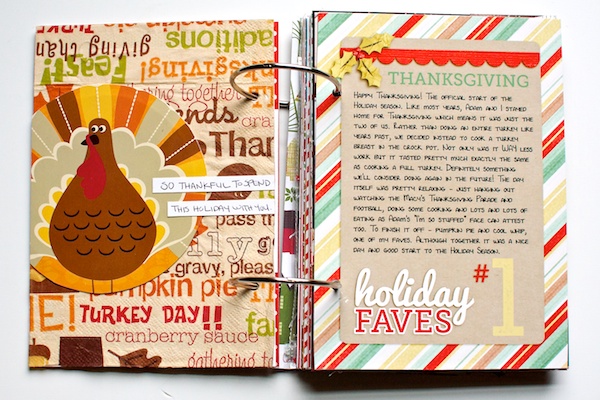
For Fave #1 in my album I went with Thanksgiving or you know, that holiday you have to get through to get to Christmas, haha.

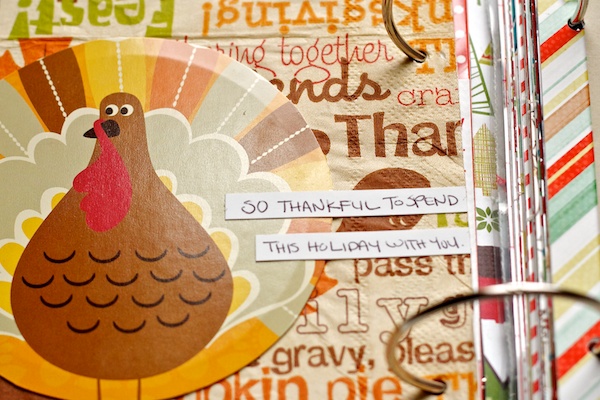
On the left page I glued one of our extra Thanksgiving paper napkins down as a background and then added a turkey I cut out from the center of one of the paper plates.

(And of course my buying them had nothing to with the fact that I thought they’d look adorable in my album. That would be craziness, hehe.)
Nettio Faves1 2 7

Here’s a close-up look at the turkey – isn’t he cute?
Nettio Faves1 2 8

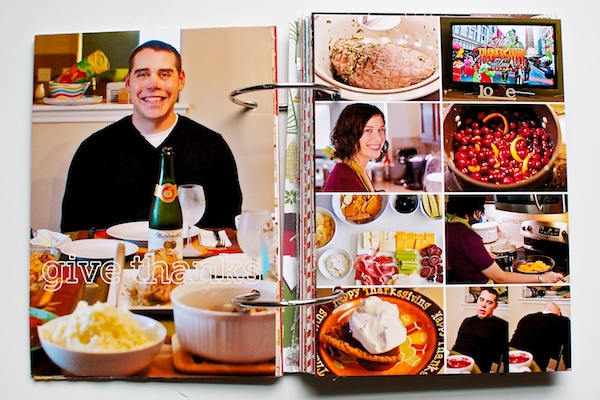
As you can see, the paper strip journaling says “so thankful to spend this holiday with you” which as much as I love that little turkey, would have made WAY more sense had that page been next to the page I’d originally intended, this lovely 5×7 photo of Adam…
Nettio Faves1 2 9

But I suppose that’s what happens when you don’t pay close enough attention to which side of the page you should be punching holes on, haha.

I’ll admit, I was really really tempted to reprint the Faves #1 journaling card and 5×7 give thanks photo (I’d already glued them together) but in the end I decided to embrace it’s imperfectness figuring no one but me will know. Well and all of you now, haha.

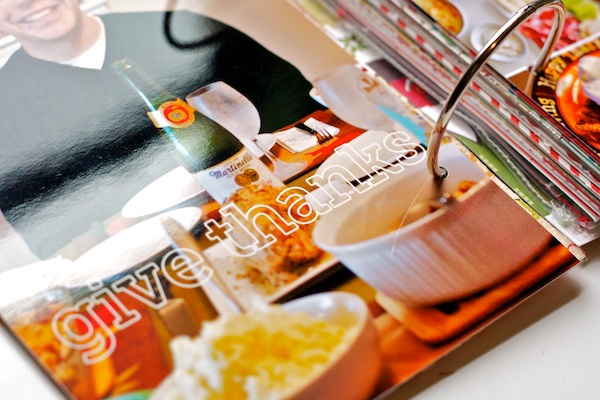
A close up of the text I added onto the photo. I just added a simple stroke to my text and reduced the Fill of the text layer to 0.
Nettio Faves1 2 10

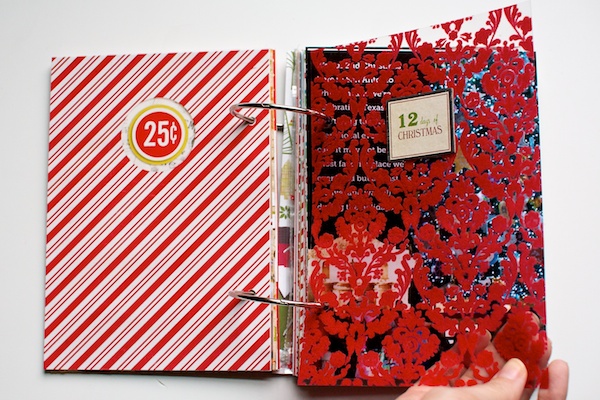
Here’s the backside of the Thanksgiving photo collage page. On the transparency page on the right, I added a little 12 days of Christmas element from Making Memories.
Nettio Faves1 2 11

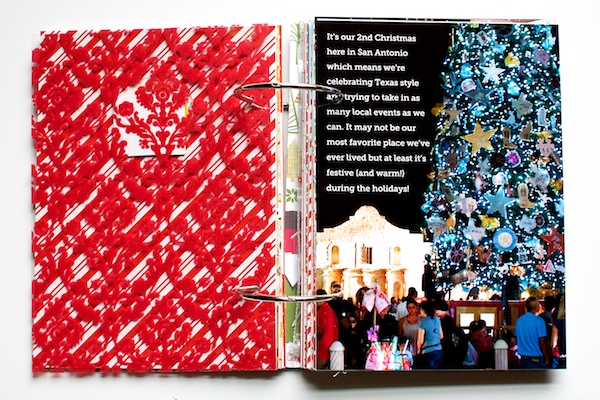
For Fave #2, I decided to write about some of the local events we attended Thanksgiving weekend. The photo on the right is from downtown San Antonio, the Friday after Thanksgiving. It was SO crowded down there due to the Holiday River Parade but I loved the contrast of the Alamo next to the giant Christmas tree too much not to include it, crazy cotton candy seller and all.
Nettio Faves1 2 12

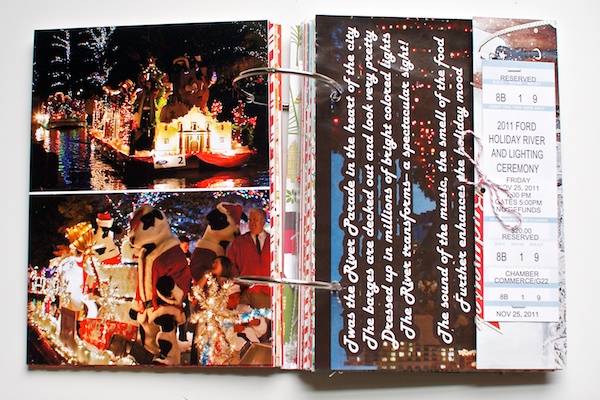
On the backside of the Alamo page, I added some photos from the San Antonio River Parade, one of my favorite holiday-themed events here in San Antonio.

On the right side, I added a page from the River Parade program that I trimmed down and folded to fit my 5×7 size. On the back of the folded part of the page, I stapled one of our tickets from the parade using my Tim Holtz Tiny Attacher (love that thing!).
Nettio Faves1 2 13

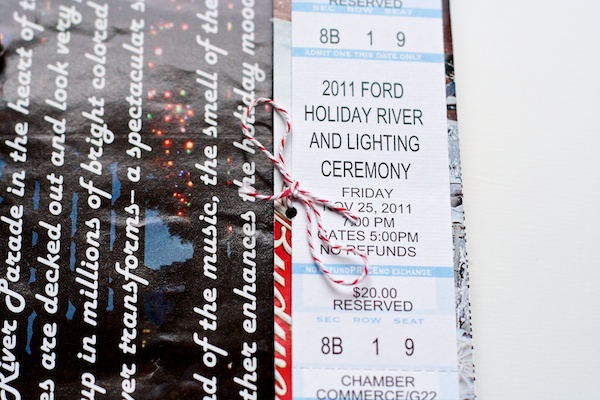
Here’s a close-up of the ticket. I also punched two holes and added some baker’s twine to make it a little easier to open the flap.
Nettio Faves1 2 14

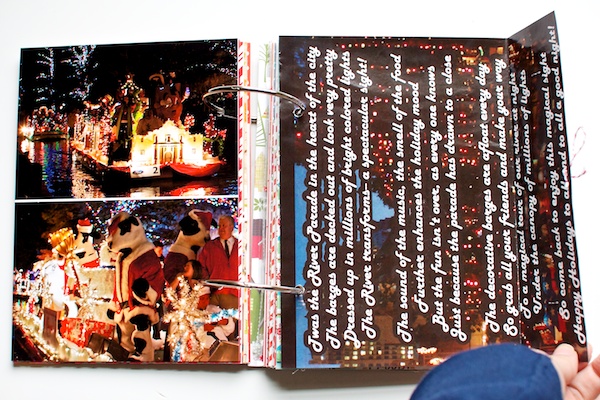
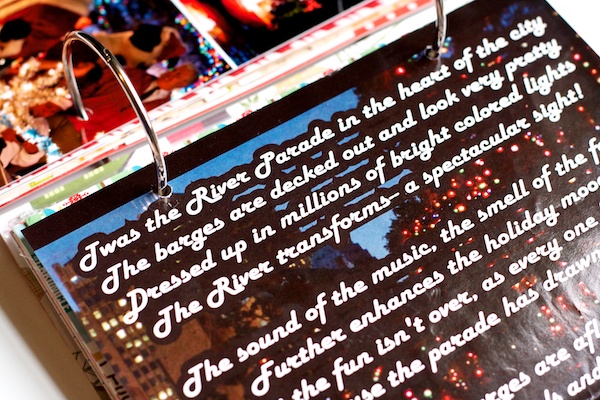
Here’s a look at the whole page folded out. It wasn’t too long but just long enough that there was no way for me to trim it to fit without cutting out part of the poem.
Nettio Faves1 2 15

A closer look at the page. I love the way they rewrote Twas the Night Before Christmas to be River Parade themed – it summed up the spirit of the event quite nicely.
Nettio Faves1 2 16

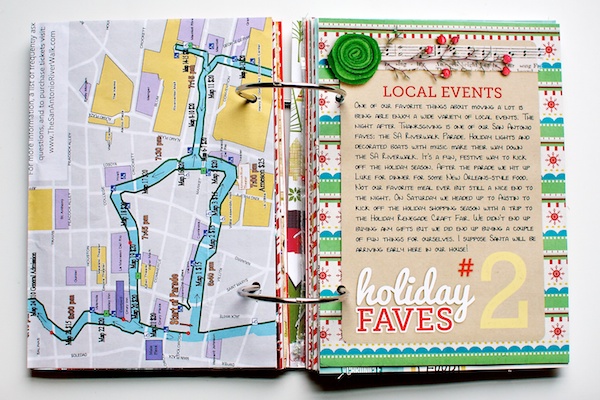
On the back of the program page I included a map of the parade route as well as some journaling about that weekend’s events.
Nettio Faves1 2 17

If you’re wondering how I added the titles and journaling to the two Faves cards, the answer is I ended up adding the text in Photoshop and then reprinting the cards, which was not my initial plan. My attempts at printing the titles directly onto the pre-printed cards didn’t work (I couldn’t get the spacing quite right) and my handwriting looked crazy messy due to the pen I used. Clearly I need to mess with this a little more because I really don’t want to reprint all 8 of the other Faves cards I’ve already printed.

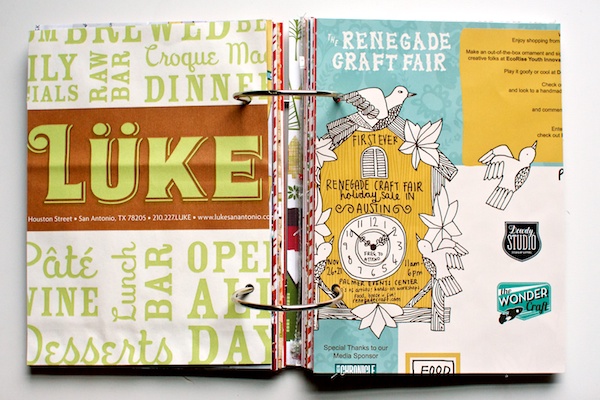
On the last page of the Faves #2 section, I included two more pieces of memorabilia – one from the place we had dinner at after the parade and one from the Holiday Renegade Craft Fair we went to in Austin on that Saturday.

I mention both of these events in my journaling but I think I may end up adding another photo card in between these two pages. Right now it feels a bit unfinished.
Nettio Faves1 2 18

What I have learned so far

So with 1/5th of my Holiday Faves Album completed (2 of 10 Faves), here are few of my take-aways so far:

1) It doesn’t have to be perfect. Really.

And I’m going to repeat this to myself 8 million times a day until I believe it.

2) It’s OK if I don’t tell every story.

Right now I’m aiming for about 2 Faves a week to keep me on track, which is much more do-able than a page a day. Yes it means I can’t share every little thing that happens but I’m ok with that.

3) I really really need to practice my handwriting.

And find a pen that I like. Because my first attempts at handwriting my journaling? Not pretty.

So that’s my adventures with my Holiday Faves Album so far. Anyone else super picky about the pens they use? (Adam will tell you horror stories of me browsing the pen aisle at Office Max in college. Maybe it’s a lefty thing?)

How is your own Holiday Album going? If you’ve finished any pages be sure to link me up in the comments so I can check them out. I’d love to see them!

PS…In case you missed it, I have a FREE Holiday Album Idea Book available for download in this post. It’s a little Christmas gift from my CT and I. : )

Can I take Levitra if I am taking other remedies at the same time
POSTED IN Holiday Faves, Holiday Faves 2011, Hybrid Scrapbooking, Mini Albums

Holiday Faves Album: The Foundation Pages

POSTED ON November 29, 2011 IN Holiday Faves, Holiday Faves 2011

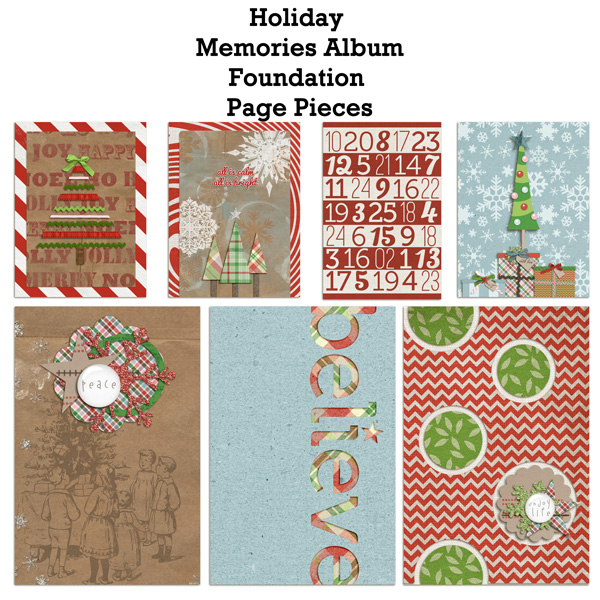
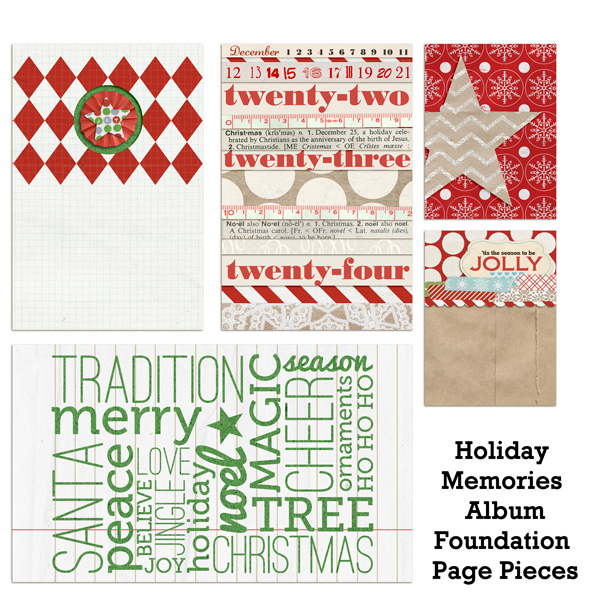
Happy week-after-Thanksgiving everyone! Since Thanksgiving officially marks the start of the holiday season around here, I figured it was time to share my completed Holiday Faves Album foundation pages now that I have them all nice and pretty and printed.

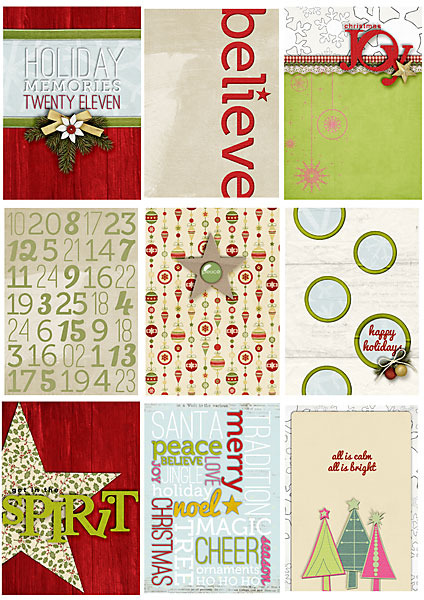
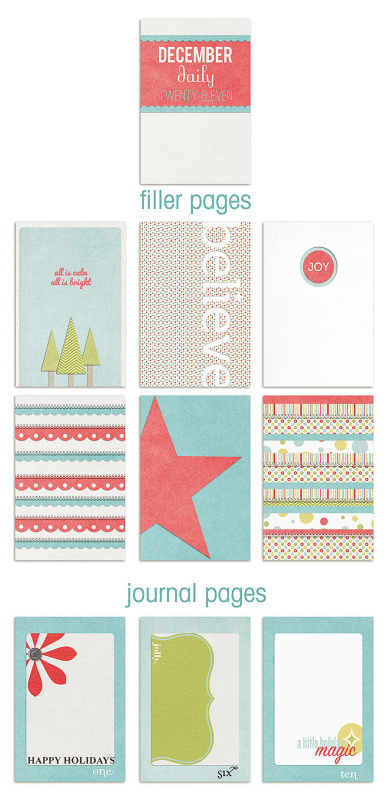
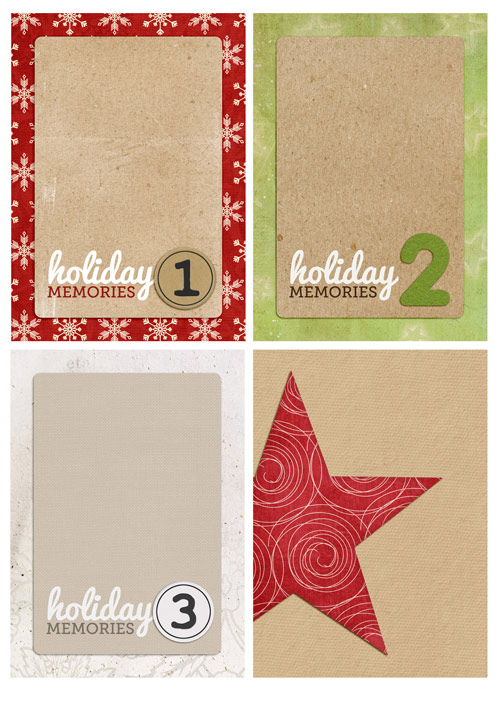
As I mentioned before, I am using my Holiday Faves 5×7 Mini Album Templates to create a hybrid foundation for my 5×7 mini album which I’ll then be adding photos and journaling and memorabilia to the album as the holiday season goes along.

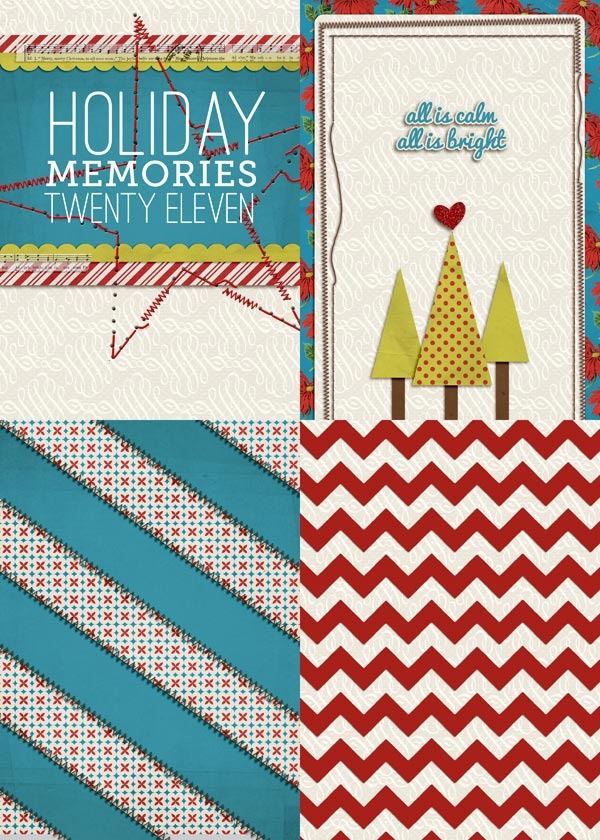
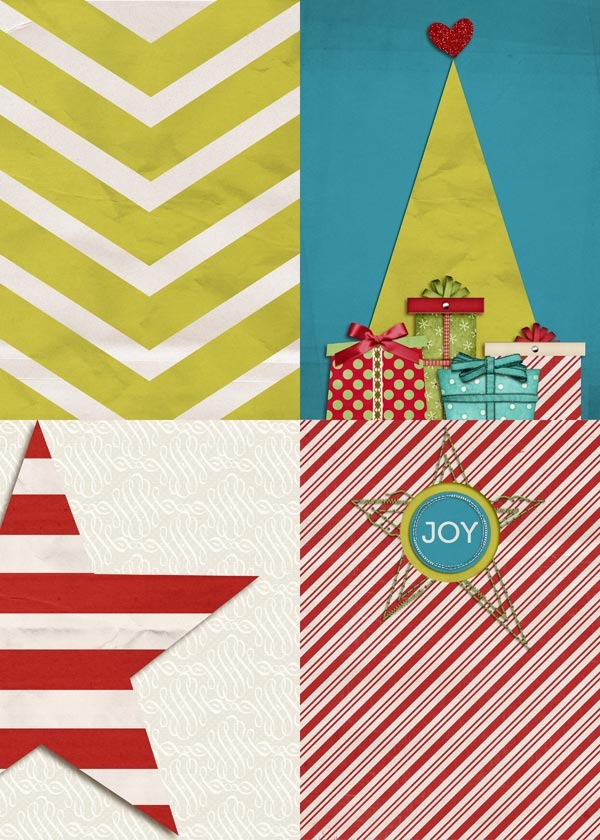
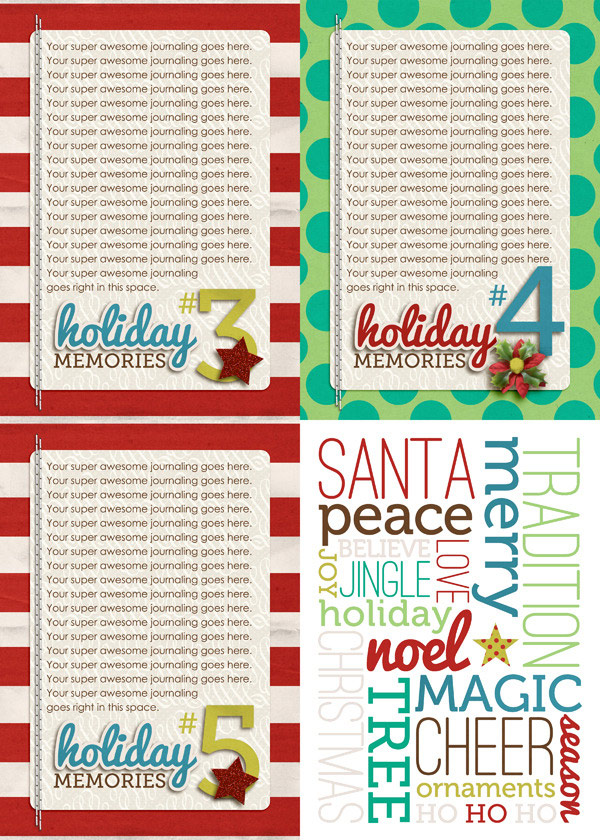
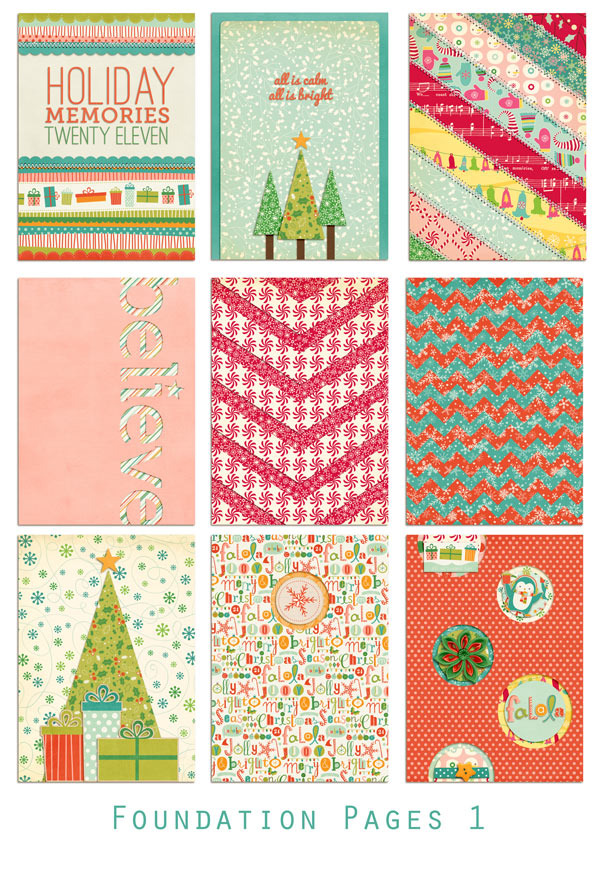
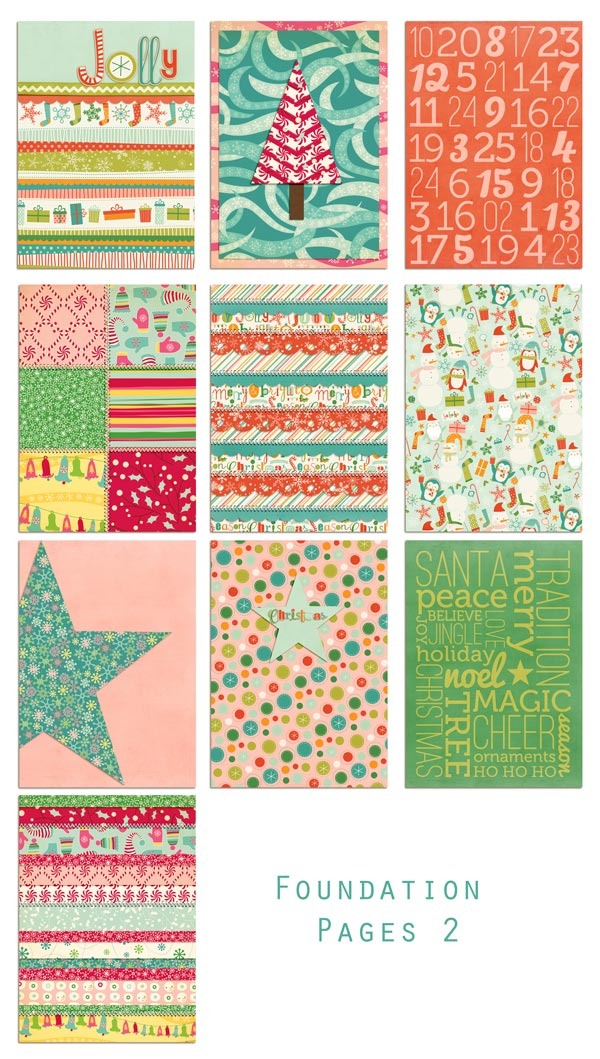
For my foundation pages, I mixed two fun digital kits: Tis the Season by Zoe Pearn and Kitschy Christmas by Jenn Barrette and Sahlin Studios. Since I wanted to keep my album fairly flat at this point (I know it’ll expand as the holiday season progresses), all of the elements I added onto my pages are digital. The only exception right now are the transparency pages I printed, some stitching and some pocket page protectors I added at the back.

My Holiday Faves Foundation Pages

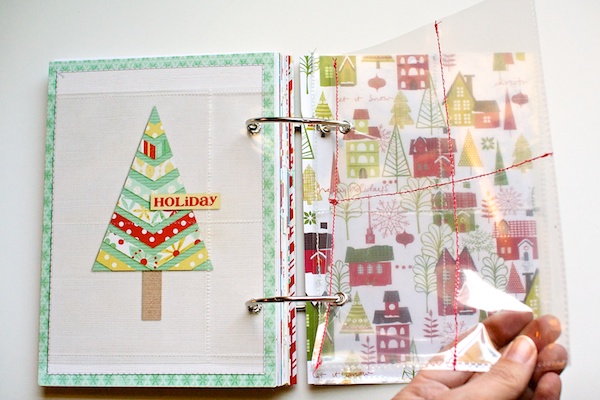
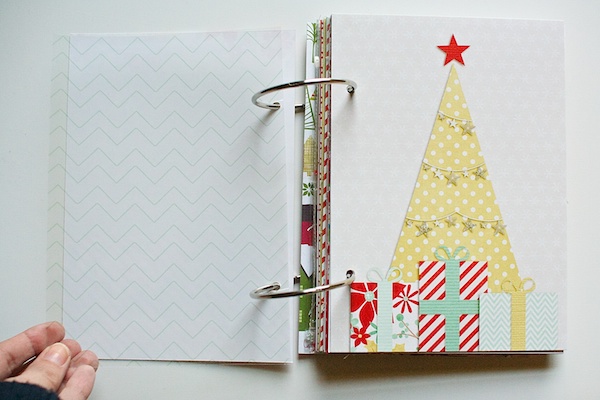
Here’s a look at my cover page. Right now it’s just printed card stock but I plan on adding a thicker chipboard cover as well to make the album a bit more sturdy. This page will then become the first page inside the album.

Nettio FoundationPage 1

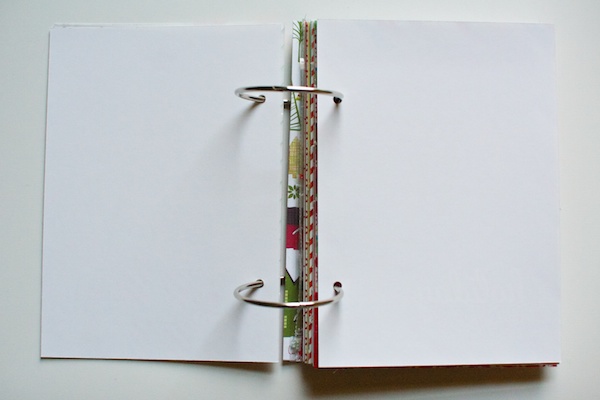
Here’s a look at the back of the cover page:

Nettio FoundationPage 2

Right now it’s blank but I plan to add an intro for the album here. On the right side, I added one of the transparencies I printed over an accent page. I haven’t entirely decided how I want to use the transparency pages so for I may end up moving them around as I add stuff to the album.

Because I printed all my pages on double-sided paper (I used Epson’s Premium Presentation Matte Double-Sided paper), I have quite a few blank pages and spreads in the album like this:

Nettio FoundationPage 3

For now I’m choosing to leave them blank figuring I will either add photos, memorabilia or patterned paper to them as I put the album together, or if I end up not needing those pages, I can simply glue the two blanks together to make a single page. Plus this gives me more flexibility if I end up needing to move pages around.

Here’s a look at one of the journaling spreads. I chose to leave the right page blank figuring I will likely add a photo/photos to it.

Nettio FoundationPage 4

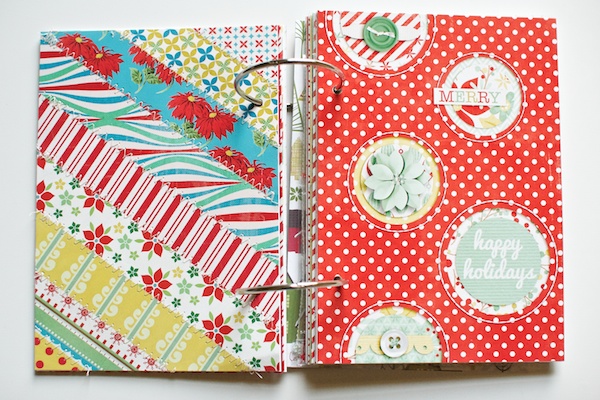
Here’s a look at one of the foundation-accent page spreads. I plan to add a smaller photo on the left page (either a 4×6 photo or some 2×3-ish Instax photos) and leave the right side as is.

Nettio FoundationPage 7

It’s a little hard to tell in this photo but I also added some real stitching onto left page. So easy to do – I just ran the paper right through my sewing machine. I was worried it might be a little odd having digital stitching on the right page (the circles) and real stitching on the left but I actually really like the extra dimension the real stitching adds to the page.

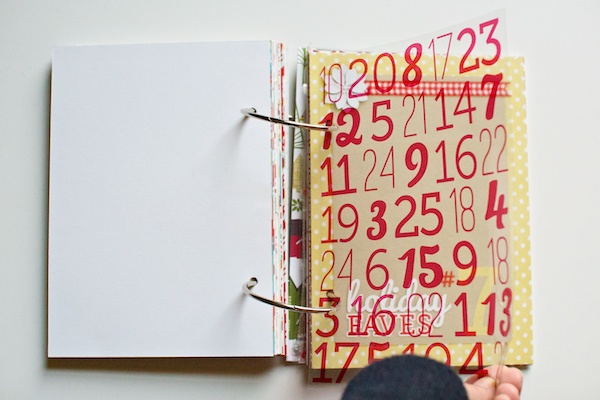
Another look at one of the ink-jet transparency pages. Right now I have the majority of the transparency pages placed in front of the journaling cards with the idea that I’ll add a 5×7 photo in there, but I may end up moving them depending on how the album comes together.

Nettio FoundationPage 19

At the end of the album, I included some divided page protectors that I plan to use as holders for some of my Instax photos. Since I’m not sure where I want to use them quite yet, I’m leaving them in the back of the album and will move them once I’m ready to use them.

Nettio FoundationPage 30

If you’re wondering how I made the page protectors, the one on the left is an American Crafts 8.5×11 inch divided page protector that I trimmed down to 5×7 – I got lucky that the pocket size worked for the size I needed.

The two page protectors on the right side are both 6×12 inch American Crafts page protectors that I trimmed down to 5×7 and then stitched to create four pockets sized for my Instax photos (which are around 2×3 inches).

Here’s a look at all of the pages in my album:

This slideshow requires JavaScript.

A Little Creative Team Inspiration

And if you’re wondering how the NettioDesigns Team Awesome is using the Holiday Faves 5×7 Mini Album Templates, here’s a peek at what some of the lovely ladies are up to…

Aly

 Brynn Marie

Crystal

Sherly


MissKim (See more on her blog here)

Inga (See more on her blog here)


I have to say I’m totally loving seeing all the different takes on these albums. It’ll be so fun to see the albums come together over the holiday season!

So what about you? Do you have your Holiday/December Daily album foundation pages all ready to go? Are you getting excited to start documenting yet? I’d love to see what you’re up to so feel free to link me up in the comments!

Psst…want to make your own Holiday Faves-style album? Pick up the Holiday Faves 5×7 Mini Album Templates here.

Can diabetes cause erectile dysfunction

POSTED IN Holiday Faves, Holiday Faves 2011, Hybrid Scrapbooking, Mini Albums

Documenting My 29th Year with Project Life

POSTED ON July 20, 2011 IN Project Life

Back on May 24th when I turned the big Two-Nine, I wrote out five personal goals to complete over the next year, one of which included documenting my 29th year.

At the time I wasn’t quite sure what type of album I wanted to create so in order to help me get a better idea about what type of album would be best, I made a list of exactly what I hoped to get out of my 29th year album. You can read more about my reasoning behind the list in this post but here is the short version of the list I wrote:

  • Daily Life – Document what our everyday life looks like – similar to P365 but less structured
  • Memorabilia – Create a home for all the little bits and pieces of paper/things I love to pick up
  • Adaptable – Ability to adapt to the story – with more or less photos/story
  • Easy upkeep – Needs to be manageable to maintain throughout the year

At the time I was leaning heavily toward Becky Higgins’ Project Life since it seemed exactly what I wanted but since it was SO trendy and I try to avoid anything too trendy, I decided to wait.

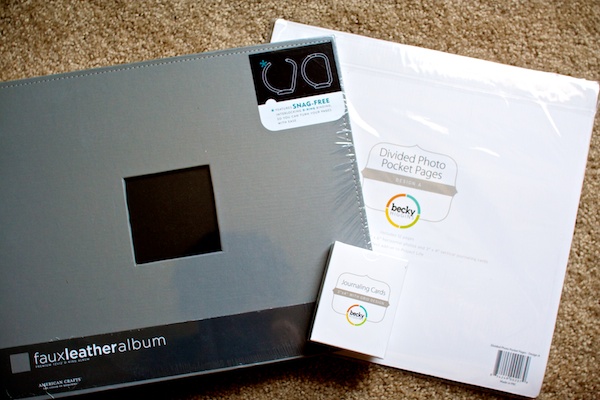
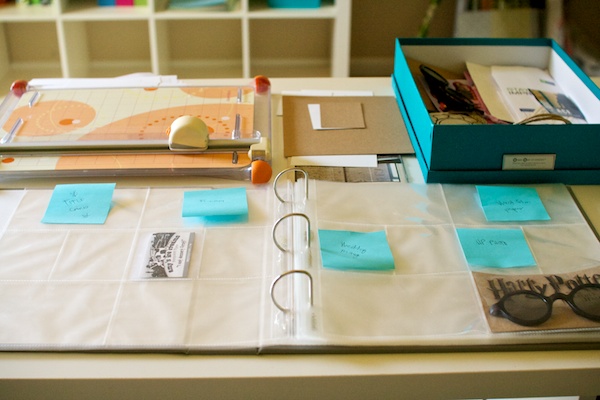
Flash-forward to July 1st rolling around and me realizing that if I was serious about making an album to document my 29th year, I needed to get this party started. So over the 4th of July holiday I took the plunge and ordered this:

IMG 34793

An American Crafts 12×12 Faux Leather album in Graphite, Project Life Divided Photo Pocket Pages Design A and Project Life 100 Pack of Journaling Cards. I debated about ordering a larger variety of pocket pages but ultimately decided to keep things simple until I was sure I actually liked Project Life.

As is often the case with projects around here, my Project Life stuff sat sad and unused for another week or two before I decided to finally get down to business earlier this week…

IMG 34907

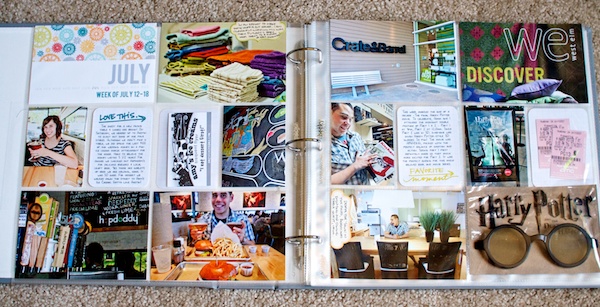
And have since turned those pages above into this…

IMG 34947

A completed two-page Project Life spread documenting Week 8 of my 29th year – July 12-18. Woohoo go me!

One of the mistakes I made when I did my Deployment:365 project back in 2009 was trying to get caught up on my layouts by starting at week 1 and working forward. Which meant no matter how many layouts I did, I was always several weeks behind. I do not recommend this plan. At all. It is a BAD idea.

So this time around I decided that although I’m now eights weeks after my birthday, I would start with the most recent week, July 12-18 and scrap that first and then while I’m keeping my book current going forward, I’ll work on filling in the weeks going back to May 24th. This way I can stay focused on the current stories rather than forever being lost in the past.

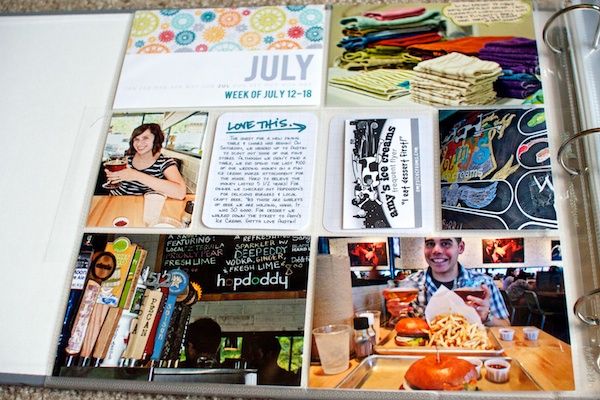
Here’s a closer look at the left side of the page:

IMG 34938

Yes, that is Adam and I holding goblets of beer (at hopdoddy’s), haha. For anyone lucky enough to be in the Austin area, you should check out hopdoddy. It’s awesome. Delicious burgers made with local ingredients and tasty local brews.

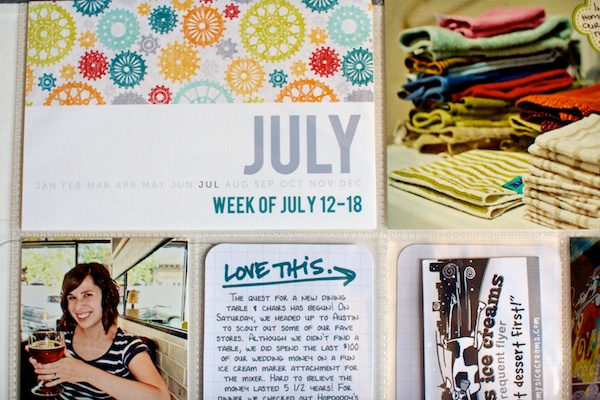
Since the Project Life kits aren’t available anymore, I made my own title card to label each two-page week spread. Here’s a close-up of the title card:

IMG 34931

For all my fellow font lovers out there, the tall font is Bebas and the smaller font is Museo Sans, both of which are available for free. For the patterned paper top, I used a digital paper from Zoe Pearn’s awesome Zoom Zoom kit and printed the whole card on Epson Premium Presentation Matte paper using my Epson printer.

Here’s a closer look at the right side of the page:

IMG 34939

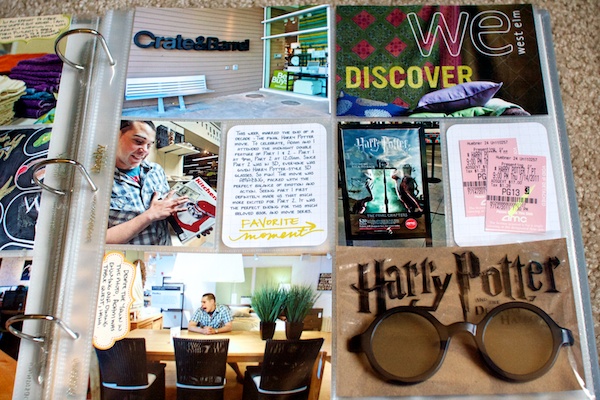
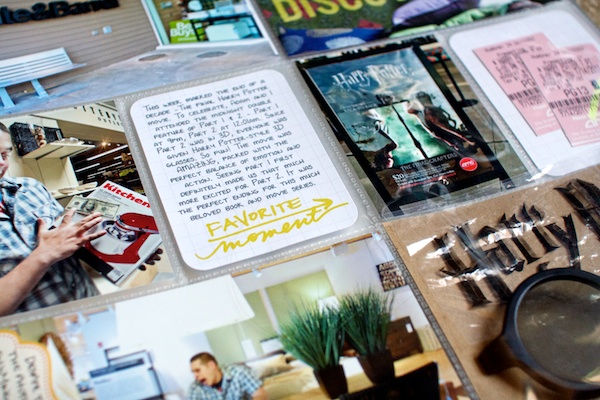
Since one of our big activities this week was the start of our quest for a new dining table and chairs to replace our sad dining table and folding chairs we’ve had since college, I included some photos of our trip to Crate & Barrel as well as a clipping from the front of a catalog we picked up at West Elm.

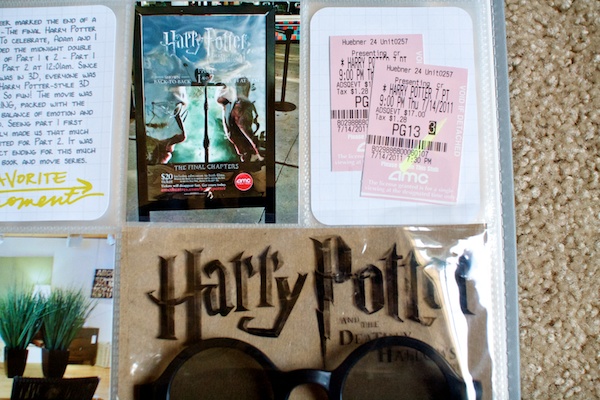
We also attended the midnight showing of the final Harry Potter movie this week so I dedicated several pockets and a journaling card for Harry Potter. Here’s a close-up of the Harry Potter part of the page:

IMG 34956

I included a photo I took with my iPhone of the sign at the theater as well as our ticket stubs. In the bottom pocket I included the front of our Harry Potter-style 3D glasses as well as the top of the wrapper they came in since they included the name of the movie.

In order to make the glasses less bulky, I unscrewed and removed the sides of the glasses so they’d sit flatter in the pocket. It’s still a little bulky but once I complete next week’s page (the back of the Harry Potter card) I’m going to staple the corners of the pockets to hold the glasses inside and I think they’ll stay just fine..

Here’s another detail shot of the right side page:

IMG 34964

For the two journaling cards, I wrote my journaling on the computer using my custom handwriting font by Darcy, added some Ali Edwards’ brushes (This One Brushes) and then printed them directly on the Project Life journaling card using my printer.

I didn’t realize you could do this until this week but because my Epson printer feeds papers through the printer without folding or bending them, you can pretty much print any custom size you want. Had I known this back in December, it sure would have made my December Daily album a whole lot easier, lol!

My thoughts on my 29th year Project Life album so far?

I am in LOVE. As in this-album-makes-me-want-to-do-a-happy-dance kind of love. There’s something so cool about seeing daily events and memorabilia like this all in one place. I am definitely very very excited to see where this album goes as the year progresses. I’m so glad I decided to jump on the Project Life bandwagon, trendy as it may be, haha.

So that’s my story from my first week of Project Life. Anyone else doing Project Life? Anyone finished any happy-dance inducing projects lately? Feel free to share in the comments!


Can I take Levitra if I am taking other remedies at the same time
POSTED IN Project Life, Hybrid Scrapbooking

  • « Previous Page
  • 1
  • 2
  • 3
HI I'M LYNNETTE. Graphic designer, tech-lovin’ memory keeper and lover of bold colors & patterns, good food and the great outdoors. Here at Nettio Designs, I share a behind the scenes peek at my own creative & life adventures. Read more...

KICKSTART YOUR CREATIVITY


By popular demand, photo book templates are back! Grab all three sets in the shop.
ADVENTURES IN ORGANIZING
GOAL-SETTING
MEMORY KEEPING
PROJECT LOVE
LIFE ADVENTURES
TIPS & TRICKS
BEHIND THE SCENES

POPULAR PROJECTS

TO SEE ALL MY PROJECTS, CLICK HERE

MUST READ POSTS

  • WHY EVERY SCRAPPER SHOULD SCRAP A FAVES PAGE
  • HOW TO CREATE A SCRAP-WORTHY MAP WITH PHOTOSHOP
  • REMEMBERING THE IMPORTANCE OF TELLING YOUR STORY
  • WHAT DOES IT MEAN TO CREATIVELY CAPTURE YOUR LIFE ADVENTURES?
  • BROWSE BY CATEGORY

    BROWSE THE ARCHIVES

    GET IT FOR FREE

    Copyright © 2025 ·Dynamik Website Builder · Genesis Framework by StudioPress · WordPress · Log in