Coming up on Saturday, November 5th, is one of the biggest scrapbooking holidays of the year…Digital Scrapbooking Day! Anyone else totally excited??
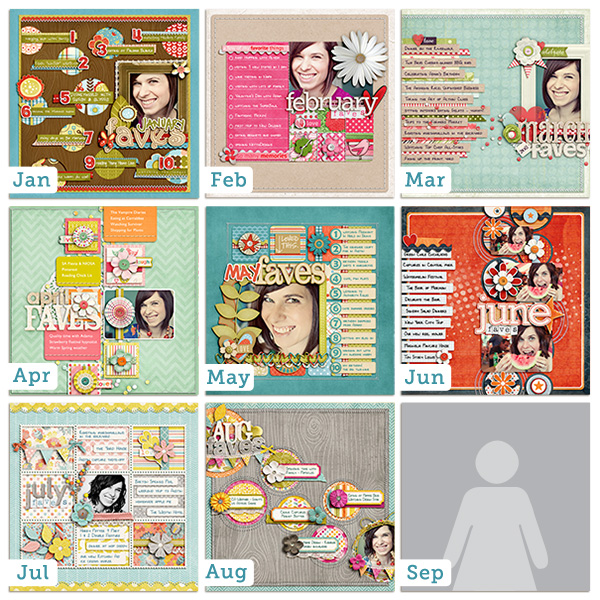
In honor of the big event, I’ve got some fun stuff coming to NettioDesigns so I thought I’d pop in today with a little sneak peek of my newest set of templates for ya…

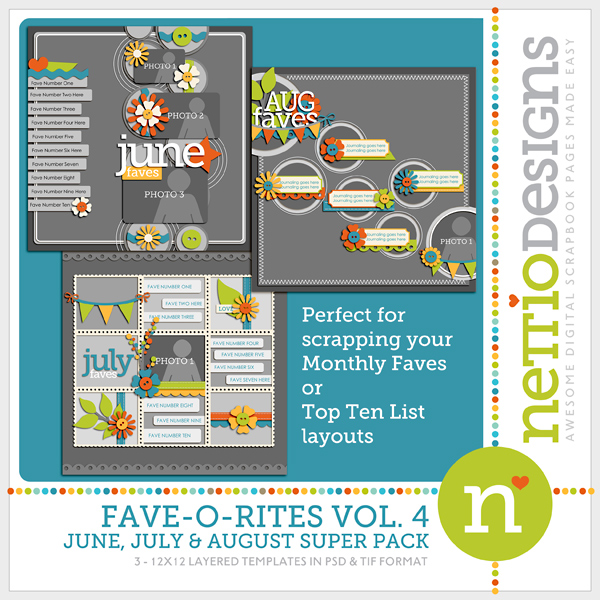
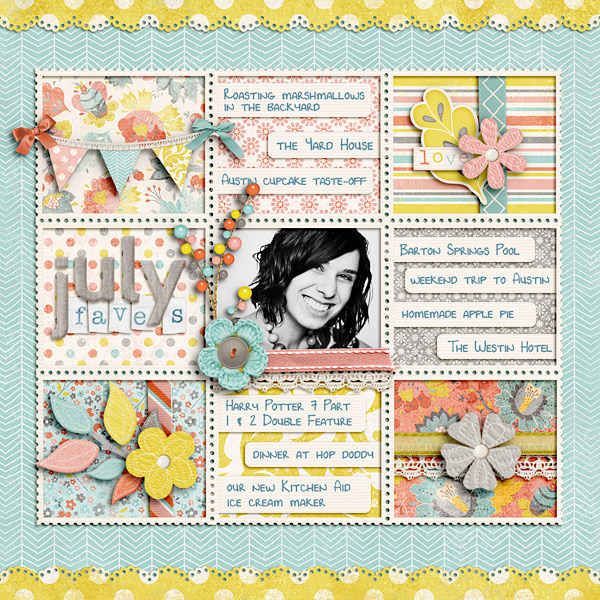
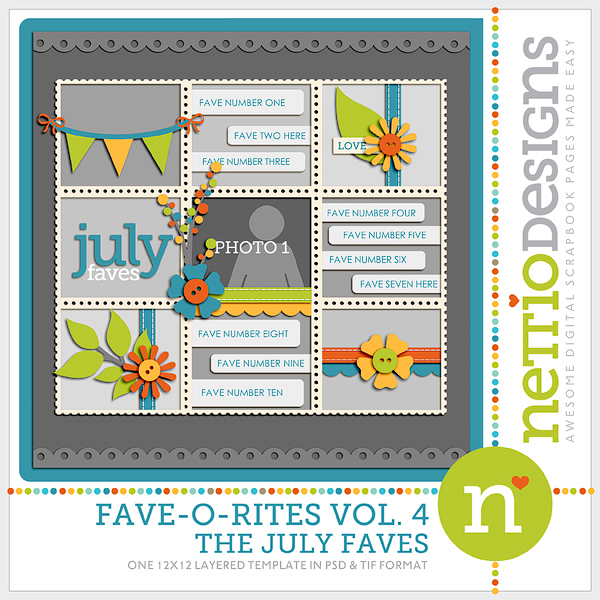
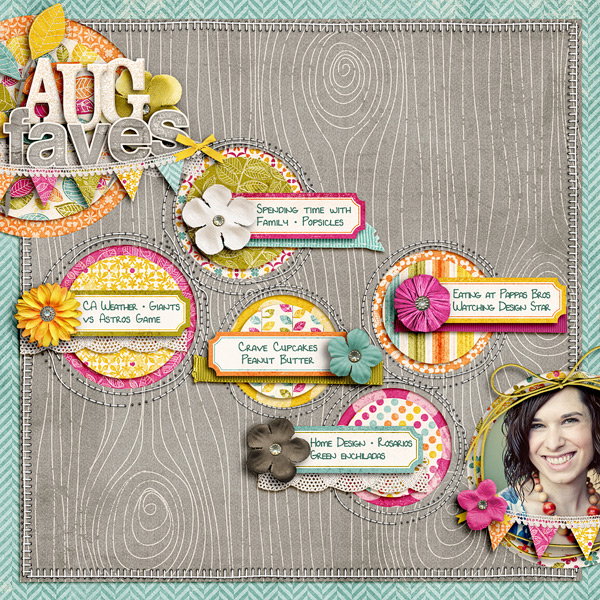
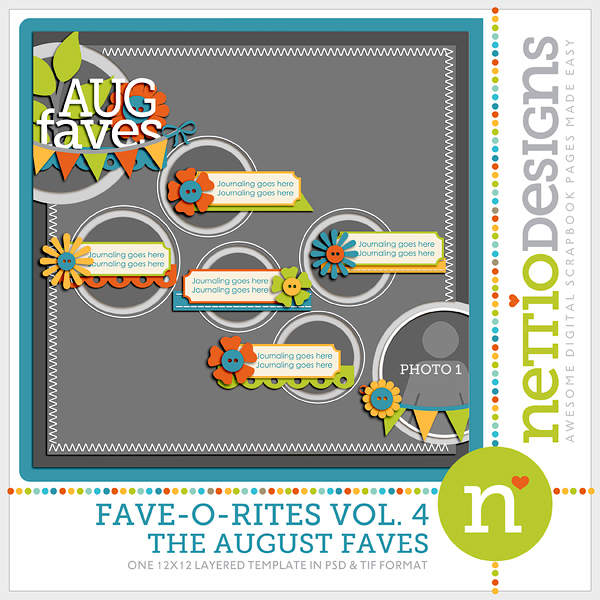
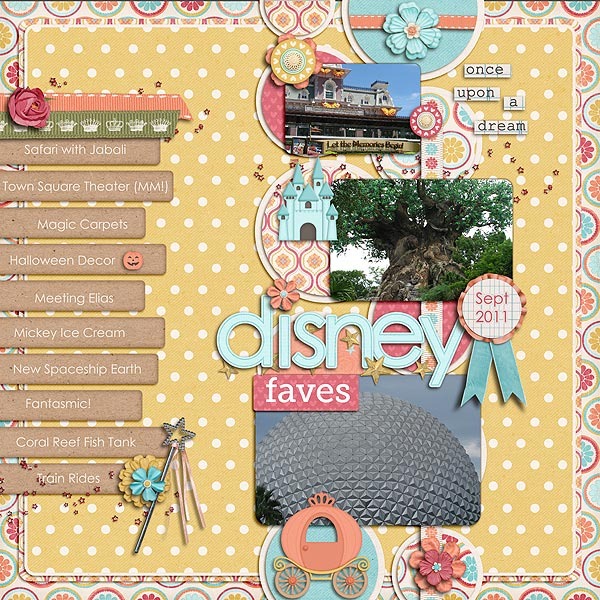
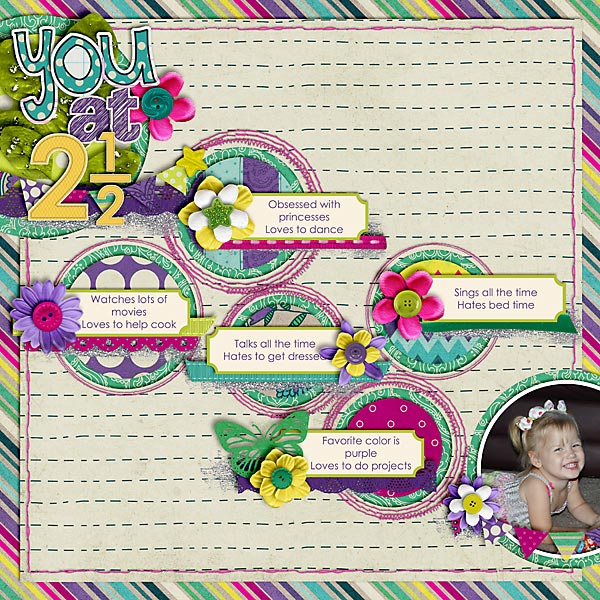
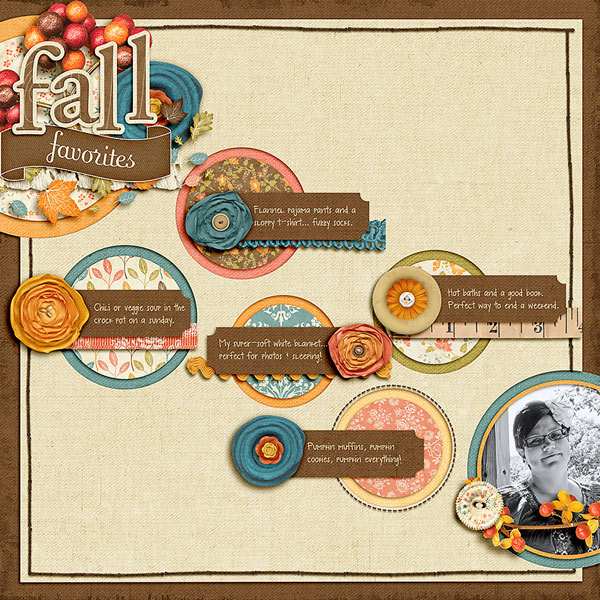
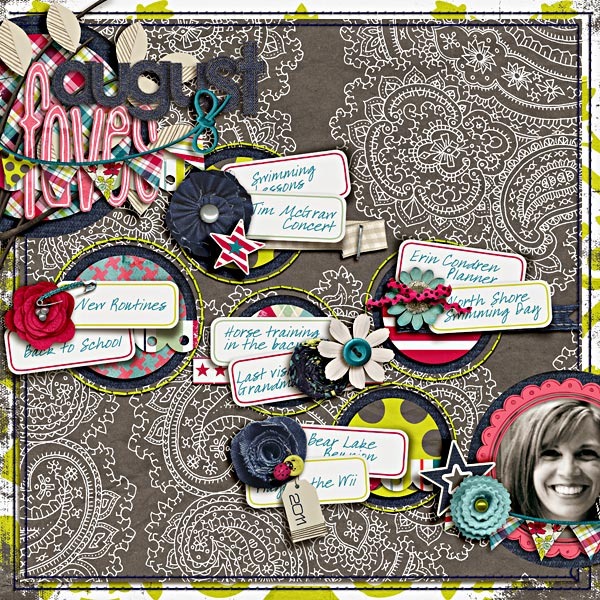
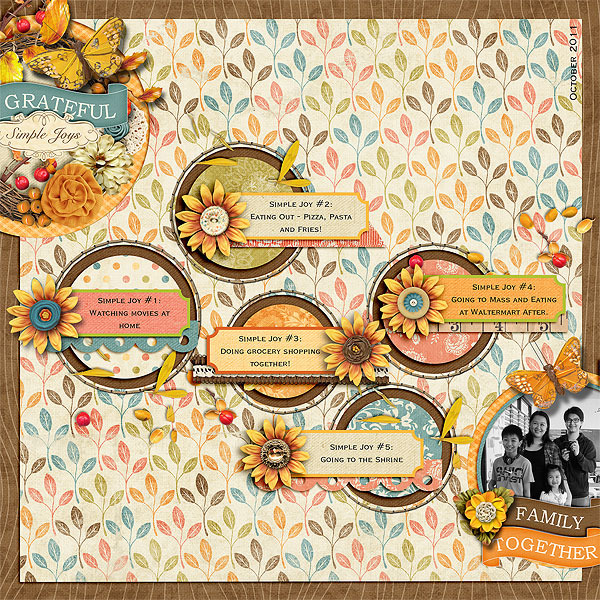
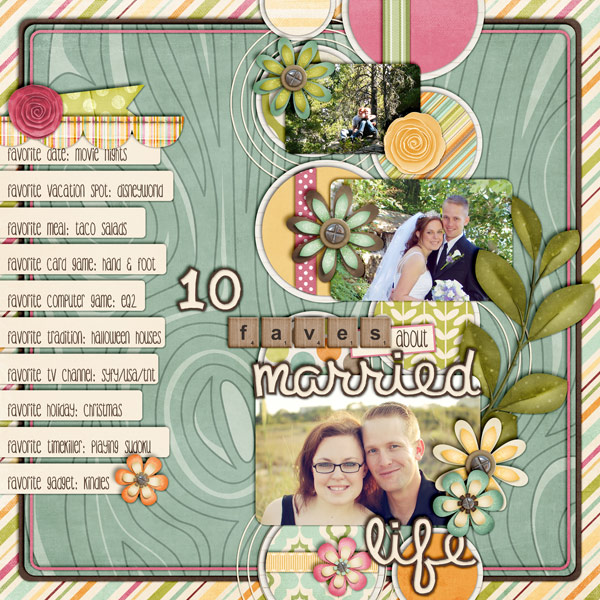
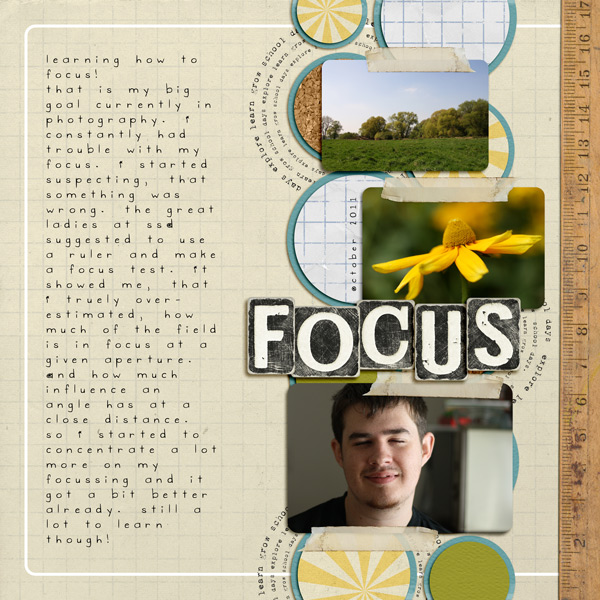
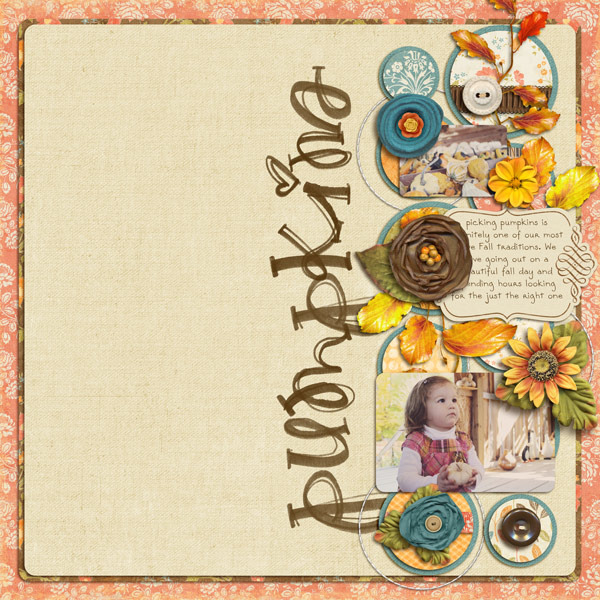
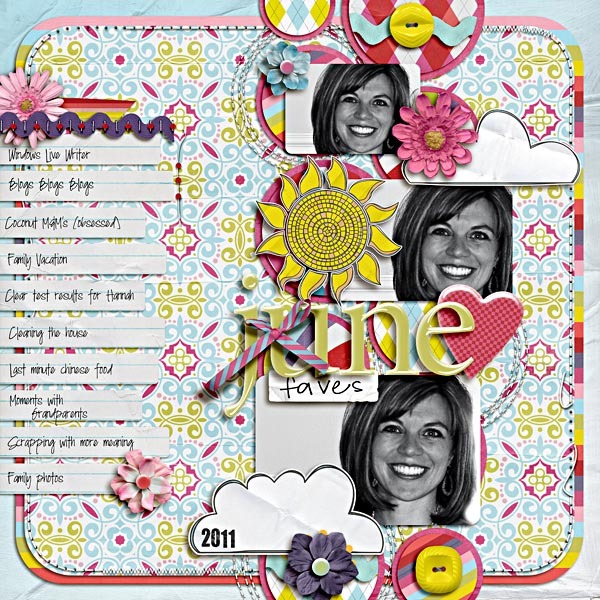
I’m sure I say this every time, haha, but this really might be one of my favorite sets of templates ever! I’ll just say if you’re a fan of the Embellish Now templates, you’re really going to like these.
They’ll be coming to the NettioDesigns Shoppe on Saturday, along with a little sale perhaps, so if you don’t want to miss out on any of the fun, keep an eye on the blog and make sure you’re signed up for the NettioDesigns News list over there ———> in the sidebar.
Anyone else excited for Digital Scrapbooking Day? I’m thinking I need to start putting my shopping wishlist together. It’s definitely been a while since I’ve bought anything new. Any must-have product/sale recommendations for me? Let me know in the comments!
Can I take Levitra if I am taking other remedies at the same time