Woohoo, it is time for another Sweet Shoppe Saturday!
I am so excited about this week’s new release as it represents the return of one my most favorite yearly projects, Holiday Faves!
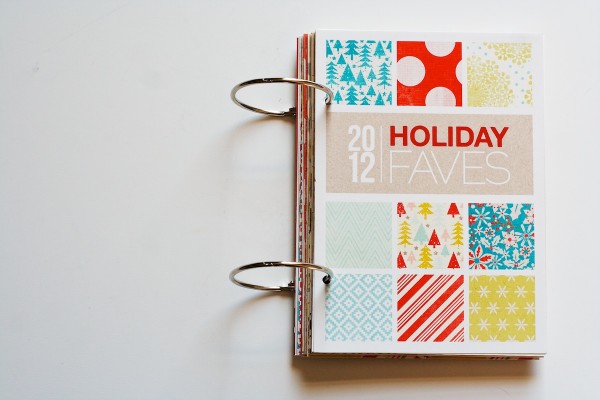
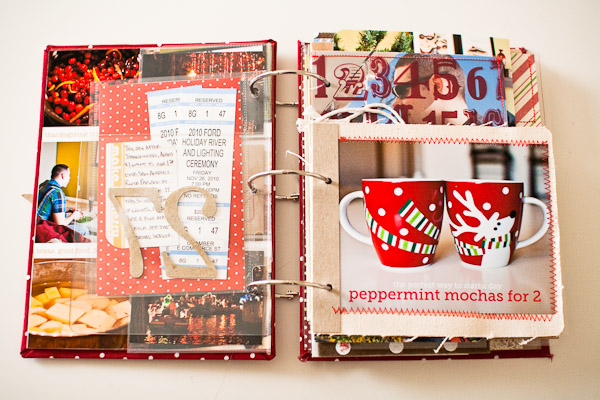
Started back in 2011, Holiday Faves is my solution for creating a stress-free holiday mini album. No worrying about capturing daily details or getting behind, the focus here is on capturing your top ten favorite things from the 2013 holiday season. And best of all, you can design your album digitally or go hybrid using all the digi goodies you already know and love.
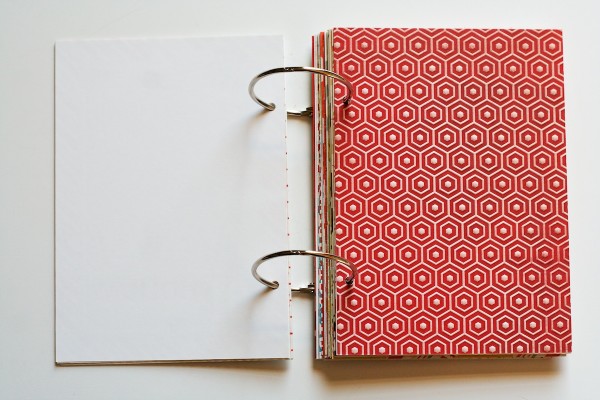
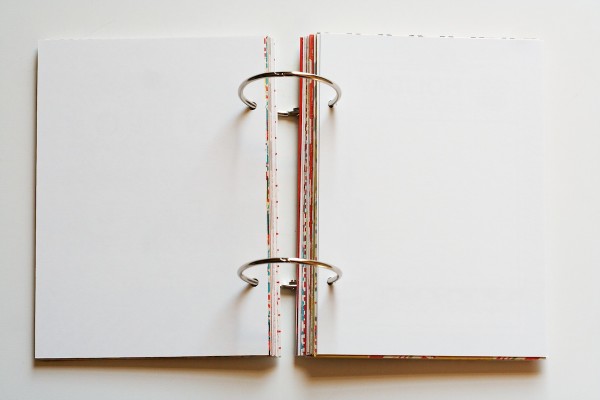
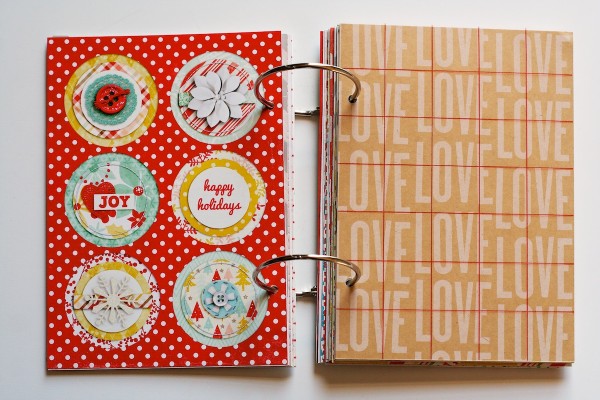
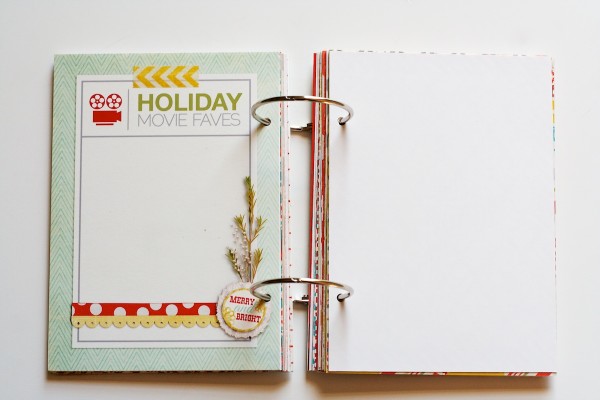
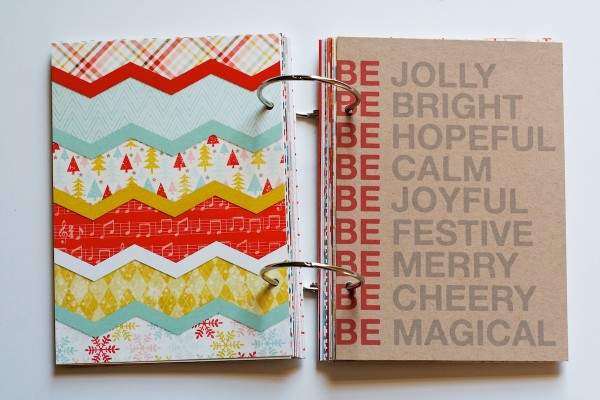
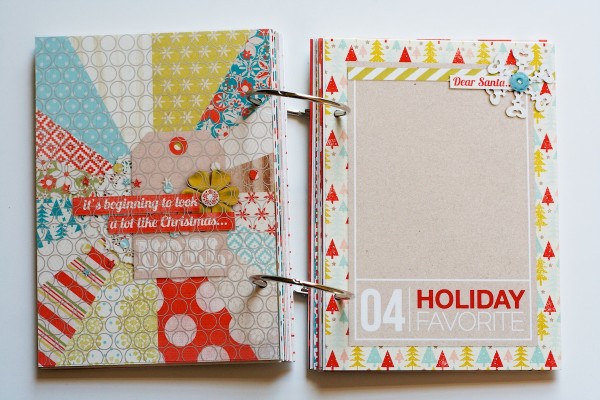
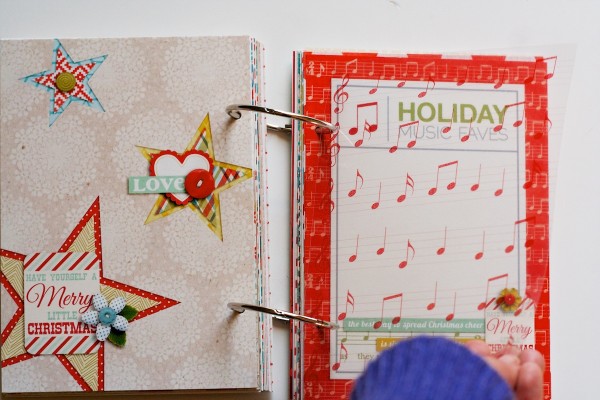
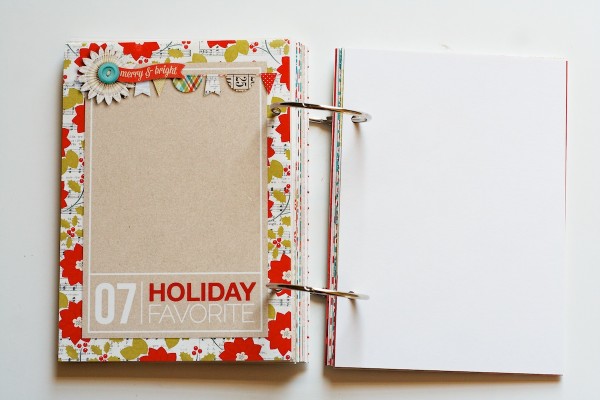
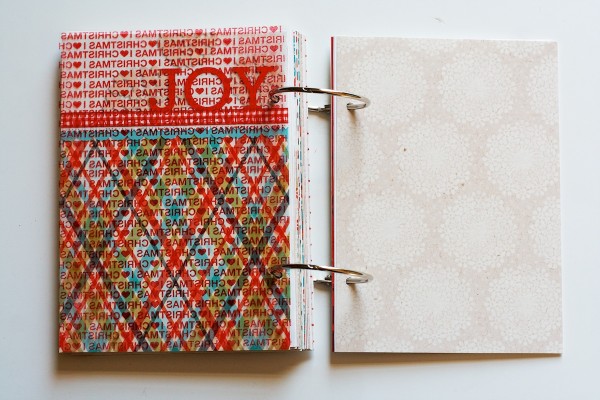
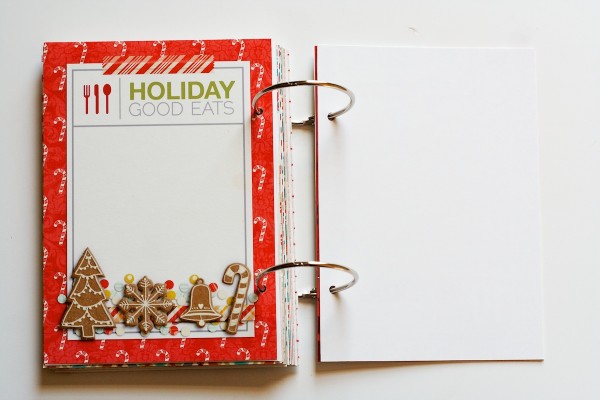
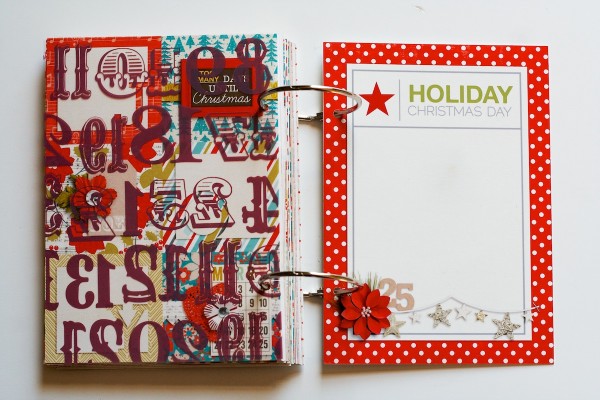
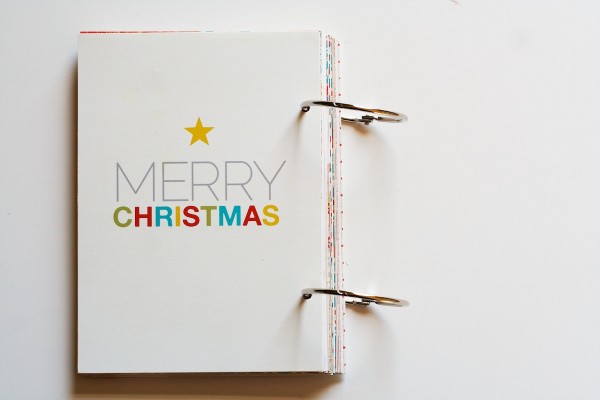
This year I’ll be creating a hybrid mini album using a 6×8 pocket page protector 3-ring album so I’ve decided three holiday-tastic goodies for doing just that…
Holiday Faves 2013: 6×8 Mini Album
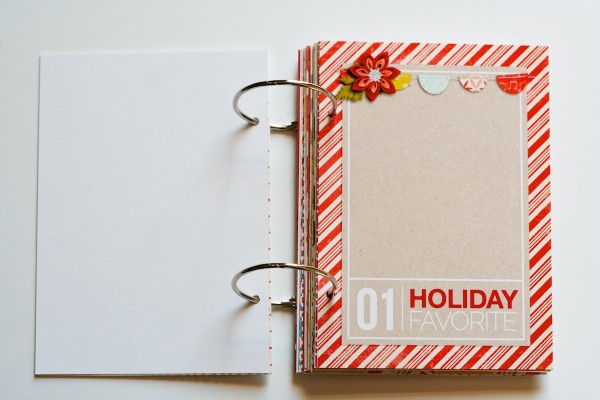
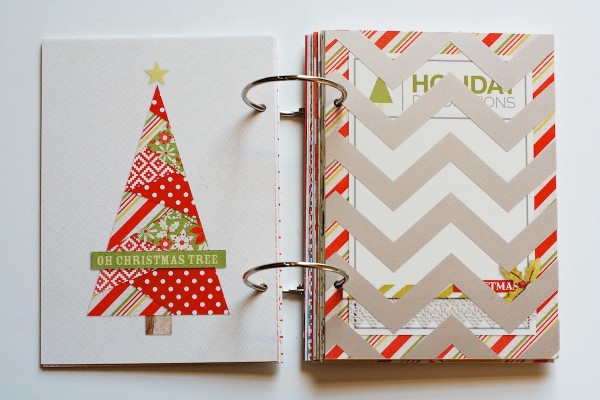
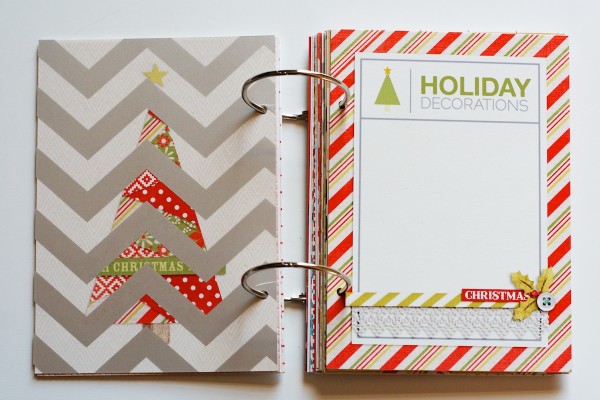
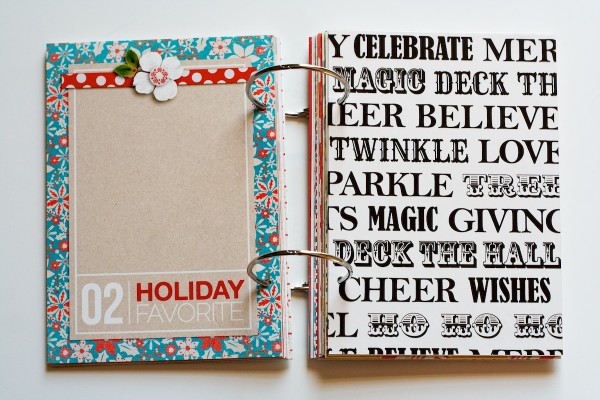
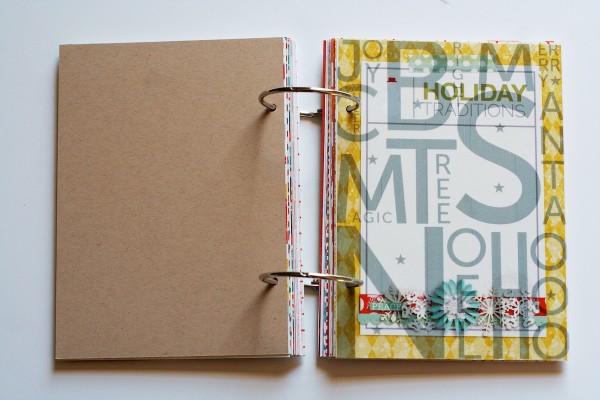
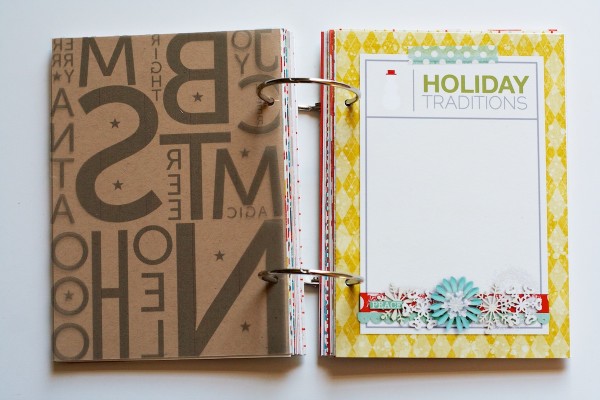
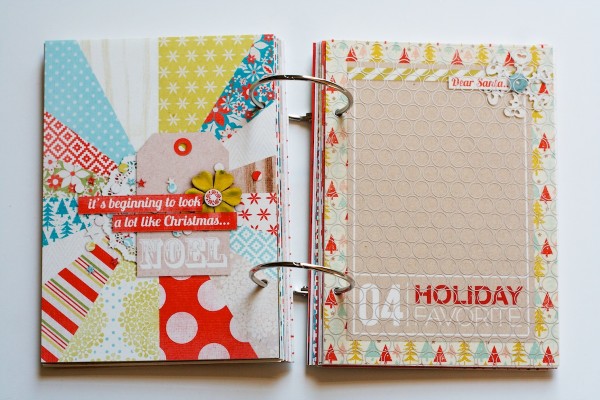
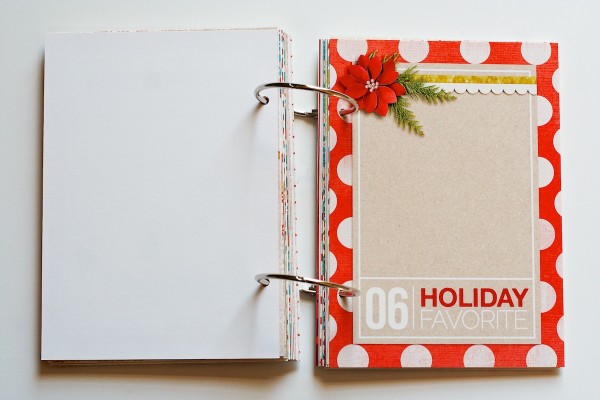
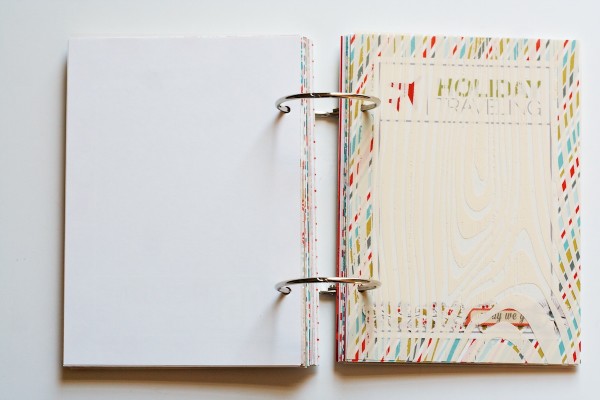
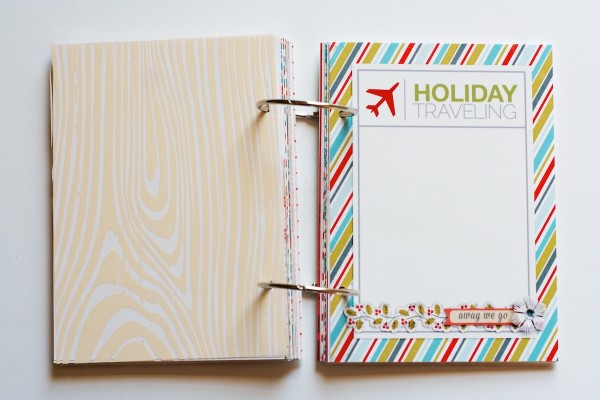
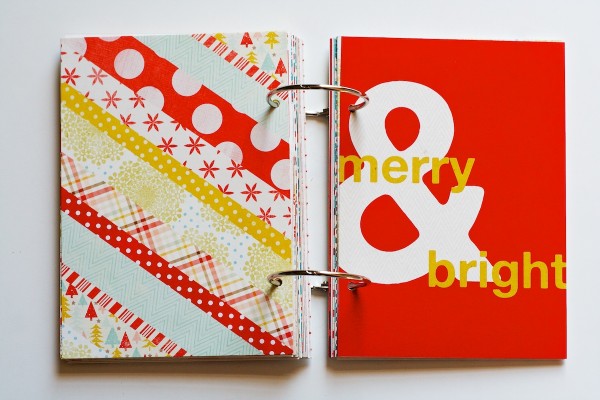
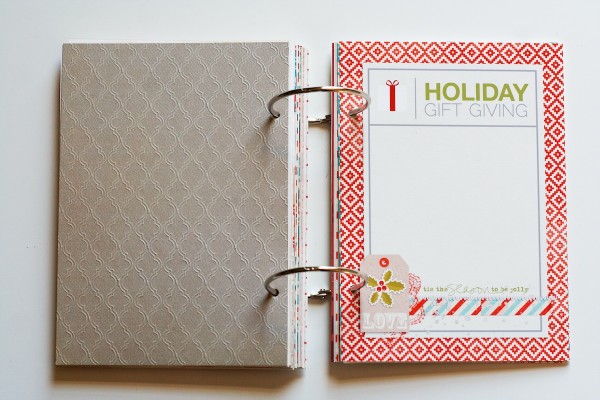
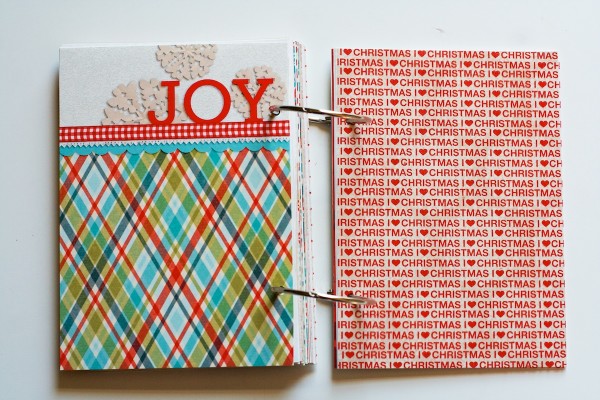
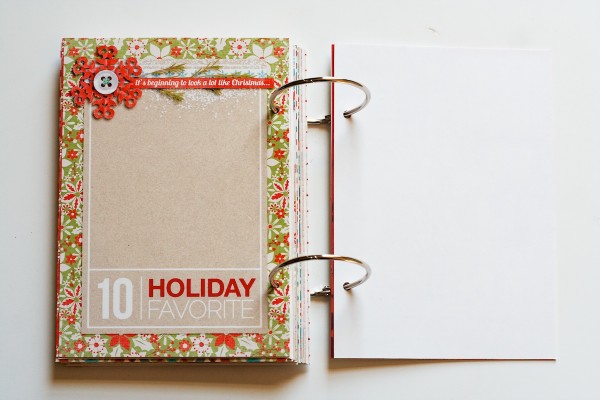
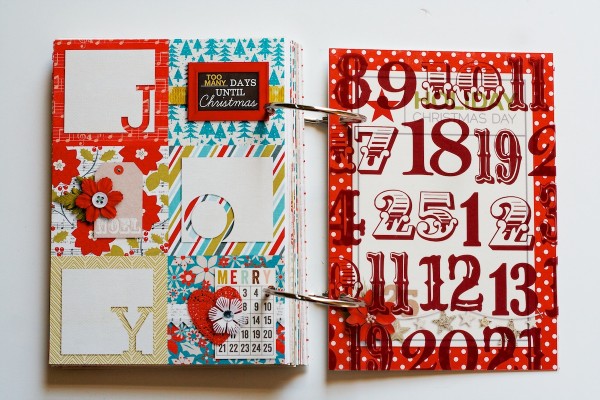
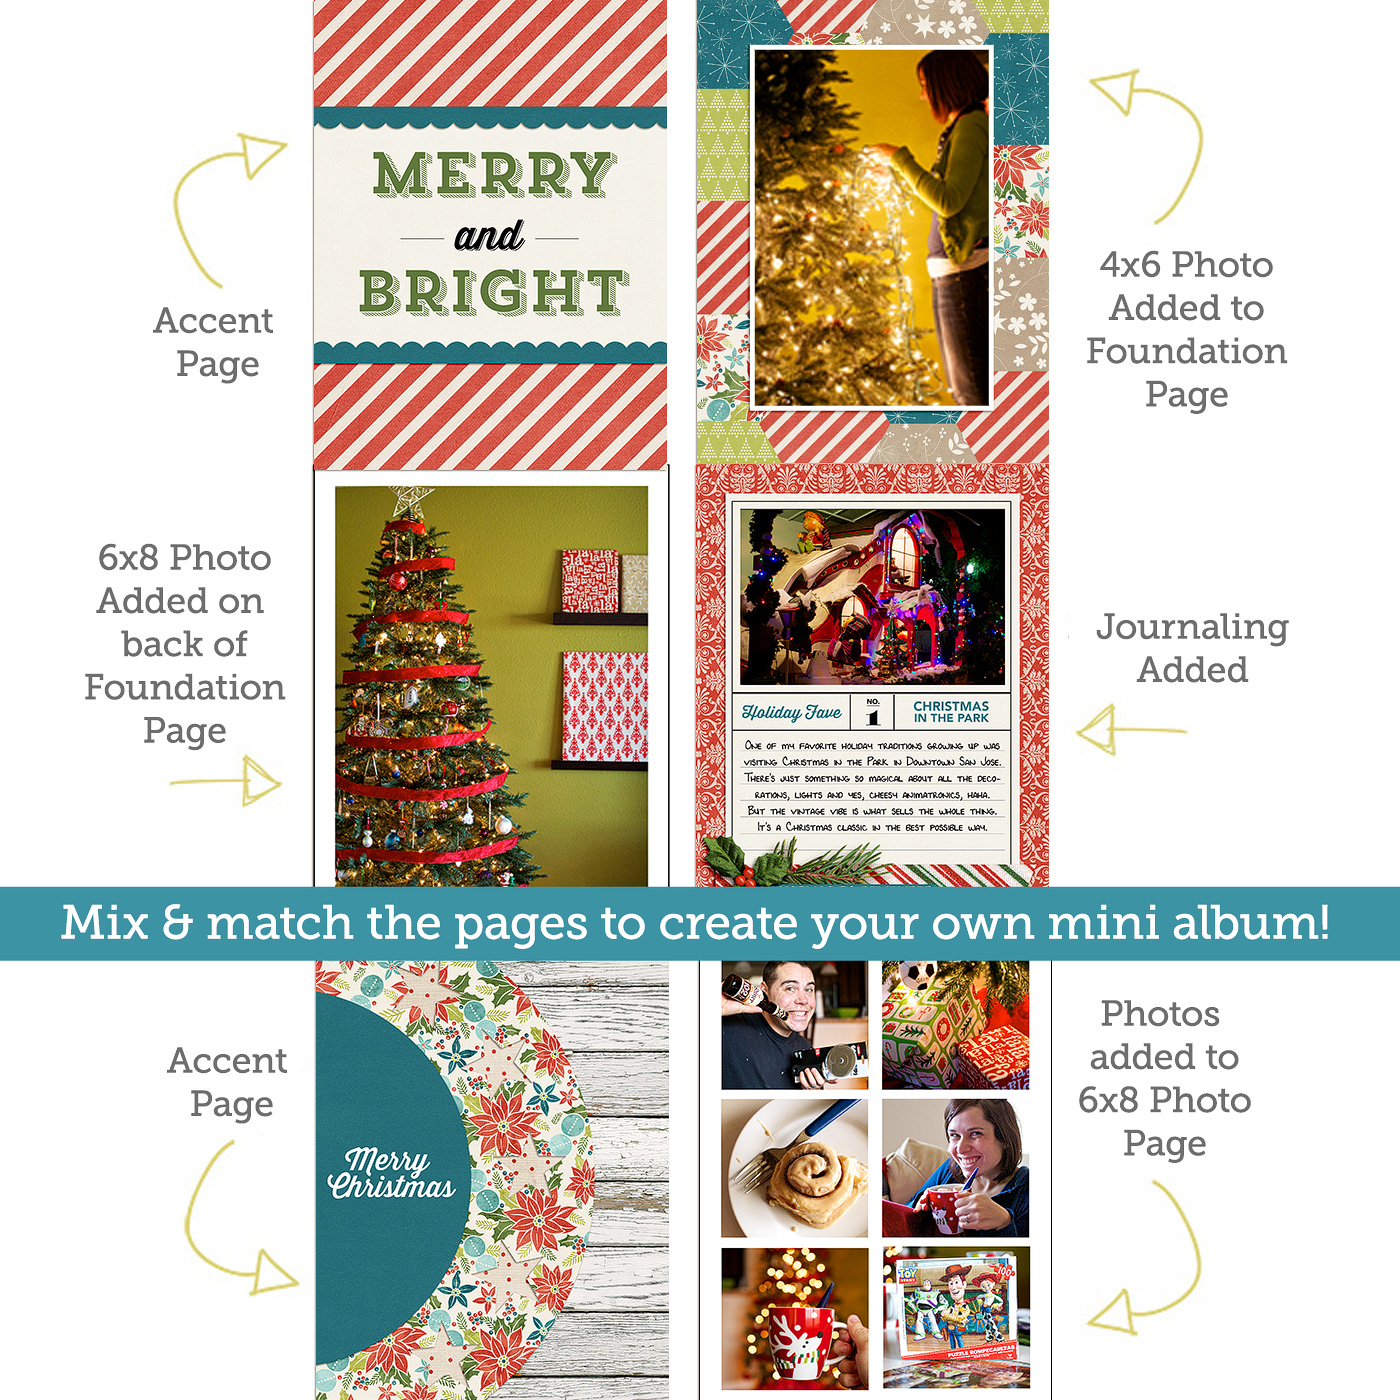
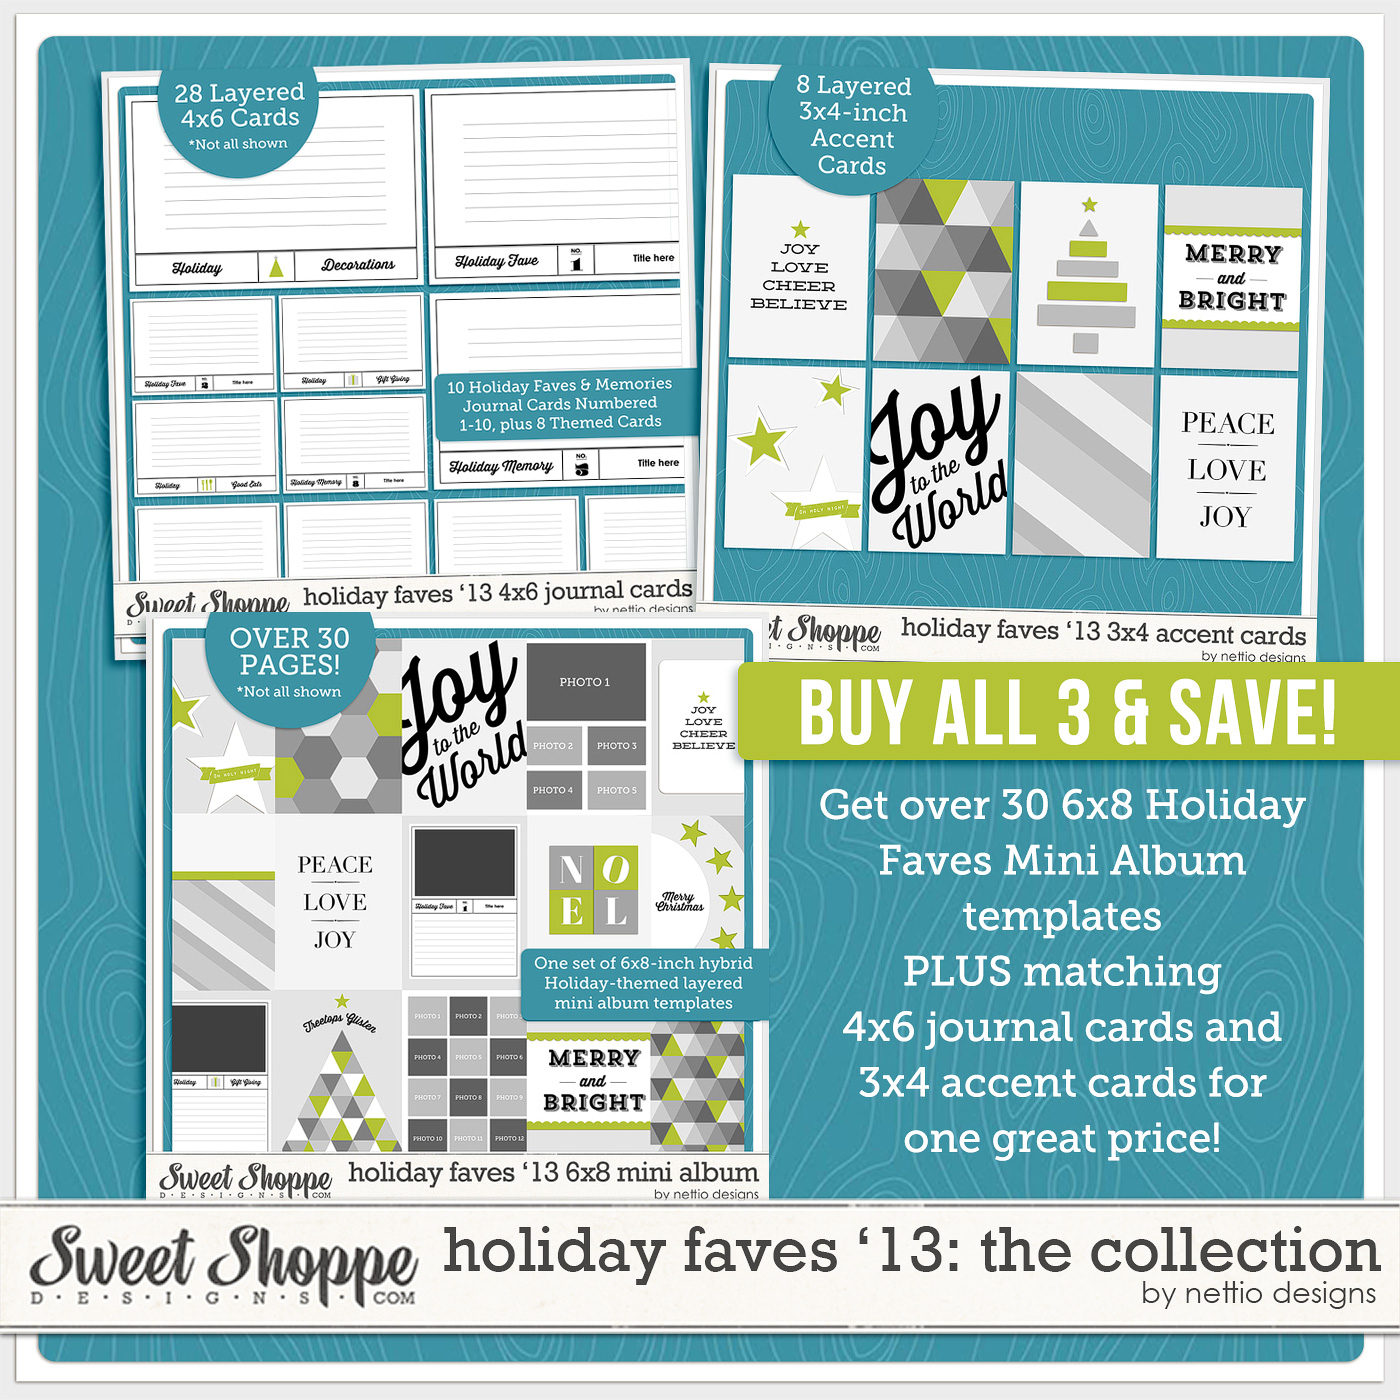
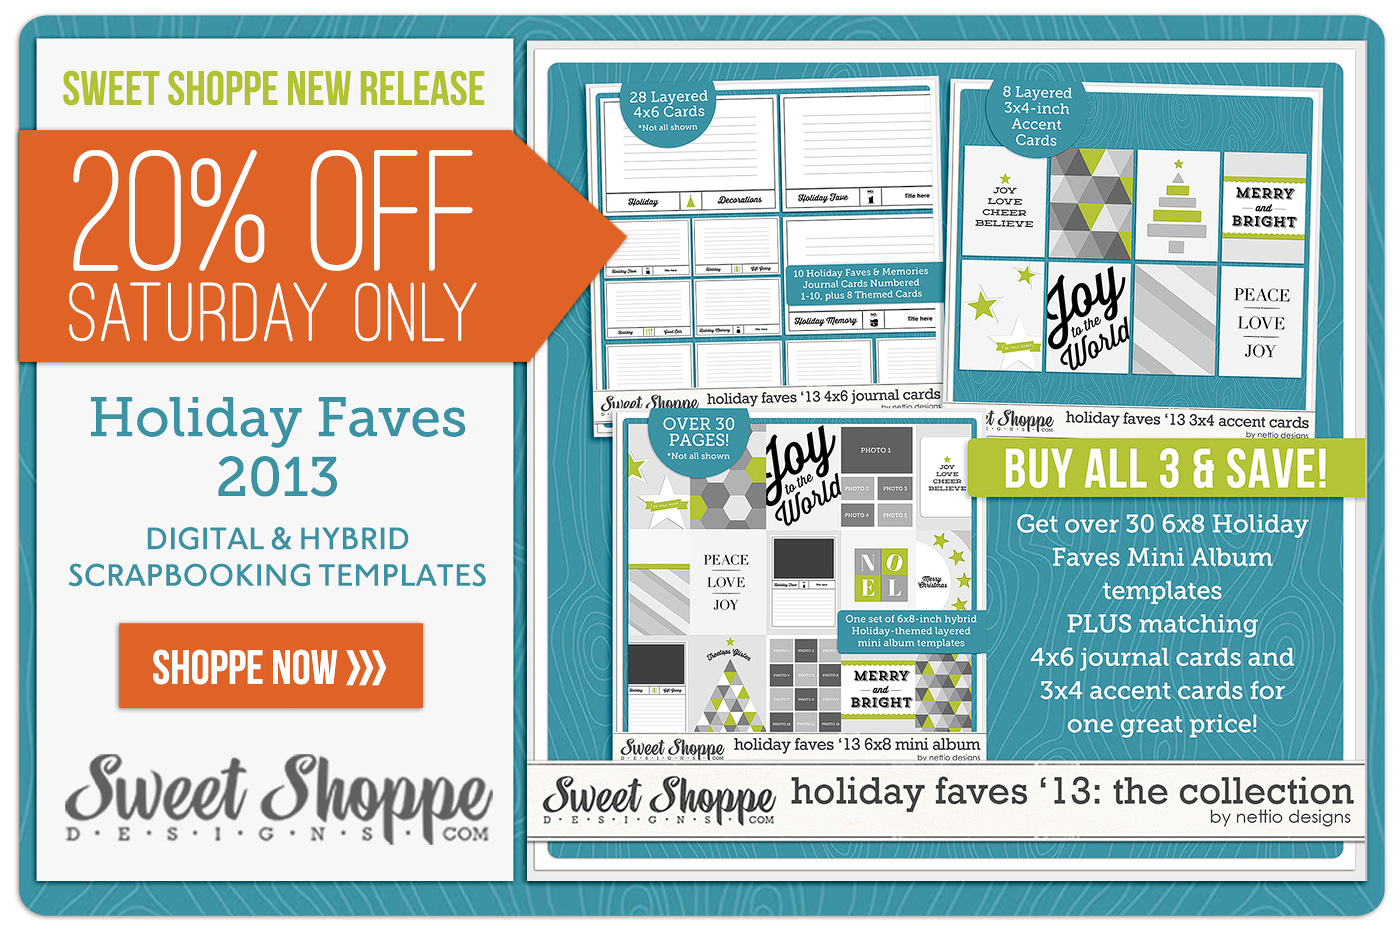
First up is the granddaddy of the Holiday Faves 2013 products, the Holiday Faves 2013: 6×8 Mini Album templates. These 6×8-inch layered templates include 21 holiday themed designs as well as two sets of numbered journaling cards in Holiday Faves & Holiday Memories wording. Simply choose the option that best fits your stories.
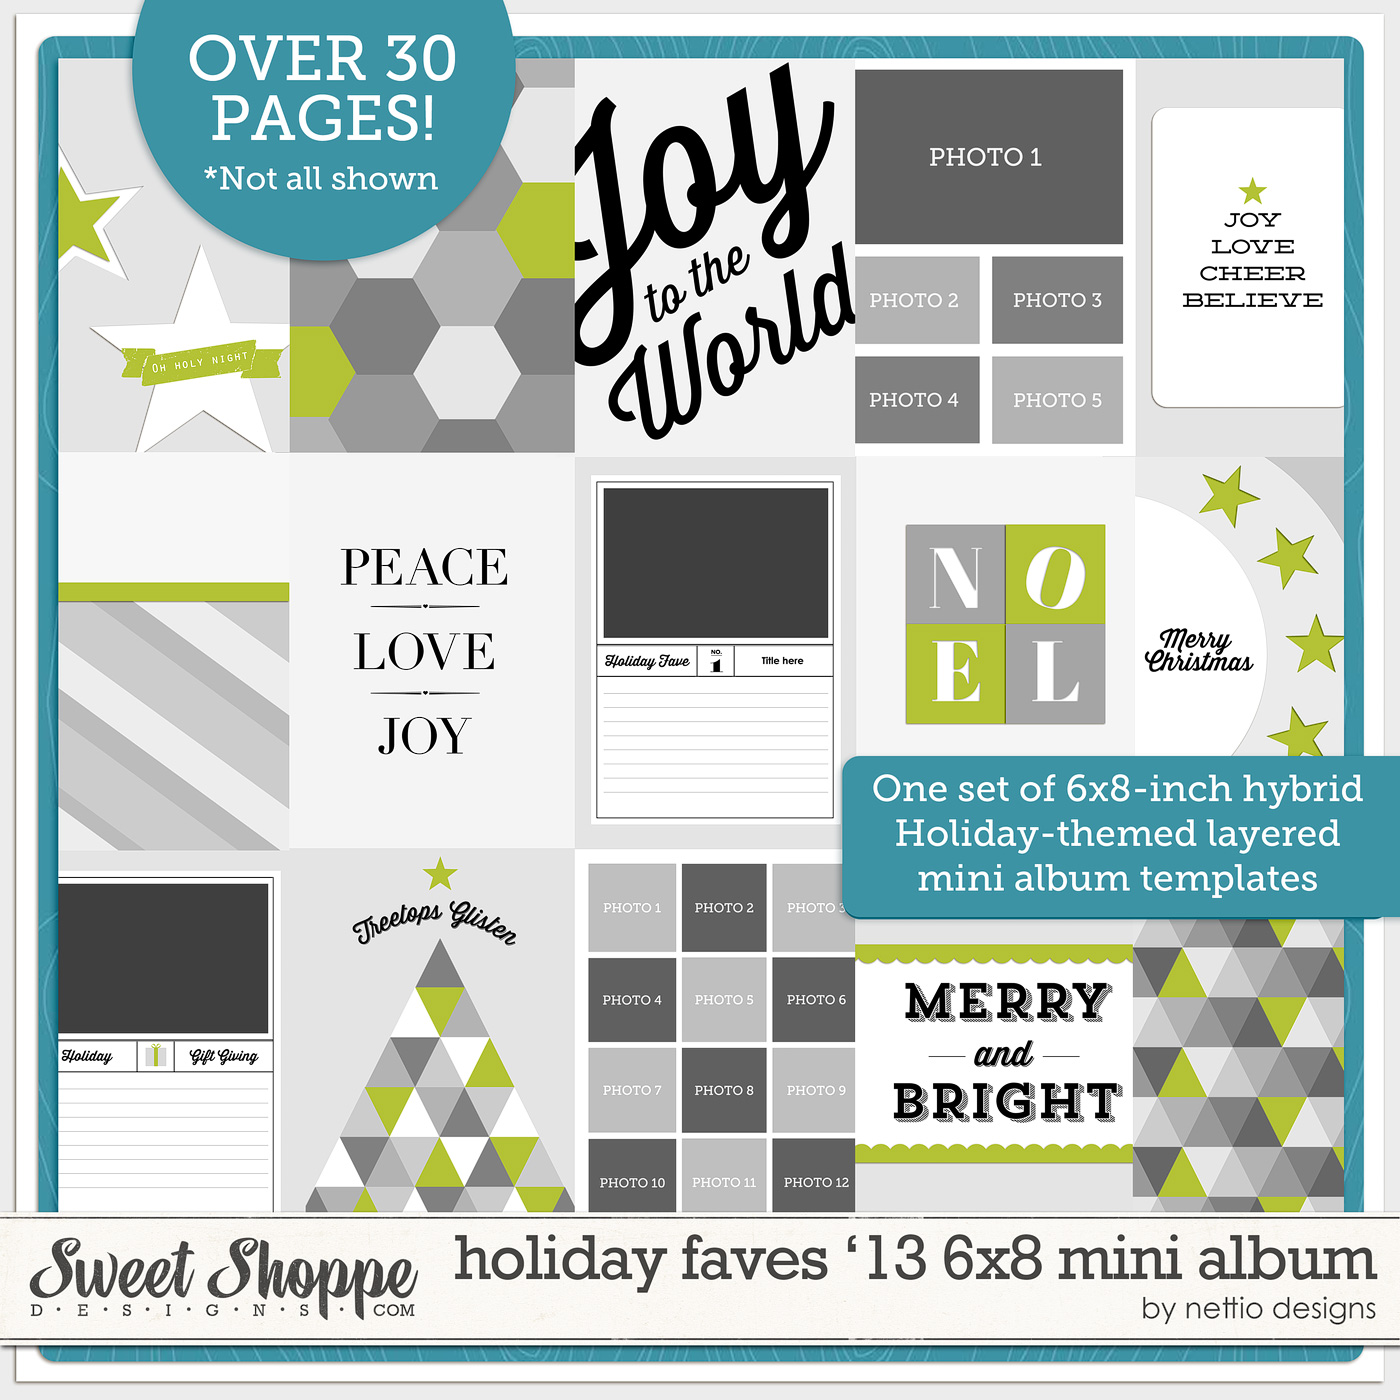
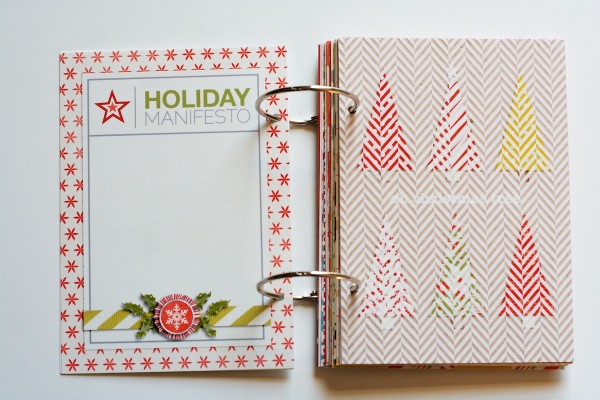
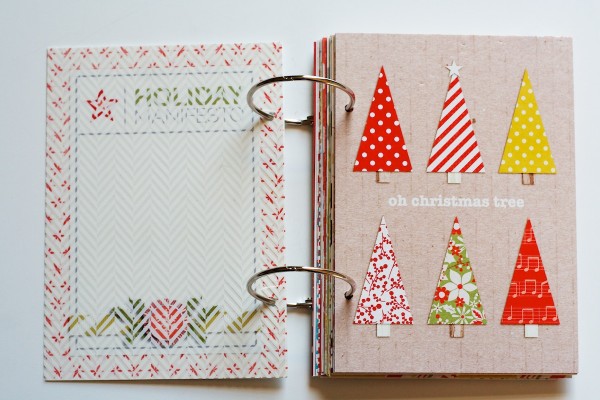
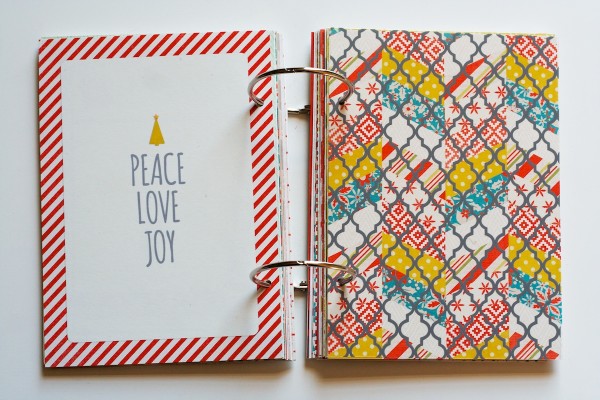
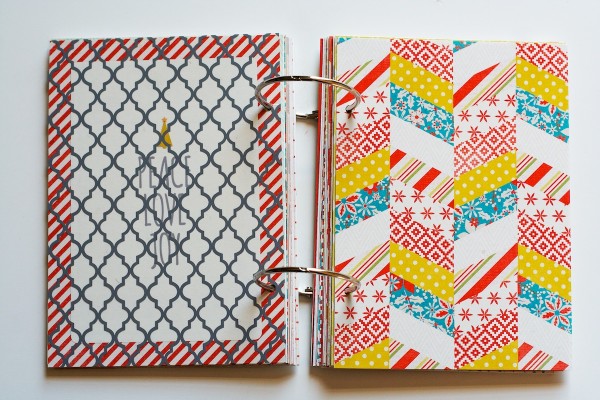
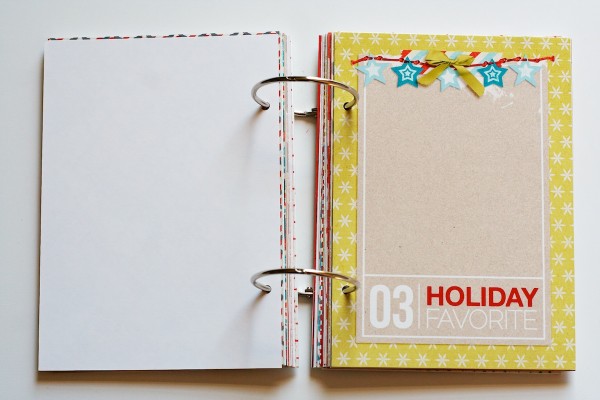
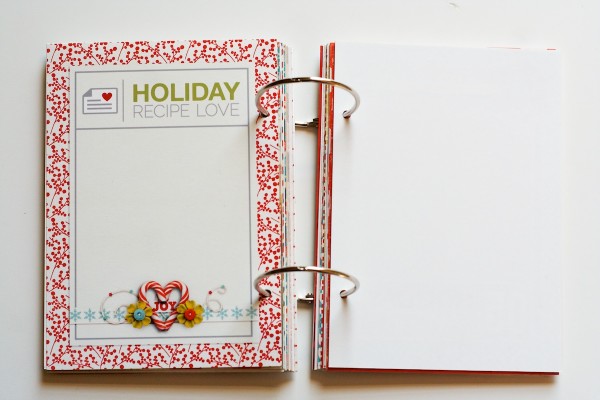
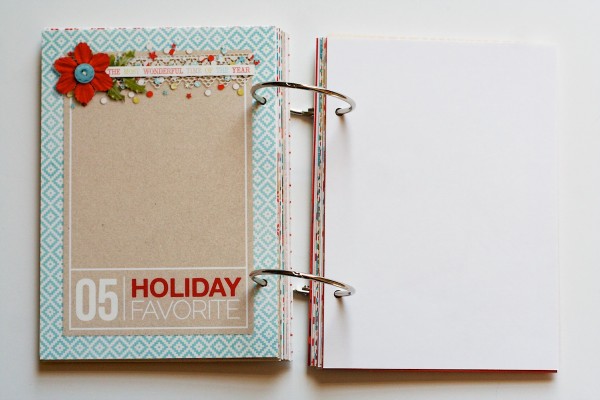
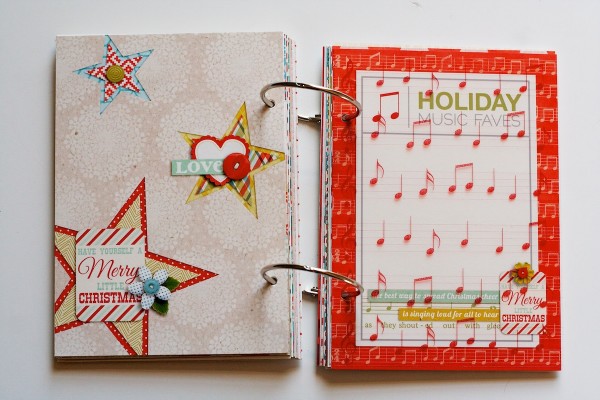
These 6×8-inch templates form the foundation of your album and include four page options: Foundation Pages, Accent Pages, Journaling Pages & Photo Pages. Simply mix and match them at will to create your own custom Holiday Faves or Holiday Memories mini album!
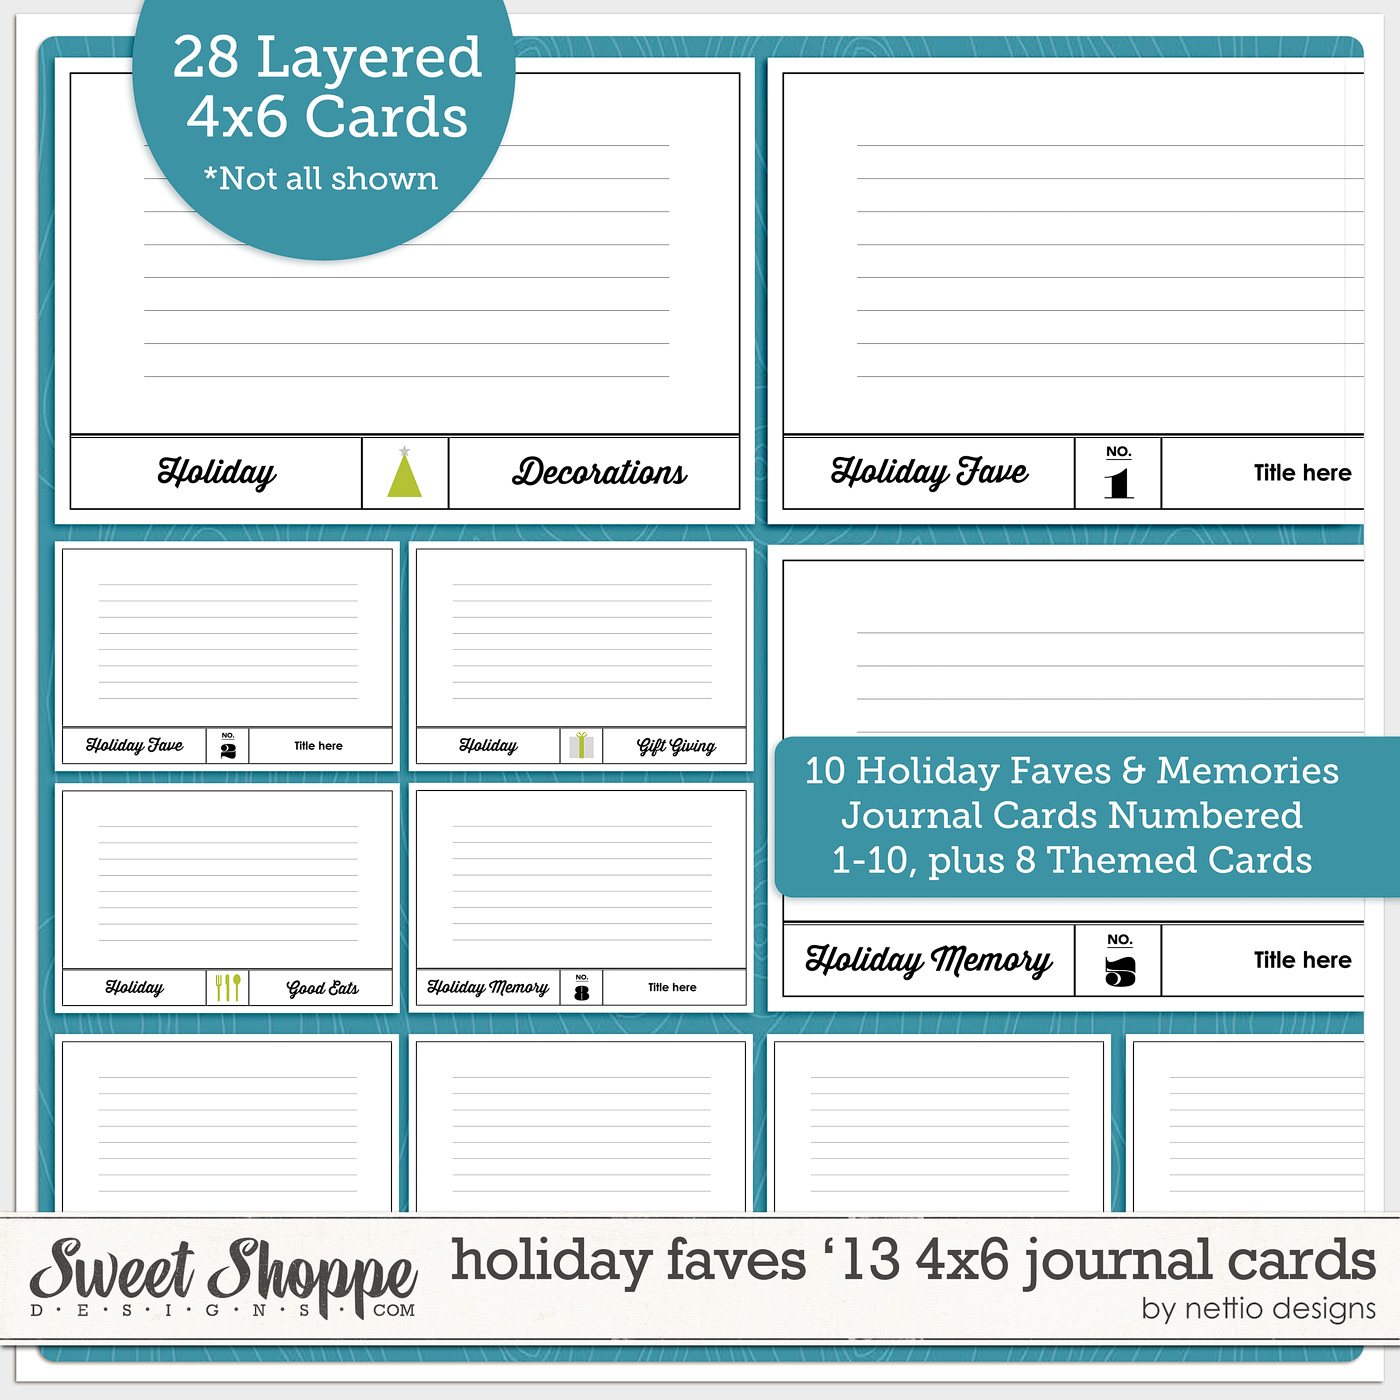
Holiday Faves 2013: 4×6 Journal Cards
The second product in the Holiday Faves 2013 collection are the Holiday Faves 2013: 4×6 Journal Cards. These 4×6-inch layered journal cards are a great way to add additional stories to your Holiday Faves mini album or your existing pocket scrapbooks.
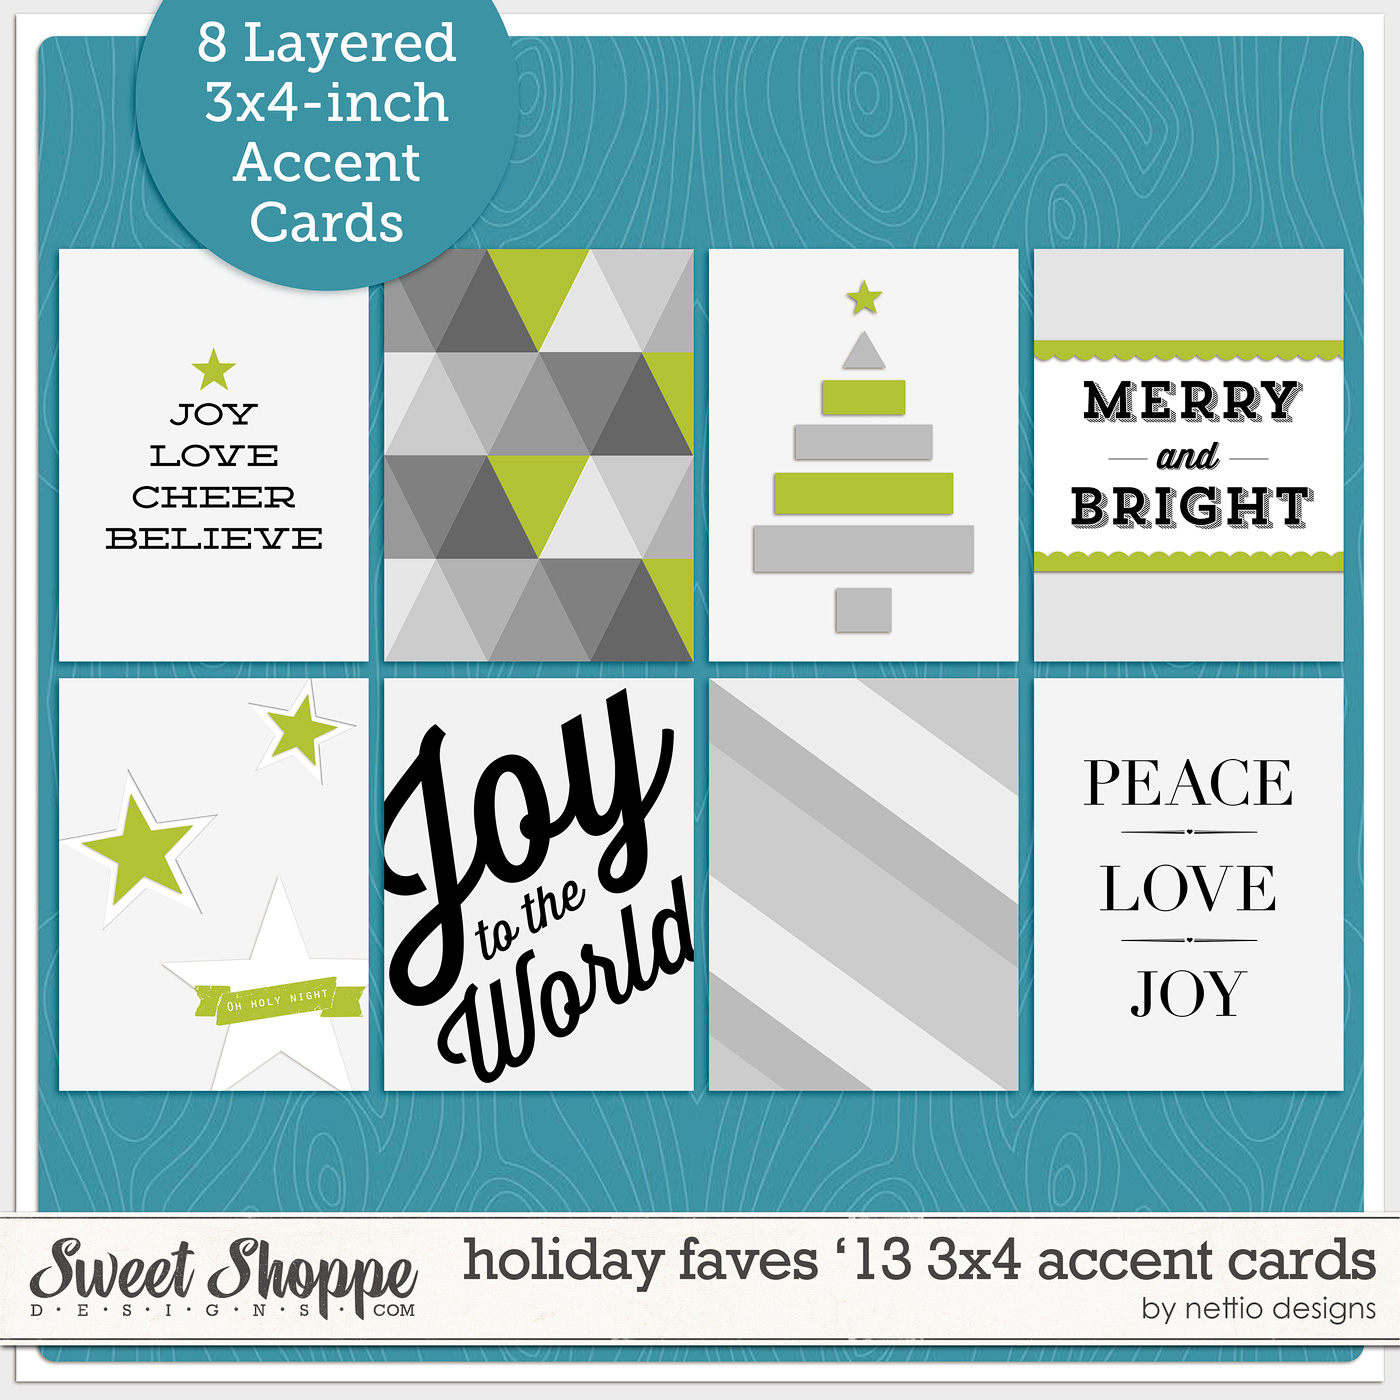
Holiday Faves 2013: 3×4 Accent Cards
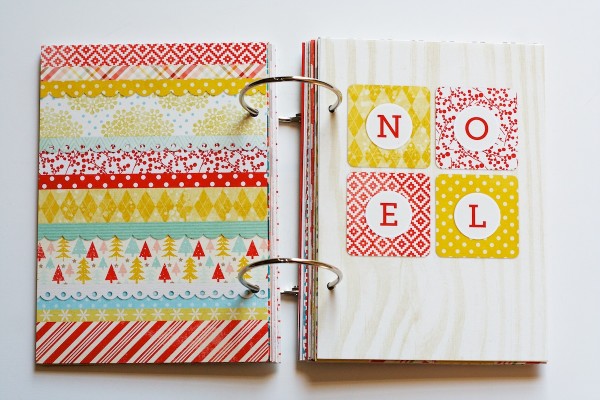
The third and final product in the Holiday Faves 2013 collection are the Holiday Faves 2013: 3×4 Accent Cards. These layered 3×4 cards add the perfect customizable punch to any digital layout, mini album or pocket scrapbook.
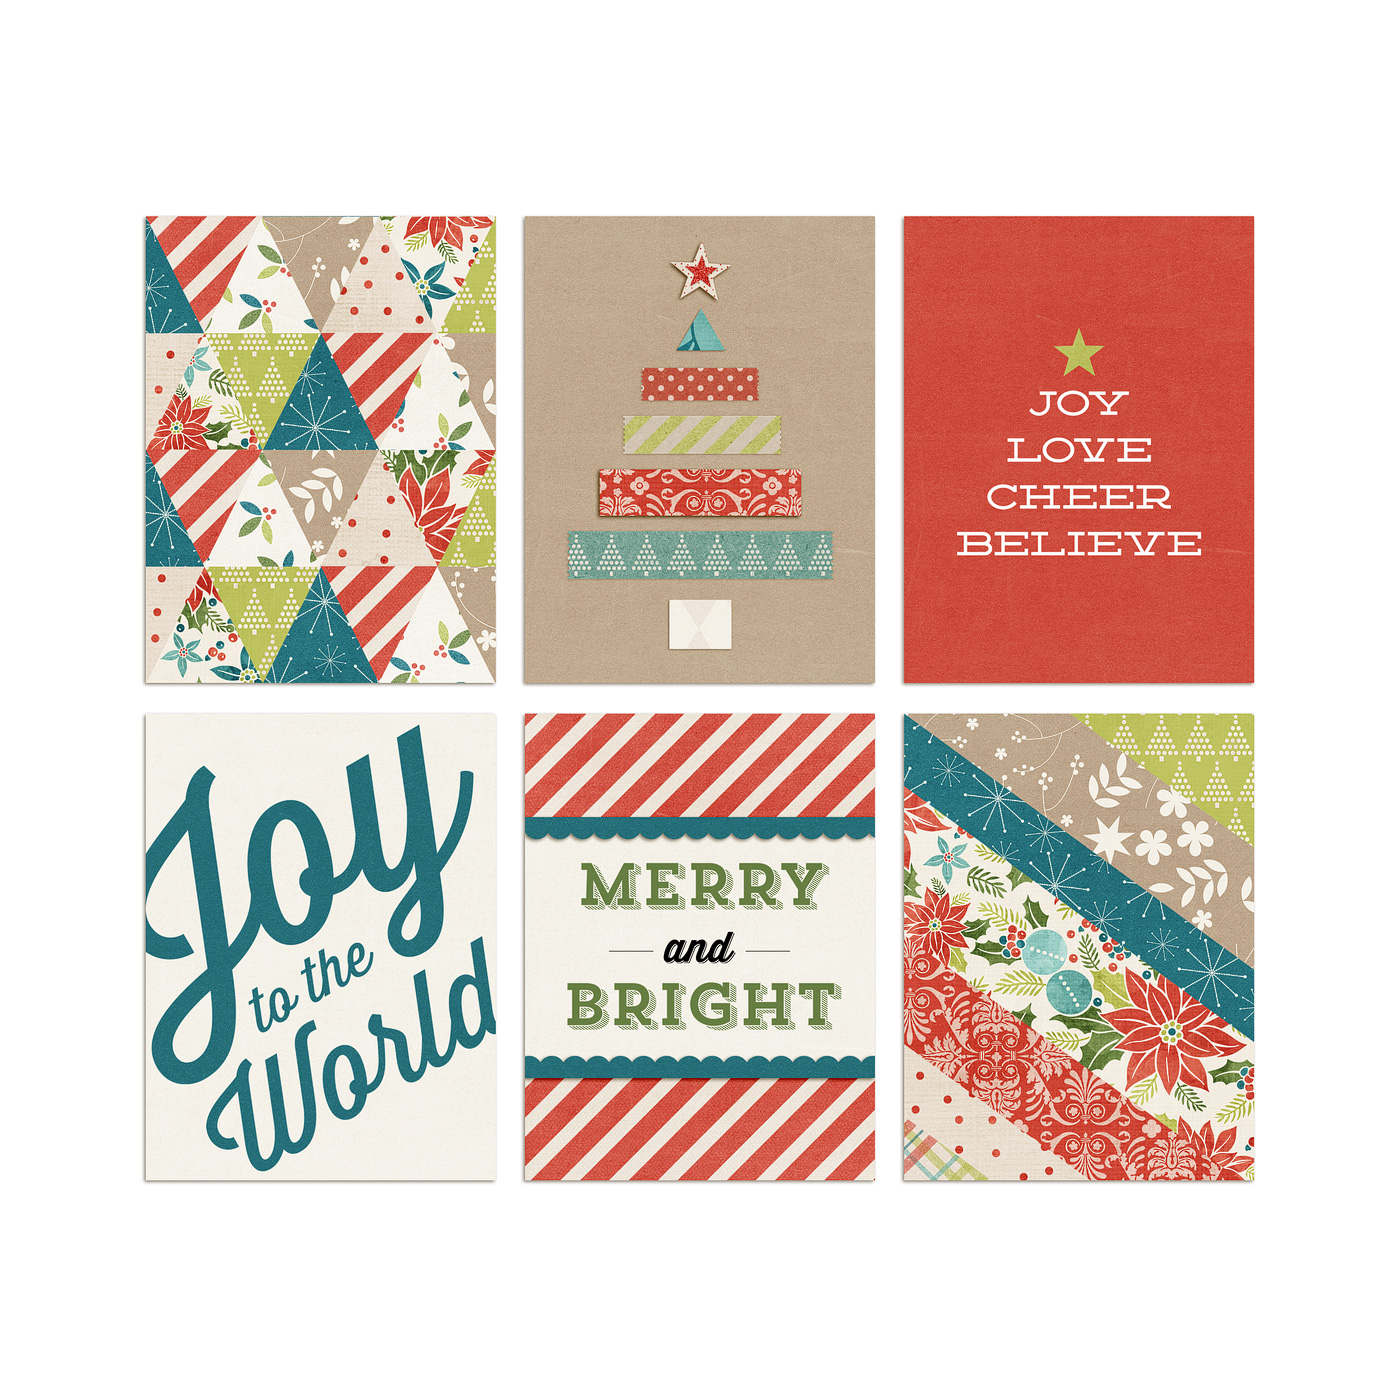
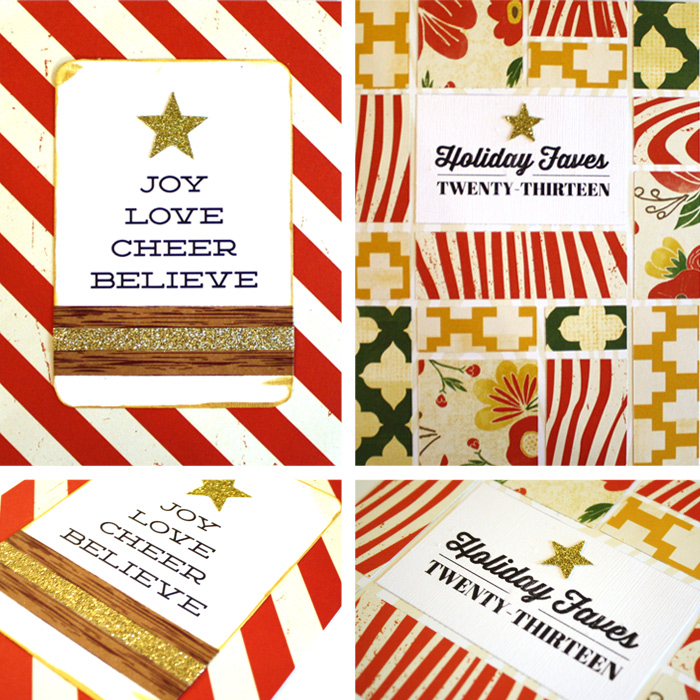
Here’s a peek at what the cards look like when customized with digi goodies. Aren’t they adorable?
Buy the Bundle & Save!
Of course, if you can’t decide on just one product, you can pick up the complete Holiday Faves 2013 collection and get all three Holiday Faves 2013 products for one great price. With over 90 templates included in the set, you’ll have plenty of options to choose from.
Team Awesome Inspiration
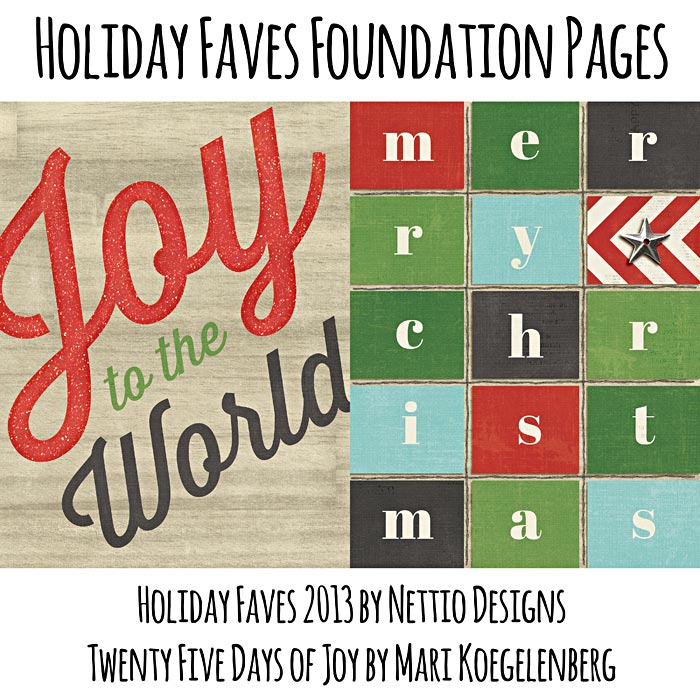
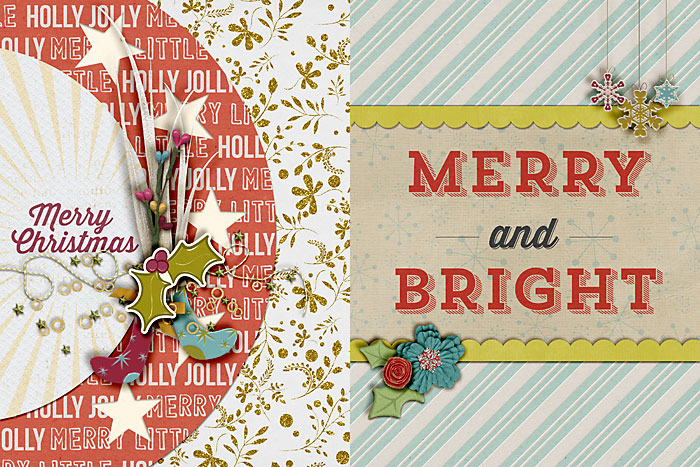
Of course, Team Awesome will also be playing along with the Holiday Faves this year so here’s a peek at how a few of them are using the Holiday Faves 2013 goodies so far…
SAVE 20% OFF thru Saturday
As with every Sweet Shoppe Saturday, you can save 20% off all new releases thru Saturday.
Want to save 20% off this weekend AND join in the Holiday Faves fun?
Pick up Holiday Faves 2013: The Complete Collection today!
Well that’s it from me today! Stay tuned as later this week I’ll be sharing more details about how I’m using the Holiday Faves 2013 templates to create my own Holiday Faves hybrid mini album. This is by far one of my favorite projects of the year so I hope you’ll join me in the holiday scrapbooking fun!
Can I take Levitra if I am taking other remedies at the same time