Nettio Designs

Design + Creativity + Adventure = LOVE

  • HOME
  • JOIN THE 2023 MONTHLY FAVES
  • THE SHOP
  • ABOUT
  • CONTACT
You are here: Home / Archives for Hybrid Scrapbooking

Creative Adventure #6: 30 Days of Lists

POSTED ON March 12, 2013 IN 30 Creative Adventures, 30 Days of Lists, Project Life

I’ve known since I started this Creative Adventures project last May that one of the adventures I wanted to include this year was 30 Days of Lists.

If you haven’t heard of 30 Days of Lists before, it’s pretty much exactly what it sounds like it would be. It’s a month long event hosted by the lovely Kam of Campfire Chic and Amy of Lemon & Raspberry. It costs $8 to participate and then every day during the month of March you receive one list prompt posted on a private blog, covering anything from weekend goals to celebrity crushes. At the end of the 30 days you’ll have a collection of entries capturing a snapshot of your life right now.

Let’s be honest, a project featuring lists that captures a snapshot of my life right now? You know I’m all over that.

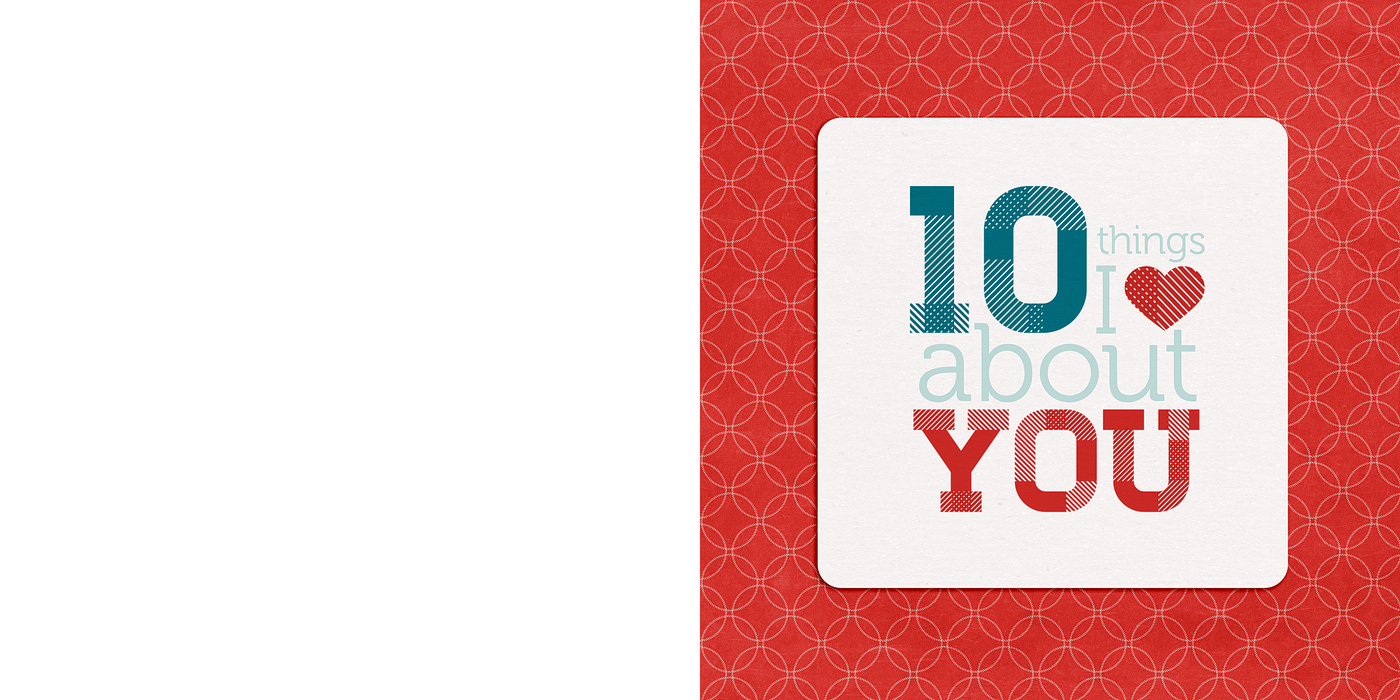
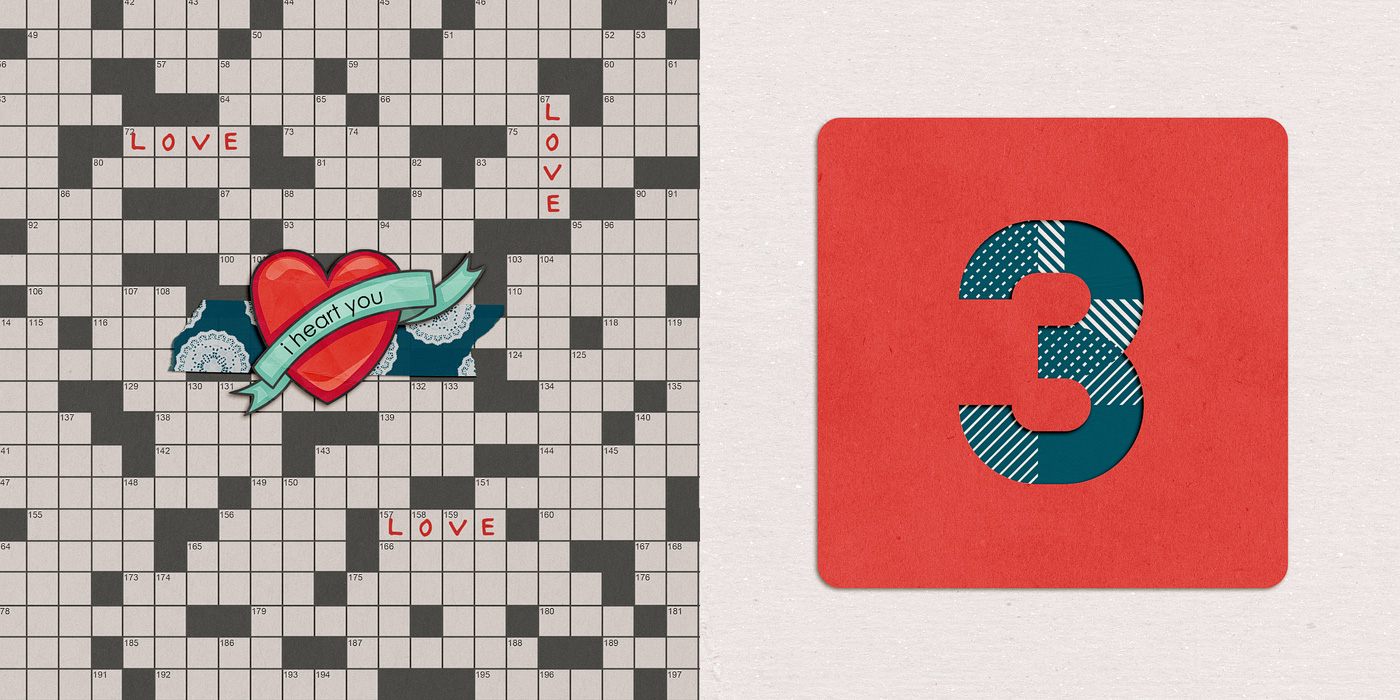
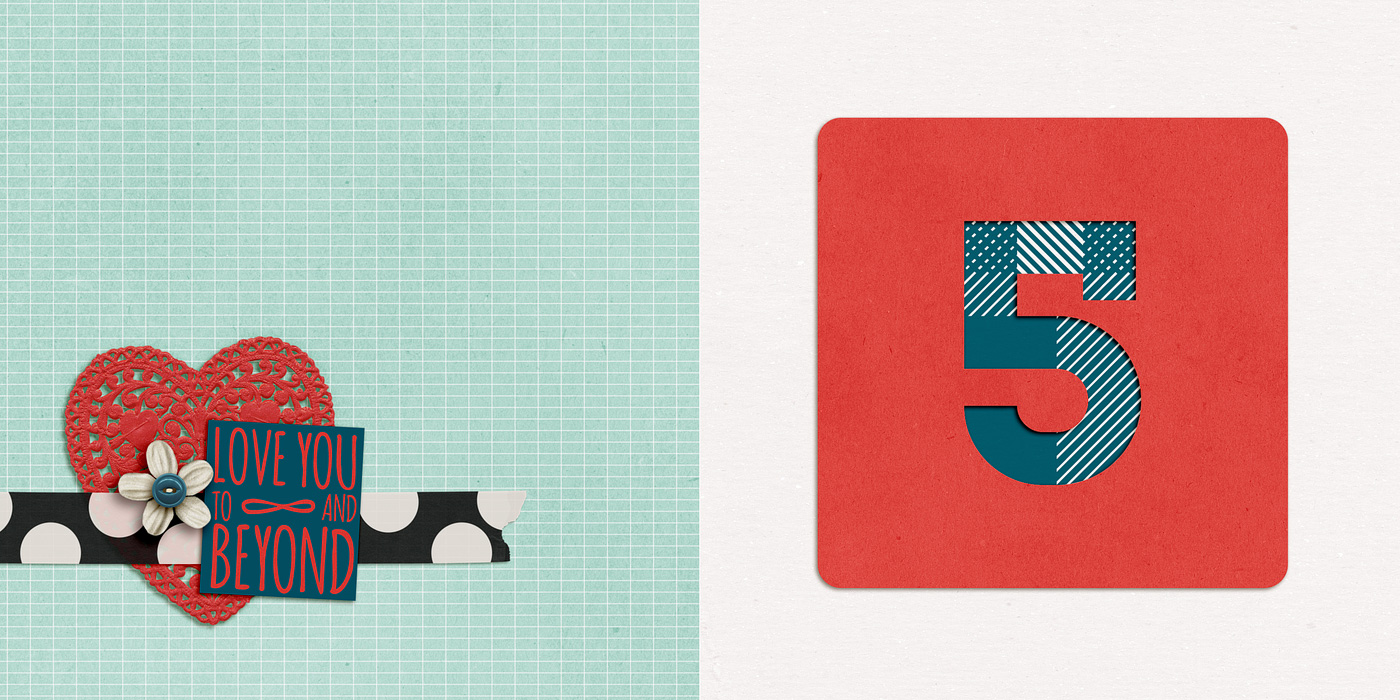
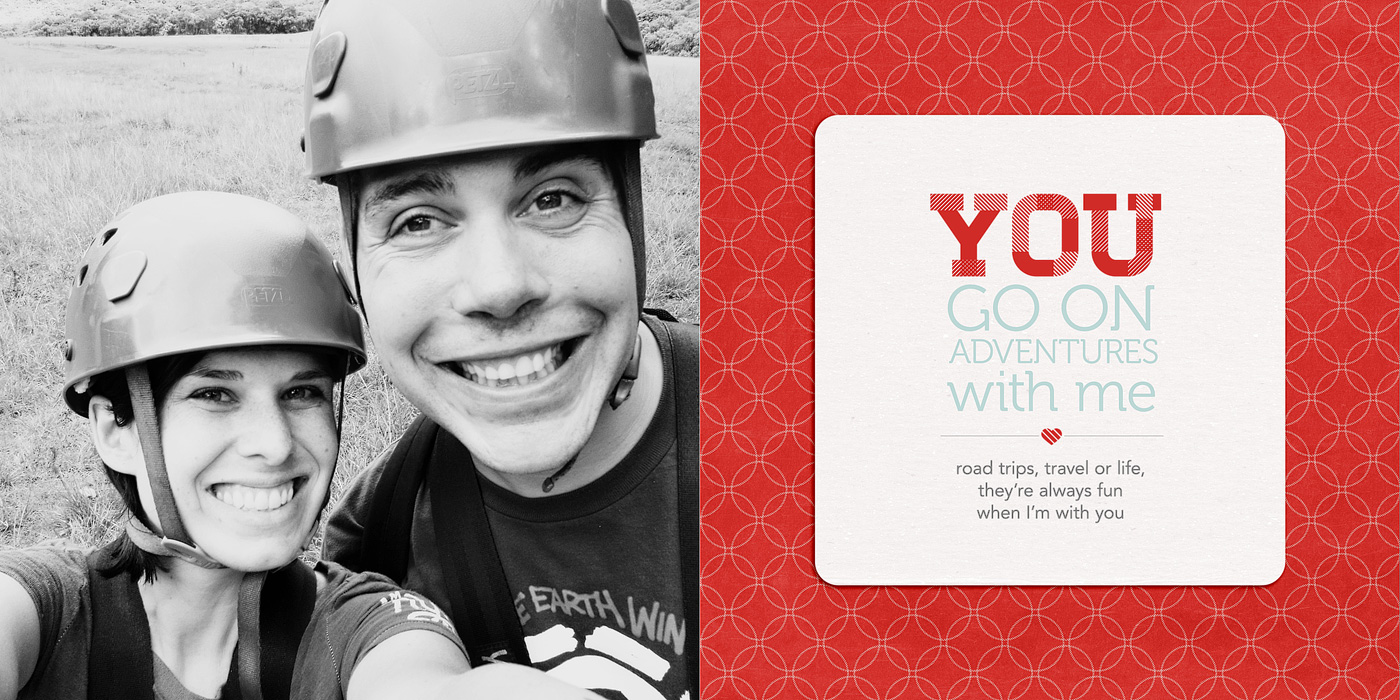
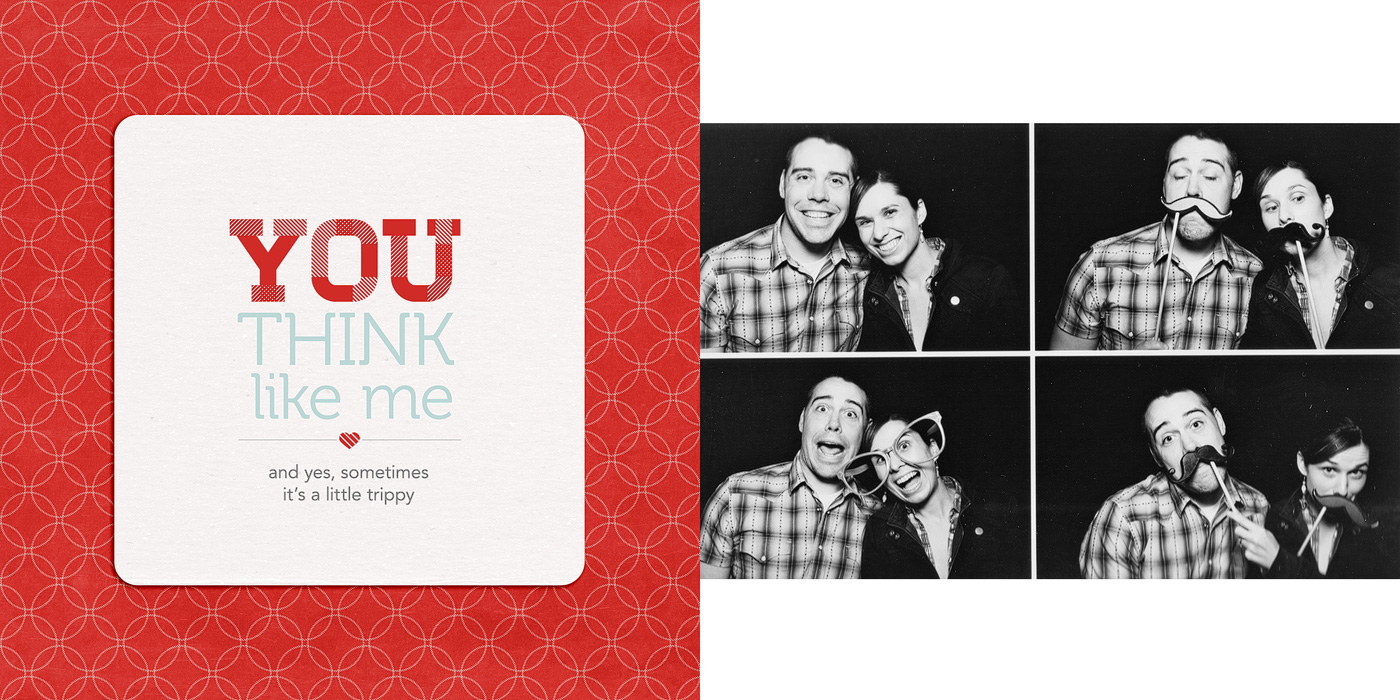
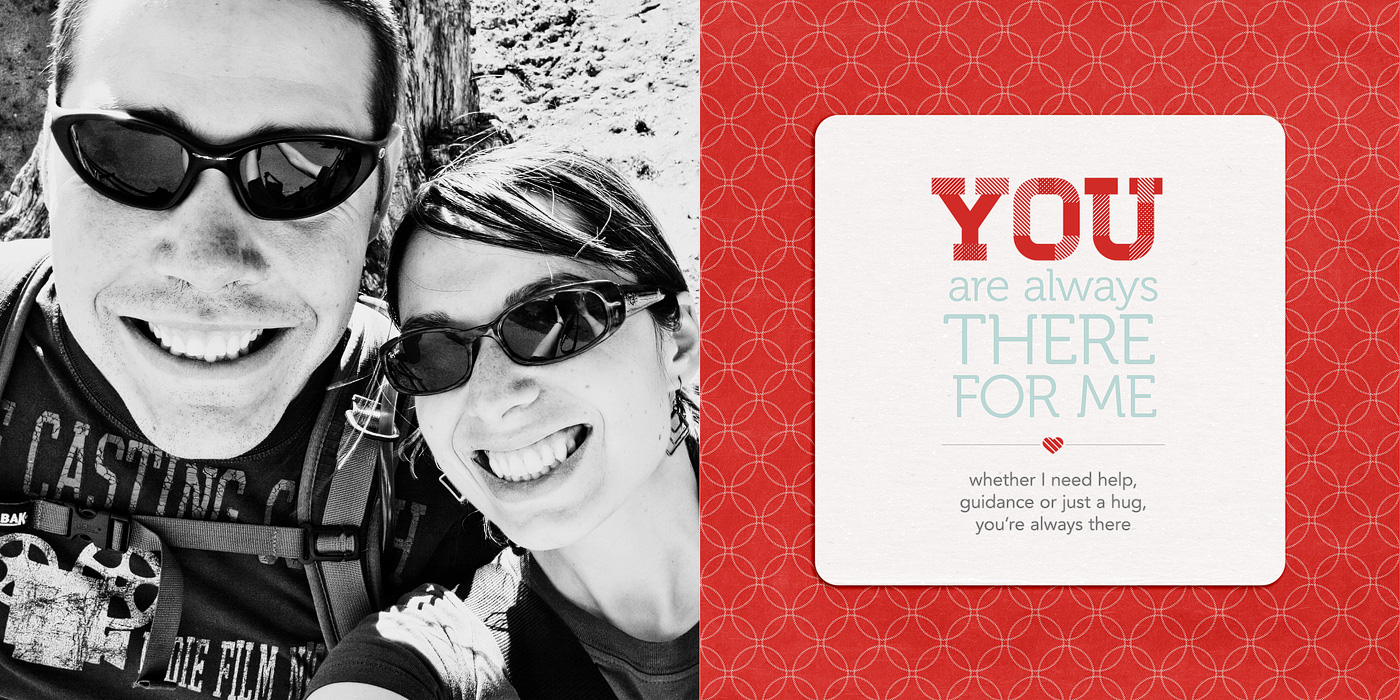
Last March I played along with 30 Days of Lists and created this 6×6 mini album for my lists:

Nettio 30Days cover1

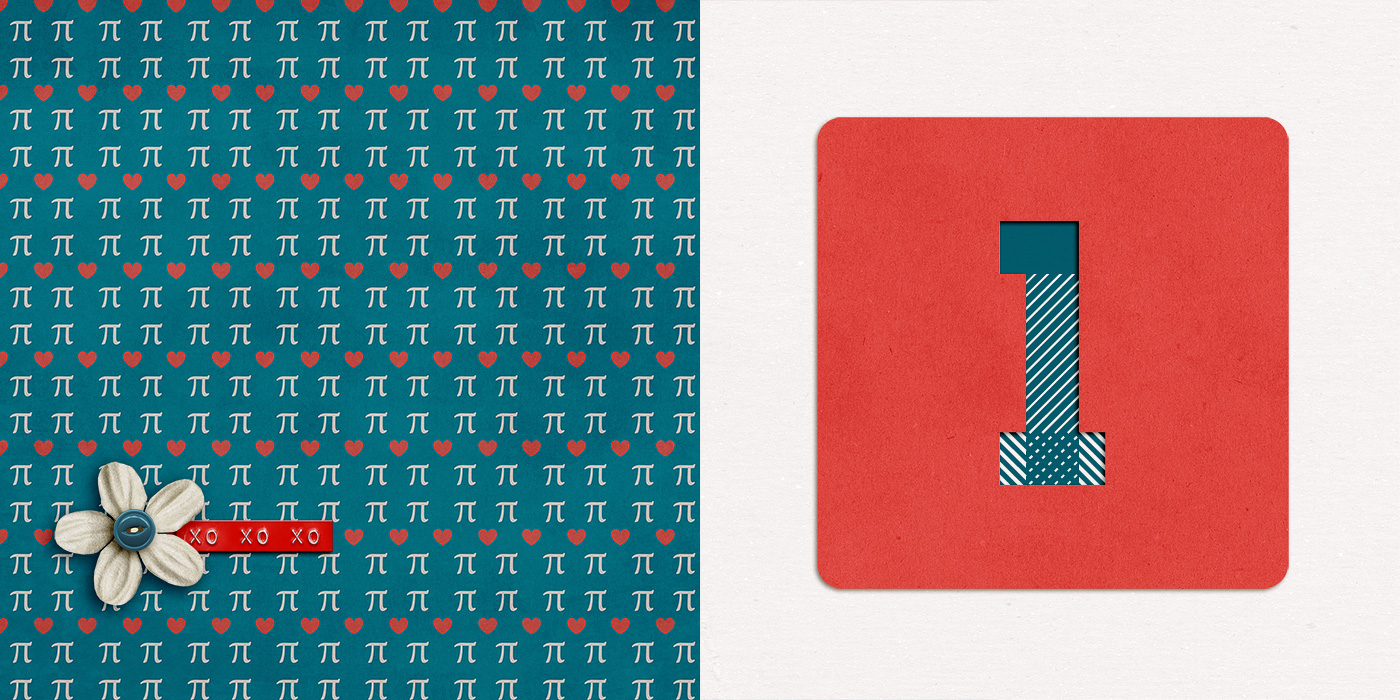
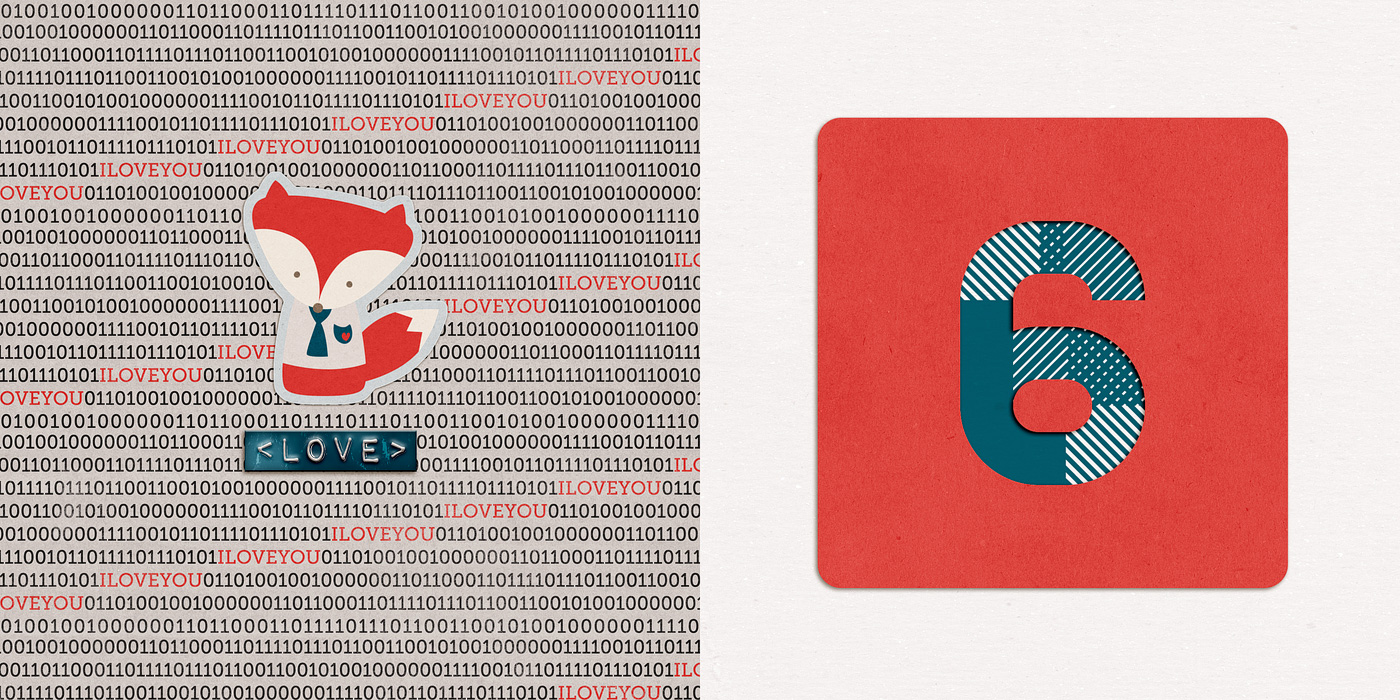
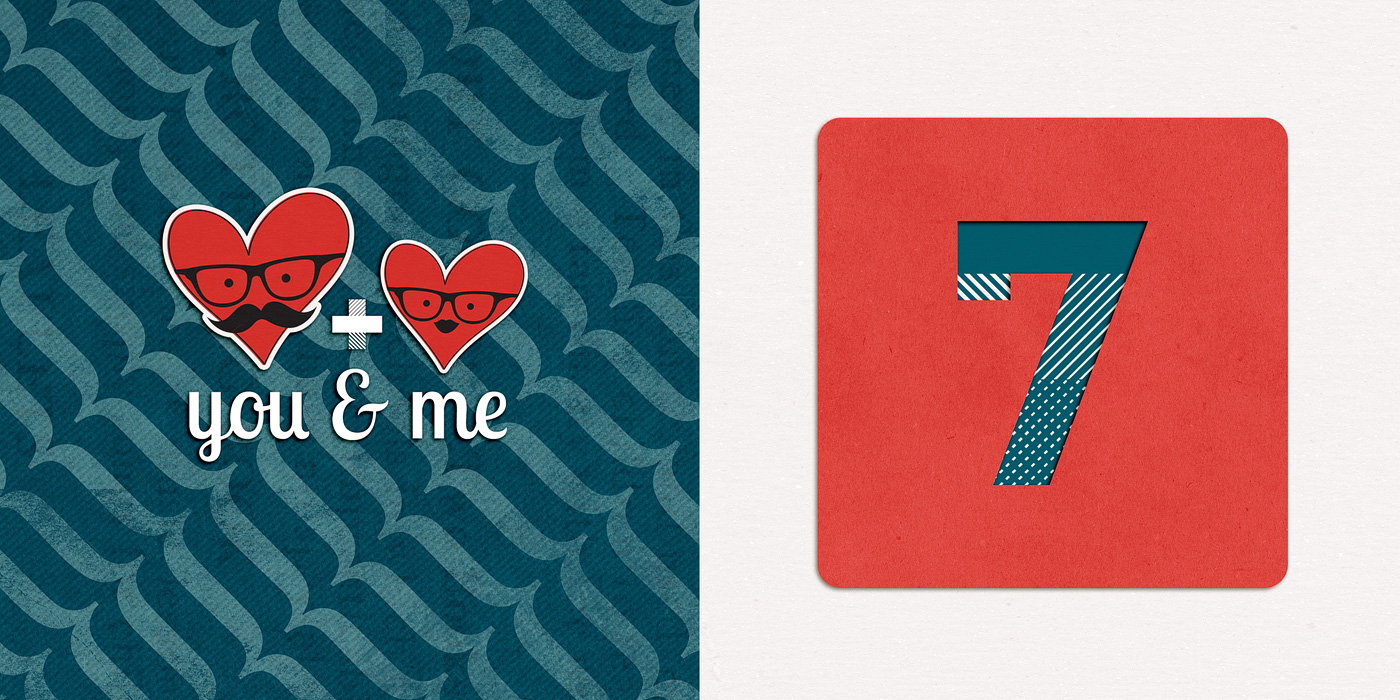
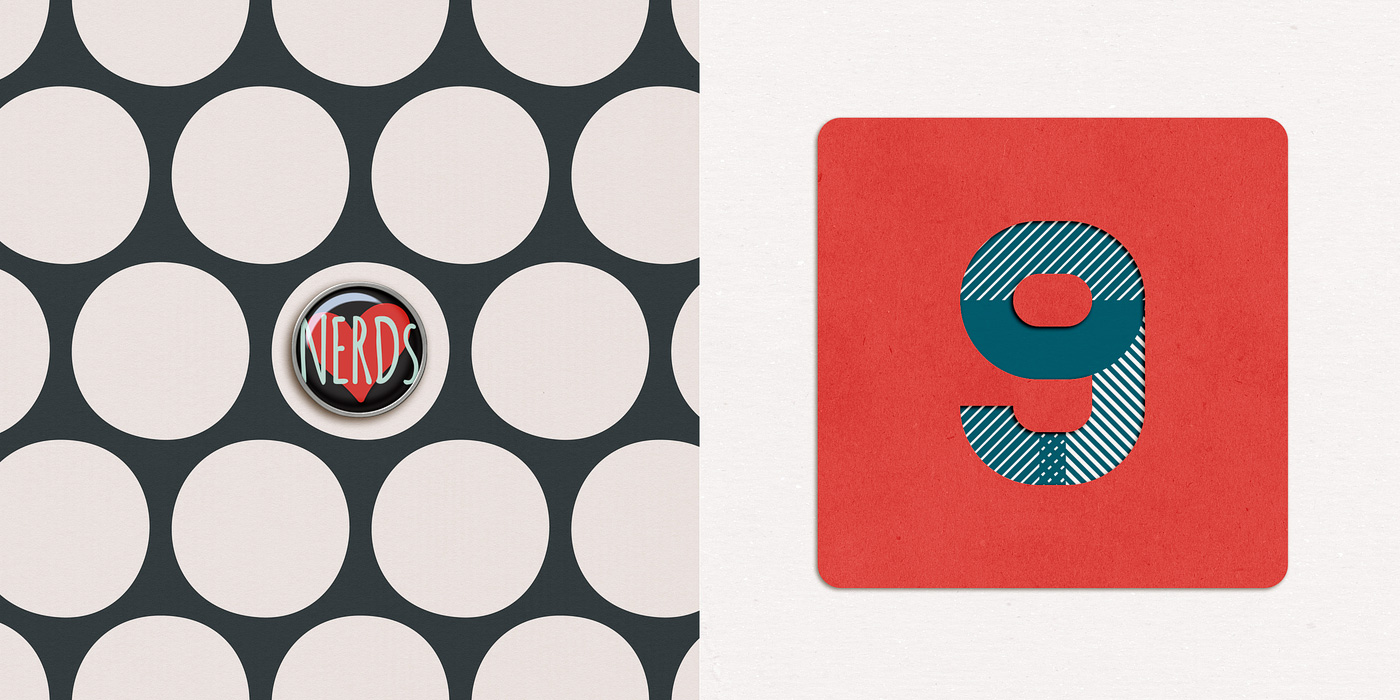
Here’s what the design for each page looked like:

Nettio 30Days 5

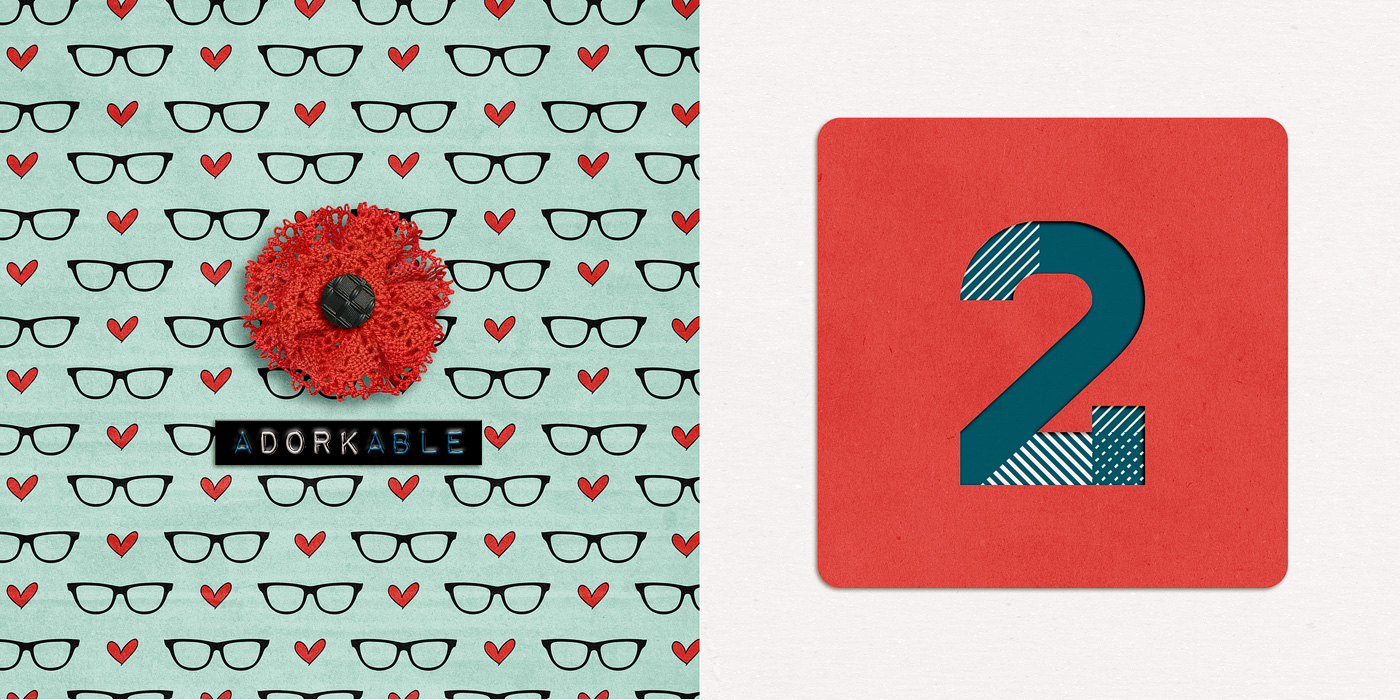
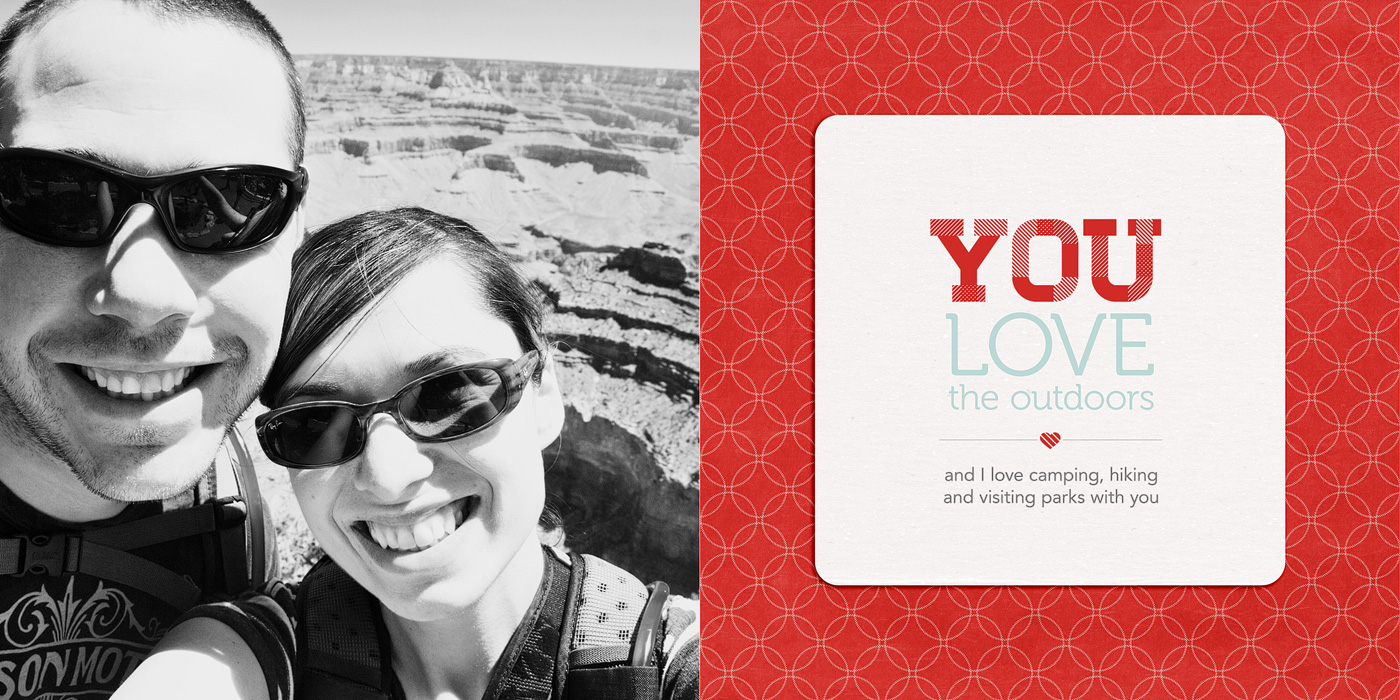
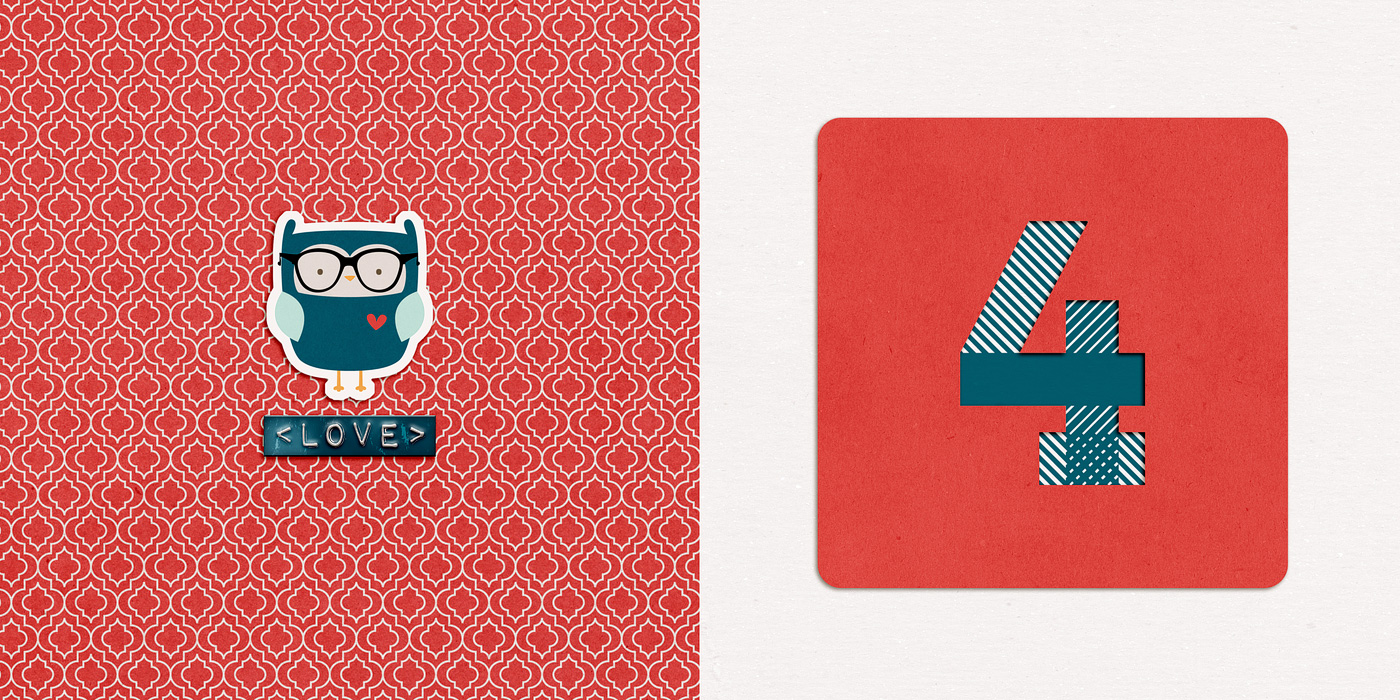
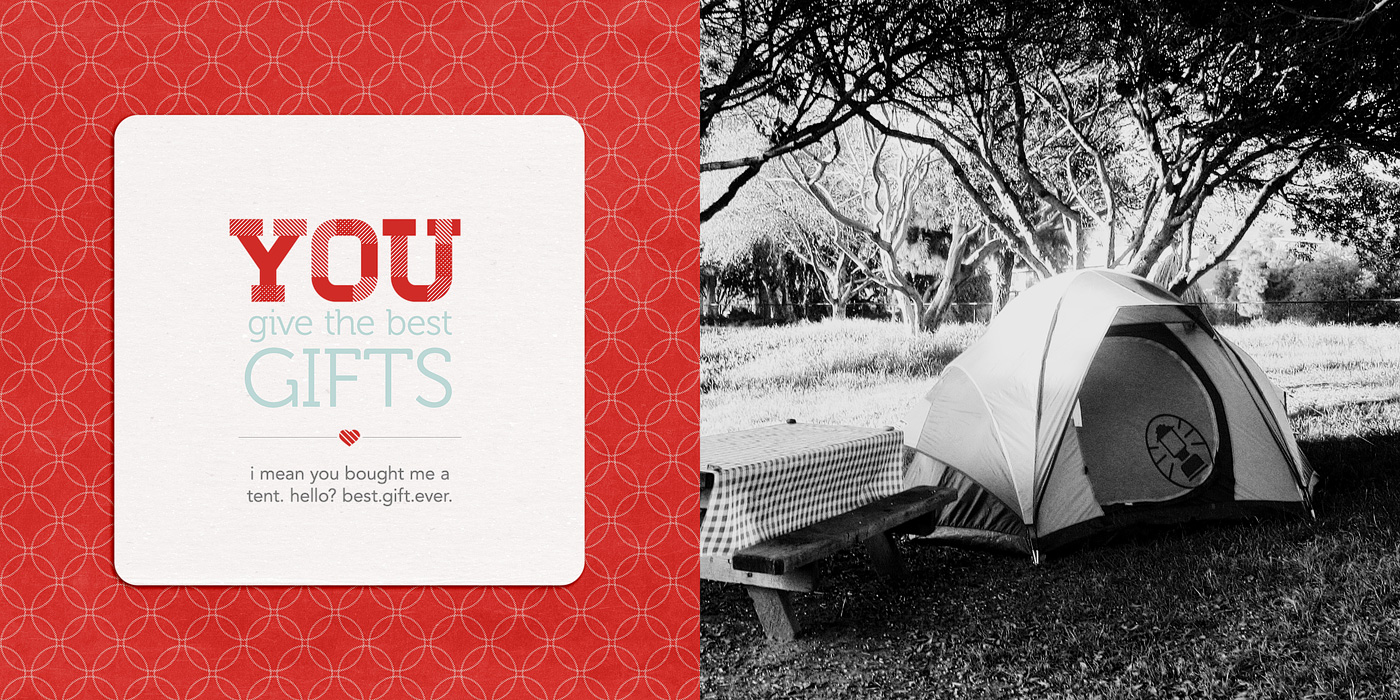
You can see my all my completed pages here: #1-5 and here: 6-11.

I LOVED how the pages turned out, but I only ended up making it through about Day 11 and I can tell you right now why: because as much as I loved my pages, they were too complicated. Too many details and decisions needed to be made for each one.

If there’s one thing I’ve learned in 7 years of scrapbooking it’s this: the more times you have to repeat something, the more simple the design should be or else you aren’t going to finish it. #wordstoliveby

Creative Adventure #6: 30 Days of Lists

So for 30 Days of Lists, the March 2013 edition, I decided to keep things super simple. And since I’ve been enjoying Project Life so much, I decided this year I’d include my lists as 3×4 cards as part of my Project Life album by including them in a series of Project Life Design F page protectors.

Nettio CA6 30 Days of Lists title

I started by designing a mock-up template in Photoshop and then printing it out to check the sizing of the type. I almost always start with a mockup when I know I’m going to be design multiple copies of something since the last thing I want to do is design a bunch of cards and then have to change them all. I designed all of the talk bubbles using the shape tool in Photoshop.

Nettiodesigns 30 Days of Lists 1

Once I was happy with the overall design, I started playing around with colors and papers. Since I knew I wanted to tie my color scheme into my March Project Life pages, I chose to use a background paper and colors from Libby & Shawna’s Oh Snap! kit which I plan to use for my March Project Life weekly title cards.

Once I had a design I liked, I printed everything on Epson Matte Premium Presentation Paper and then trimmed everything out with my Fiskars paper trimmer:

Nettiodesigns 30 Days of Lists 8

I also printed a couple of title cards to use in the 4×6 slot in the Design F page protectors. All of the patterned papers for these came from Libby & Shawna’s Oh Snap! kit as well.

Nettiodesigns 30 Days of Lists 4

Here’s what all the cards looked like once I added them to the page protector. I’m not going to lie, I’m totally in love with the talk bubbles – they’re so fun! I can definitely see using them again as part of my regular Project Life pages.

And here’s what the back of the page looks like right now. Since I’ve only done up through Day 12, the majority of this page is blank.

I purposely went with a textured off-white digital paper for the background of the cards because I wanted them to stand out from the regular bright white 3×4 cards I use for Project Life.

For all of the list titles I used the font Avenir and for the lists themselves I used my own journaling font Darcy Baldwin made for me. I love the way the handwriting font makes it feel so much more personal without me having to actually write everything by hand.

If you don’t already have a custom handwriting font by Darcy, RUN, don’t walk or wait for a sale, and get yourself one because they are awesome.

Here’s a close up of the texture of the cards. I really wanted the colored talk bubbles (which I made using the shape tool in Photoshop) to look like they were actually printed on the textured background paper, so I added a duplicate copy of the paper above the talk bubble layer and changed the blend mode to Color Burn. Because the paper was fairly neutral, it added a nice texture without altering the color too much.

If you’re wondering how I’m planning to incorporate my 30 Days of Lists pages into my Project Life album, the answer is I have a plan, but you’ll have to wait until my next Project Life update to see it in action.

And that’s pretty much it for this list-tastic Creative Adventure! I will be back to share an update of my album once I have it all completed but I have to say so far, I’m so very glad that I took the simple route this time around. This project is definitely a case where less is more.

______________________________________________________________________

ABOUT THIS PROJECT

In honor of my 30th birthday, I’m challenging myself to go on 30 creative adventures before the end of 2013. This is Creative Adventure 6 of 30. You can read all the details behind this project here and find links to all my completed adventures here.

Can I take Levitra if I am taking other remedies at the same time

POSTED IN 30 Creative Adventures, 30 Days of Lists, Project Life, Hybrid Scrapbooking

How To Design Type For Your 10 Things I Love About You Mini Book

POSTED ON February 5, 2013 IN 10 Things I Love Mini, Memory Keeping

Over the weekend at Sweet Shoppe Designs I released my 10 Things I Love About You Mini Photo Book Templates based on my Valentine’s Day mini photo book I wrote about last week. One of my favorite things about this album are the text-based pages. Not only are they the bread & butter of the book’s sentiment but they’re fun to design as well! So today I wanted to share a little tutorial about how I styled the text in my 10 Things I Love About You album.

Here’s a look at the text in one of the spreads in my album. In this tutorial I’m going to show you how I designed the title & journaling on the right page.

Nettio 10Things Text Tut Completed Page

Here’s a little closer look at the text:

And here’s how I designed the text…

Step 1: Open the template file. It’ll look like this. The large YOU text is included as part of the template but the area below is left blank for you to fill with your own sentiment.

Nettio 10Things Text Tut Step1

Step 2: Turn on your Rulers if they aren’t on already. Ctrl/Cmd+R will turn them on for you or you can go to View>Rulers in the menu bar. They should show up around the edges of your window.

Step 3: Drag two guidelines out from the rulers – one to the left side of the bottom of the Y and one to the right side of the U. These are going to be your guides for aligning your text.

Nettio 10Things Text Tut Step3

Here’s a closer look. Notice the left guide is lined up with the bottom left edge of the Y, not the top left edge of the Y.

Nettio 10Things Text Tut Step3b

Step 4: Decide what phrase you want to use for your text. I used a post-it note to write down a list of general ideas and then tweaked my exact wording once I was in Photoshop. Keep in mind that for the design, we will be splitting the text into multiple lines, so it tends to work best with a phrase that has some more & less important words as part of it.

For this example I’m going to use “You make me laugh.”

Step 5: Type your text into photoshop, dividing it in to multiple lines as you go. Don’t worry too much right now about which words goes onto which line since we can change it in the next step. Just get all the words in there so you can see what you have to work with.

For my album I used the font Museo which can be downloaded for free here.

Nettio 10Things Text Tut Step5a

Quick tip: An easy way to create multiple lines of text to type the first half of your phrase first, duplicate that layer (Ctrl/Cmd+J or hold the Alt key & drag) and then replace the text in the duplicated layer with the second half of your phrase. If you need an additional line, you can repeat this process.

Nettio 10Things Text Tut Step5b

Nettio 10Things Text Tut Step5c

Step 6: Nudge your text layers so the left edge of your text lines up with the left guideline.

Nettio 10Things Text Tut Step6

Step 7: Decide on the word (or words) you want to emphasize. For my example I chose to emphasize the word “laugh.”

Quick tip: If you’re having a hard time deciding what word you want to emphasize, try saying your phrase out loud, paying attention to which words you naturally emphasize when you speak. Yes it’ll feel silly, haha, but it helps!

Step 7: Select the text layer of the word you want to emphasize with your Text tool (T) and retype your word in all caps.

Nettio 10Things Text Tut Step7

Step 8: With your text tool still selected, hit Ctrl/Cmd+T on your keyboard to Transform the text so the right edge lines up with the right guideline we drew earlier. Depending on the word you chose, you’ll be sizing your text larger or smaller. Once you’re done transforming your text hit the enter key.

Nettio 10Things Text Tut Step8

Step 9: Now we’re going to do the same thing with the text we want to demphasize. Select the text layer for the text in the Layers panel and with your Text tool selected, Transform your text (Ctrl/Cmd+T) so it lines up with the right guideline. If you have more than 2 lines of text in your phrase, repeat this step for each line of text.

Nettio 10Things Text Tut Step9

Step 10: Turn off your guidelines (Ctrl/Cmd+;), take a look at your text and see how you’re liking it.

Quick Tip: This is the point in the process where it may take a little trial and error to get a look you like. Try different combinations of words, caps vs no-caps or separating your lines of text differently. Sometimes all it’ll take is a little nudge of the words up or down or right or left to get it to look good to your eye. I usually end up turning the guidelines on and off a few times until I get a look I like.

Nettio 10Things Text Tut Step10

I’m liking how this looks so I’m going to move on to the next step.

Step 11: Once you have your main title text placed the way you would like, add in your additional journaling below the heart accent line and adjust the spacing between the text as needed.

Since my phrase was fairly short, I moved my accent and journaling up just a tad so everything was evenly spaced. If your phrase is long, you may need to move the entire block up text up just a smidge to keep it centered vertical in the journaling block.

Nettio 10Things Text Tut Step11a

And here’s what my completed page looked like once I added my photo and papers:

Nettio 10Things Text Tut Step11c

A closer look at the text page:

Nettio VDayMini 21No5Text

And my full completed page as printed:

Nettio 10Things Text Tut Completed Page

Of course if you’d like to add your text using something other than a font say like a digital alpha, here’s a great example from Team Awesome member Jen using the alpha from Talk Nerdy To Me:

Fun, right? I hope this gives you some tips & ideas for designing and styling your own mini book text. And of course, if you’d like to make your own version of this lovey-dovey mini, you can pick up the 10 Things I Love About You Mini Photo Book templates right here.

Any questions about this tutorial? Feel free to ask away in the comments section below and I’ll be happy to help you out.

Fraudulent Drugs Are A Huge Global Problem

POSTED IN 10 Things I Love Mini, Memory Keeping, Digital Scrapbooking, Hybrid Scrapbooking, Mini Albums, Template-y Goodness, Tips & Tricks

New Release | 10 Things I Love About You Mini Photo Book Templates

POSTED ON February 1, 2013 IN 10 Things I Love Mini, Shop News & Releases

Happy Friday everyone! Surprised to see me?

In honor of Sweet Shoppe Designs’ 7th Anniversary this month, we’re kicking off February a little early with a special Sweet Shoppe New Release Friday this week. Which is awesome for me because I can’t wait to share this week’s new release with you!

I don’t know about you but Valentine’s Day and I are not exactly friends. I’m not the most mushy person in the world to begin with so I always have a hard time coming up with meaningful gifts for Valentine’s Day. I mean, candy, hearts, chocolate, it’s all so generic. So this year I decided I wanted to come up with a more creative & unique way to show a little love to the most important people in my life.

Which brings me to today’s release…

10 Things I Love About You Mini Photo Book Templates

This week at SSD I’m releasing a brand-new set of photo book templates, the “10 Things I Love You” Mini Photo Book Templates. These mini-sized templates are perfect for designing your own list-lovin’ 6×6-inch or smaller photo book or mini album.

The mini book is made up of 10 sections numbered 1-10. Each numbered section of the mini book is made up of 2 two-page templates for a total of 4 pages: one accent & number spread and one photo & text spread, each themed around this idea of “YOU” like so:

To make printing extra easy on you, I’ve included two sets of templates in one download: one 6×6-inch set which can be customized for any photo book printer and a second slightly smaller 5.25×5.25-inch Mpix.com print-ready set which is perfectly sized for the 5×5 Custom Hardcover Coffee Table Book from Mpix. I used Mpix for printing my own photo book and not only was the process super quick & easy (my book arrived in 3 days!) but the quality was top-notch as well. Highly recommended!

Mini Photo Book Inspiration

Of course, I had a ton of fun designing my own pre-Valentine’s Day gift for my husband using these templates. There’s something so incredibly cool about seeing your own work as an adorable little book. Plus I guarantee your giftee will ooo and awe at your mad digi skills when it’s printed in such a legit-looking way.

Plus my husband? Totally got a little teary-eyed looking through this mini book from his normally non-mushy wife. So if you’re looking to score some major wife-y points, I highly recommend making your own lovey-dovey mini book. And with these templates, it couldn’t be any easier.

New Release Discount: SAVE 20% thru Saturday

As with every Sweet Shoppe New Release Day, you can save 20% off all new releases thru Saturday. Which since we’re kicking things off on Friday gives you a whole extra day to shop.

Want to save 20% off this weekend?

Pick up 10 Things I Love About You Mini Photo Book Templates here today!

Well that’s it from me today! Have a great weekend everyone!

Can diabetes cause erectile dysfunction

POSTED IN 10 Things I Love Mini, Shop News & Releases, Hybrid Scrapbooking, Mini Albums, Template-y Goodness

Creative Adventure #5: Designing a Hybrid Mini Photo Book With Photoshop

POSTED ON January 31, 2013 IN 10 Things I Love Mini, 30 Creative Adventures, Memory Keeping

I’ve known since the beginning of this 30 Creative Adventures project that one of the projects I wanted to do was another photo book. I had designed one once before for my Week In the Life album in 2011 and I thought it’d be a fun challenge to do another one.

And since I designed my WITL photo book using Adobe InDesign the first time around, I thought I’d give designing a book in Adobe Photoshop a try since I know that’s what most of you use and I was curious to see how the process works for you.

Let me just preface this post by saying, designing a photo book in InDesign? WAY easier than using Photoshop. Seriously. But I survived and am so very in love with my completed mini photo book that all the hard work was worth it.

Which brings me to Creative Adventure #5: Designing A Hybrid Mini Photo Book With Photoshop

Creative Adventure #5: Designing A Hybrid Mini Photo Book With Photoshop

Nettio CA5 VDayMini title 1400

Step 1: Planning My Mini Photo Book

When I started this project, here were a few things I knew:

  • I wanted to use Photoshop to design my book, as I mentioned
  • I wanted to do something smaller, like a 6×6 or 5×5 book as opposed to the 8×10 book I did for WITL
  • I didn’t want to pay a fortune to have it printed

Since Valentine’s Day was coming up, I thought it’d be fun to make a little book as a gift for Adam. So I came up with the idea to do a 10 Things I Love About You mini book because a) I love lists and b) it seemed like it’d be fun to design.

After drawing up some sketches, I decided I wanted to go with a repeating pattern of 2-page spreads: an accent/number spread and a full photo/text spread using the word YOU as the focus for the text.

So I made a little mockup version on scratch paper to see how it would work:

Nettio Valentine Mini Photo Book Sketch1

Nettio Valentine Mini Photo Book Sketch2

Then I drew out a bigger version of all the pages I would need since I wanted to make sure whatever printer I used could handle the number. I also decided to keep all the number pages on the right side of the spreads but I wanted the photos/text to alternate with every other number like so:

Nettio Valentine Mini Photo Book Sketch3

Super high-tech, I know, haha. But I find it really helps to give me a feel for sizing and/or the flow of the book.

Once I had a general feel for the design of the book, I went on the hunt for a kit that would work with my design. As soon as I saw this super adorable Talk Nerdy To Me kit from Penny at Sweet Shoppe Designs, I knew we had a winner. A+L definitely equals nerdiness, haha.

Pspringtmd talknerdytome preview

The final planning decision I needed to make to decide on a final size and book printer. I like to do this before I design any actual pages since the final size of a printed book varies depending on the printer and this way I can account for any bleed/trim since every book publisher does things a little differently.

After looking around a bit, I finally settled on an Mpix 5×5 Hardcover book (it’s under their Coffee Table Books in the left sidebar). A huge selling point for me was they had templates I could download to make sure I got the sizing just right and their books were reasonably priced:

Nettio CA5 VDayMini Step1

Step 2: Prepping My Mini Photo Book

Since I like to design two-page spreads as a single file, I used the 5×5 page template to make a single 5×10 document. The actual size ended up being around 5.25 x 10.5 since their 5×5 pages are actually 5.253 x 5.253. This is why checking the sizing for the book printer you want to use is so important before you start – because it’s much easier to design your pages correctly the first time than it is to make adjustments later on, especially if you want full-bleed (images going all the way to the edge) pages which I did.

Nettio CA5 VDayMini mpix2page

Once I had my two-page template made I made two master templates: one for the accent & number page and one for the photo & text page.

Nettio CA5 VDayMini Step2

Then I duplicated and renamed all those files to represent each spread in the book. This is basically the same exact process I would use in InDesign: design master pages first and then duplicate them as a template for all the following pages. But in InDesign it’s much simpler since all these pages are in a single document. Since I was using Photoshop this time around, I had to make all the pages by hand as individual files. #sotedius

Nettio CA5 VDayMini Step3

Step 3: Designing My Mini Photo Book

But once I finally had all the planning out of the way, now came the fun part: designing the book! This was the easy part, haha.

Nettio CA5 VDayMini Step4

Since I was trying to keep this a secret from Adam, I designed all the accent & number pages one night while we watched TV (I just told him I was making a mini book) and then I did all the photo & text pages while he was at work one morning.

Here’s what the pages looked like once I had them completed:

Nettio CA5 VDayMini Step5

And here’s a bigger version of the two spreads for Reason #1. Each “reason” basically gets 4 pages.

Accent & Number page:

02 03 Number1 700

Photo and text page:

04 05 Number1Text 700

Here’s a little slideshow that includes all my pages in case you want to see them all together…

Step 5: Printing My Mini Photo Book

Once I had all my pages designed, the next step was to save and upload them to be printed. Which meant cropping each two-page spread back into single files. Blah. Not my favorite part of the process but a bit of a necessary evil I think since designing the pages together makes more sense than as separate files. But it definitely made me long for the “upload a single PDF to Blurb” process I did with my Week In the Life photo book, haha.


Nettio CA5 VDayMini Step6

Thankfully, one of the fastest parts of the process was uploading my pages to Mpix. Two thumbs up for their online software because it was really easy to use. Just upload your images, drag them onto the pages of the book and set them as a background. My pages all fit perfectly since I’d used their sizing template when I designed them.

I did run into some issues getting the cover just right but I think that was more due to user error. Once I went back and double-checked my page against their template, it worked fine.

Screen Shot 2013 01 30 at 3 38 24 PM

Step 6: Receiving My Mini Photo Book

Another huge positive for Mpix, they printed SUPER fast. Like within a day or two my book had shipped. And since I’d paid for 1-day shipping since I wasn’t sure how long the process would take, my book arrived in like 3 days. I was amazed.

And even better, I’m really happy with how my mini photo book turned out!

Here’s a look at the cover. I went with the custom 5×5-inch hardcover book and it’s nice and sturdy – sturdier than the cover of my Blurb photo book. Plus I love that it has a glossy finish to it. Adam’s comment when it saw it was that it looked like I’d had a real book published.

Nettio Valentine Mini Photo Book 1

A look at the interior pages. The one thing I don’t love is the binding on the book is really tight, almost too tight. It’s hard to keep the pages open and it makes me nervous to pull the book open too far because you can start to see the stitching at that point. It also made taking these photos a bit interesting, haha.

Nettio Valentine Mini Photo Book 11

A look at one of the photo/text pages. The actual color is more rich and less saturated than this photo – it’s looking a little crazy here, haha.

Nettio Valentine Mini Photo Book 2

I do love the way the cover design wraps around the edges of the book. Makes it seem legit, haha.

Nettio Valentine Mini Photo Book 3

Another photo/text page, this time with the text on the left & the photo on the right.

Nettio Valentine Mini Photo Book 5

This page may just be my favorite. The photos make me laugh every time. And no, other than saying things like “let’s do a normal one first” or “silly face” the poses were not planned. Apparently “silly face” means “mouth opened really wide & crazy” to both Adam and I, haha.

Nettio Valentine Mini Photo Book 9

A closer look at the book. This is a good example of how far you can open the book. If you open it too much more you start to see the binding.

Nettio Valentine Mini Photo Book 10

A look at the text on the spine. Using the template made it pretty near perfect. Good thing since I was worried about it!

Nettio Valentine Mini Photo Book 4

And for those of you wondering about the 5×5-inch size, here’s the mini book compared to a 4×6-inch Seafoam Project Life card. It’s pretty petite but exactly the size I was imagining in my head so I love it. I don’t know that I’d do a super detailed book in this size though – I think it works best as being similar to a mini album. I can totally see it being a fun way to do like a vacation highlights album or something though! Hmm, now there’s any idea…

Nettio Valentine Mini Photo Book 6

And that’s how I used Photoshop to create a hybrid Valentine’s gift 5×5 mini photo book! I have to say while it was a lot of tedious work, my only comment when I got the book was “WHY DO I NOT DO MORE OF THESE!!” Seriously, I was excited, haha. It’s just so so cool to see something you’ve designed as it’s very own little book.

And as a Valentine’s Day gift, Adam gave it too thumbs up. Maybe even got a little teary over the fact that I, the non-mushy one in the relationship, had gone to all the trouble to make him a little book. Thinking I scored some major wifey points there, haha. 

If you’re interested in making a 10 Things I Love About You mini photo book of your own, stay tuned, because I may just have a little something coming tomorrow (Feb 1st) at Sweet Shoppe Designs. Just consider this an extra special sneak peek, hehe.

And with that, I’m calling Creative Adventure #5 a wrap! How about you? Have you ever designed a photo book using Photoshop? Do you design your two pages together and then crop them into separate files? Do you find the process a bit tedious but well worth it like I did? Have any tips to share? Let’s discuss in the comments below.

Want to make your own “10 Things I Love About You” mini photo book and show your love in fun & creative way? Then check out my 10 Things I Love About You Mini Book Templates available at Sweet Shoppe Designs.


______________________________________________________________________

ABOUT THIS PROJECT

In honor of my 30th birthday, I’m challenging myself to go on 30 creative adventures before the end of 2013. This is Creative Adventure 5 of 30. You can read all the details behind this project here and find links to all my completed adventures here.

How do I purchase Levitra without going to the doctor

POSTED IN 10 Things I Love Mini, 30 Creative Adventures, Memory Keeping, Digital Scrapbooking, Hybrid Scrapbooking, Mini Albums

Creative Adventure #4: Project Life

POSTED ON January 22, 2013 IN 30 Creative Adventures, Memory Keeping, Project Life

I bet you thought I’d forgotten all about my 30 Creative Adventures goal, right? I mean, it has been awhile since I last shared an update – all the way back to this one from September. But, I haven’t, not exactly anyway.

Around my half-birthday in November, I made the decision that rather than rush through trying to complete all 30 Creative Adventures before my 31st birthday on May 24 (which would have meant at least 1 a week and then some), I’d rather give myself until the end of this year to finish all 30. That gives me a nice 2-a-month pace which is a lot more reasonable given all I have on my plate already.

Really, my goal with this project was never about the timeline – it was about pushing myself to step outside my comfort zone and try new things creatively. Whether I do that within a year or a year and half, it doesn’t really matter to me.

I’d actually been doing pretty well with this project (I have more adventures completed/in-progress than I’ve shared here so far), up until the point my grandma passed away in August and I spent a month back home in California. It killed my mojo. So I’m giving myself a break on this one. It’s how life goes sometimes and well, it’s my goal after all, so I can change the rules if I want, haha.

The good thing about extending my 30 Creative Adventures to the end of this year is that it allows me to take on one much larger year-long adventure this year: Project Life.

Creative Adventure #4: Project Life

Nettio CA4 projectlife title

For those of you who haven’t heard of Project Life before, Project Life is a memory-keeping system created by Becky Higgins which I’d describe as a photo album on steroids. You start with pre-designed 12×12-inch pocket page protectors and then you slip printed photos and/or journaling cards in it to create your album.

What I love about the Project Life format is that it’s super adaptable to your own life. Most people do Project Life in a weekly format – one two-page spread per week – but because everything is movable, you can easily skip a week or do a single page per month if you like.

From a creative perspective, I love that you can really dress it up or down as much as you want – you don’t have to create an entire scrapbooking layout just to capture that story.  That’s one of the reasons I think it’s become SO popular within the scrapbooking community: because it can really be anything you want.

Those of you who’ve followed my blog for awhile might remember that I started a Project Life album once before, back in May of 2011, when I turned 29, as a way to document the final year of my twenties. I even created and shared this two-page spread:

IMG 34947

And the truth is I LOVED it. But I had just started Nettio Designs a few months earlier and I felt that as a weekly project, it was just more than I wanted to commit to at that point. My focus needed to be elsewhere.

So I put it on the back burner all the while occasionally pulling the album off the shelf to admire that lonely little two-page spread. There’s something about it that just kept calling to me. I don’t know if it’s the larger photos or the the everyday-ness of it but I can’t help but smile every time I look at it. I connect with it in a way I don’t always feel with my digital pages.

When 2013 started drawing near I started thinking again about Project Life. I’d really enjoyed watching Elise’s album take shape this year and the fact that she’s a child-free scrapper as well gave me a bit more confidence that this format could be doable for those of us who don’t have a bunch of kids or pets roaming around.

But what really sold me this year was, back in December, I was looking back through all my photos from this past year and I realized there are so many awesome photos and stories that I’d love to capture, but I have no desire to scrap them digitally.

Which is maybe a strange thing for a digital scrapbooker to admit, haha.

But I’ve always looked at my digital scrapbooking albums more as journals than strict memory keeping. And I’m not sure if it’s partly because I scrap 8×8 which doesn’t leave a ton of room for photos but event scrapbooking has never been my jam.

Plus there’s also the problem of memorabilia. I LOVE collecting bits of paper from the places we go but as a digital scrapbooker, I’m never really sure what to do with them. It’s one of the reasons I love my Holiday Faves album so much – because it gives me a home for all those bits & pieces of life I want to save.

So after thinking and debating and thinking some more I took the plunge and ordered the Seafoam core kit when it finally was released earlier this month. I figured since I already owned an album and a bunch of page protectors, I might as well give Project Life another shot. A fully committed and ready shot this time around. 

And what better way to do that than as one of my Creative Adventures for the year, right?

Because I am really really excited about the creative aspect of Project Life. I’m excited for the chance to dabble in hybrid/paper scrapbooking more than just once a year and umm hello, grid-based page design where you give “homes” to all your elements? SO totally my thing.

Nettio CA4 PLIntro2

My Plan for Project Life 2013

Since I don’t have my first two weeks of Project Life ready to share just yet, I thought I’d share a little bit about my plans and how I went about setting up my album.

As I mentioned, I already owned this American Crafts leather album and the Design A and the Photo Pocket Pages Variety Pack 1. I knew going into this that I wanted to mix up the designs, as opposed to using all of one style for the entire year, but I also knew I wanted there to be a pre-planned method to the madness because I know if I have to decide which page protectors to use each week, this album will never get done.

So I started by laying out ALL of the page protector designs in stacks and then mixing and matching them until I got a flow that I liked. And since the page protectors are clear and I was having a hard time visualizing the mix of cards, I temporarily filled a bunch of pages in with the Seafoam cards like so:

Nettio CA4 PLIntro3

Isn’t this Seafoam kit pretty? I feel like it’s going to mix in really nicely with other products since it’s fairly neutral.

Nettio CA4 PLIntro4

Once I had a flow to the album I liked, I drew a quick sketch of the order of the pages so I could visualize them on paper. Try not to be too in awe of my mad drawing skillz…

Nettio PLsketch

The pattern I liked best ended up including a Design A page protector in each spread with one of 3 different designs for the second page: Designs B, D & F (which I think might only come in the variety pack).

Because of the way the pages work front to back, each two-week period will basically have the same design, just flipped. Which I think will be good since it’ll add consistency to the album but still keep it interesting for me to do it this way. I know from my Project 365 album that if I tried to do only all Design A pages, I’d get bored really fast.

A few other things I’m planning to do for this album:

  • Weekly two-page spreads: I debated a lot about this, whether I wanted to commit to a weekly format or whether it would be too much. But I tend to be a creature of habit and so I thought my best chance for making it through the entire year would be to make it a routine. So I’m currently planning to do weekly spreads but share my pages bi-weekly here on the blog.
  • A mix of hybrid/paper: Much like my Holiday Faves mini album, I’ll be using a mix of printed digital elements and pre-made paper elements. I’m sure I’ll end up designing some of my own stuff as well, which should make you fellow Project Lifers happy.
  • A few repeating cards: I’m currently planning to have a consistent title card for each week as well as one or two other items that’ll repeat every week/month. I think it’ll add some consistency to the design while also allowing plenty of room for creativity.

That’s what I’m thinking so far anyway – how it’ll pan out over 12 months, who knows! But I’m super super excited about this adventure and I have to say, seeing Adam’s reaction when looking at the week I have completed spread, assures me think I’m on the right track. He’s always been supportive of my digital scrapbooking but I just think this format is easier for a non-scrapbooker to “get” than a printed digital page.

And since Adam already got a sneak peek, here’s a little sneak peek of my Week 2 spread for you as well…

Nettio CA4 PLIntro1

I’ll be doing a full Project Life update next week so stay tuned for that.

Anyone else doing Project Life this year? Have any good tips or tricks to share with me? I’d love to hear them so please share them in the comments below! I’m pretty sure I’m going to need all the help I can get to make it through the entire year, haha.

ABOUT THIS PROJECT

In honor of my 30th birthday, I’m challenging myself to go on 30 creative adventures before the end of 2013. This is Creative Adventure 4 of 30. You can read all the details behind this project here and find links to all my completed adventures here.

Fraudulent Drugs Are A Huge Global Problem

POSTED IN 30 Creative Adventures, Memory Keeping, Project Life, Hybrid Scrapbooking

Holiday Faves Mini Album 2012 | Faves 6-10 & Final Thoughts

POSTED ON January 15, 2013 IN Holiday Faves, Holiday Faves 2012, Memory Keeping

Welcome to Part 2 of my Holiday Faves 2012 Mini Album update. If you missed Part 1, Faves 1-5, you can find that post here. In this post I’ll be sharing the second half of my album as well as my finished cover and a few of my final thoughts on this project.

For the cover of my album, I added a fabric spine to it following the same directions I shared here last year:

Nettio holidayfaves2012 6 10 00Cover 1200

Since this album was a bit fatter than last year, the rings are a little tight but since it’s still easy to flip thru I’m not too worried about it. I’m not even sure I could find bigger rings since these are already 3″ I think!

On the inside of the cover I added a faux woodgrain paper – it’s actually leftover wrapping paper from Paper Source:

Nettio holidayfaves2012 6 10 3

Holiday Faves: Decorations

In Part 1, I mentioned there were still a few themed sections I needed to go back and fill in. This is the Holiday Faves: Decorations section:

Nettio holidayfaves2012 6 10 4

A little look at the decorated shelves in our dining room. All of these decorations are new this year and I loved how they turned out:

Nettio holidayfaves2012 6 10 5

On the back I added a photo collage of some of the other decorations around our house and some journaling:

Nettio holidayfaves2012 6 10 6

This was another foundation page I had left blank originally. I went back and added a photo from one of our nights on the Riverwalk:

Nettio holidayfaves2012 6 10 7

Holiday Faves #6

For Holiday Fave #6, I chose one of our favorite holiday treats: apple cider from Jo’s Coffee in Austin:

Nettio holidayfaves2012 6 10 8

It’s amazing! We love it so much we even stopped for one last drink on our way to the airport even though it was 90 degrees out at the time. (And yes, don’t talk to me about how ridiculous it is to still have that high of temperatures in December – it’s now in the 40s as the high today!)

On the back of the 5×7 photo, I added another photo collage. The word art is by me and the arrow brushes are from Ali Edwards:

Nettio holidayfaves2012 6 10 9

Holiday Faves: Traveling

On the back of the journaling card, I added this 5×7 bingo card. I think it’s from Jenny Bowlin – I’ve had it forever! On the transparency on the right I added some letter stickers from American Crafts to signify our trip to California:

Nettio holidayfaves2012 6 10 10

I love taking airplane photos (I have A LOT of these wing in the sky ones, haha) but this one is one of my faves ever since the sun was setting at the time:

Nettio holidayfaves2012 6 10 11

On the back of the photo, I added a collage of a bunch of Southwest related scraps I’d saved:

Nettio holidayfaves2012 6 10 12

On the map (the back of the drink napkin from Southwest), I drew a highly-inaccurate map of our flight path:

Nettio holidayfaves2012 6 10 13

Holiday Faves #7

Holiday Fave #7 is one of my favorite San Jose, Ca traditions: Christmas In The Park. We’ve been going since I was a child and I still get excited about it, haha.

I started out this section with another two-page photo. I’m liking these a lot more now that the back of the album is all pretty woodgrain. Be Jolly brush by Ali Edwards:

Nettio holidayfaves2012 6 10 14

Faves journaling card and another photo collage from the event:

Nettio holidayfaves2012 6 10 15

On this foundation page I added another photo trimmed-like-a-polaroid – this time of our holiday drinks from Starbucks. Have to say, it doesn’t beat Jo’s!

Nettio holidayfaves2012 6 10 16

A close-up of the card:

Nettio holidayfaves2012 6 10 17

The Starbucks coffee sleeve I included was a little thick once I added the fabric spine to the album, so I just trimmed off the back of it. It’s not as pretty now but I’d rather be able to turn the pages, haha.

Nettio holidayfaves2012 6 10 18

Holiday Faves #8

My dad’s birthday is December 23rd (and my grandma and Adam’s brother too – it’s super weird!) so that’s what I chose for Holiday Fave #8.

I kept it fairly simple – just another photo collage with journaling card:

Nettio holidayfaves2012 6 10 19

Holiday Faves: Gift Giving

For the Holiday Gift Giving section, I added a little pocket from Studio Calico with a list of what I bought for everyone:

Nettio holidayfaves2012 6 10 20

A closer look of the list. I love that it’s interactive but was super simple to put together:

Nettio holidayfaves2012 6 10 21

This accent page is one of the only templates I pulled from my Holiday Faves Mini Album Vol 1 templates from last year. I love the bold splash of paper:

Nettio holidayfaves2012 6 10 22

On the right side I added a decorative accent which is actually cut from an old Crate & Barrel mailer. I’ve been saving it for several years now so I was glad I finally found a spot for it!

Nettio holidayfaves2012 6 10 23

Holiday Faves #9

Holiday Fave #9 wins the award for being the most happy accident of our trip.

When we flew into San Jose on the night of the 19th, I saw this huge Christmas light display from the air. I had no idea where exactly we were, all I knew was it was likely by a lake since there was a big dark blog right next to it.

Well, fast forward a week later. Adam and I had gone to the mall in San Jose and randomly decided to drive to Los Gatos to have dinner at the Los Gatos Brewing Company (which was delish!) and there it was – one exit before the restaurant! I was WAY excited and of course, how could we not go – it’s like it was fate!

It’s a drive-thru light show with over 50 light displays – it was impressive! The only downside was we’d borrowed my parents stick-shift Toyota Rav and poor Adam was having to work hard since it was like being in stop-and-go traffic the whole time. His leg was a bit tired by the end!

This page is from the program they gave us:

Nettio holidayfaves2012 6 10 24

Back of the map and a collage of photos. The photos don’t capture it but all the displays moved:

Nettio holidayfaves2012 6 10 25

If you saw my Instagram photo yesterday, this is what the printed photo was supposed to look like, haha:

Nettio holidayfaves2012 6 10 26

My favorite part was the dinosaur section – complete with loud roaring and an erupting volcano!

Another two-page photo spread. The little elf was actually building the snowman with a hose, it was cute:

Nettio holidayfaves2012 6 10 27

Holiday Faves: Good Eats

Another one of the Holiday Faves themed sections, this one about the way too many sweets we ate:

Nettio holidayfaves2012 6 10 28

Holiday Faves: Christmas Day

The big day finally arrived! This is the start of the Christmas Day section:

Nettio holidayfaves2012 6 10 29

Behind the transparency, I added a family photo we took of all of us:

Nettio holidayfaves2012 6 10 30

Photo collage of the big day. It was clearly the Christmas of the San Francisco Giants World Series t-shirts – everyone got one but Adam and I – because we’d already gotten ours, haha! #SFGiantsfansforlife

Nettio holidayfaves2012 6 10 31

The big blue bag I’m holding is the Clover teal camera+laptop bag from Epiphanie Bags. It’s ginormous but I love that it can hold my laptop and camera in one bag!

On the right side I added a gift tag from one of my gifts as well as a photo-pocket insert with photos and journaling about mine and Adam’s gifts for each other:

Nettio holidayfaves2012 6 10 32

Since Adam and I both gave each other items that would have had to be shipped back home, we each gave each other paper placeholders. I think he wins the award for creativity – he bought me a Silhouette Cameo and this was his paper interpretation of it!

Nettio holidayfaves2012 6 10 33

A close up look of the photo pockets. I just trimmed down a larger photo pocket page and added grommets to it (pre-TSA-took-my-Cropodile that is):

Nettio holidayfaves2012 6 10 34

Holiday Faves #10

Woohoo, we’ve made it! Holiday Fave #10! For Fave #10 I went with one of my most favorite faves – California! We ended up doing a bunch of touristy stuff this trip we’d never done before (cable cars in SF anyone?) and it definitely made us a little bit homesick!

I mean come on, how can a view like this not? Photo of the lone cypress tree taken on 17-mile drive in Pacific Grove:

Nettio holidayfaves2012 6 10 35

Seriously, I know Texas technically has beaches, but they just aren’t the same. Although they are definitely warmer – NorCal beach weather usually involves coats, pants and wind (which is why my hair is looking all kinds of crazy in that photo, haha) much like this. I think it was actually warmer than in the summer:

Nettio holidayfaves2012 6 10 36

One last accent page and another peek at the woodgrain paper:

Nettio holidayfaves2012 6 10 37

My Final Thoughts on Holiday Faves 2012

And that’s it! The end of my 2012 Holiday Faves Mini Album!

Since this was my second year doing Holiday Faves, here’s a few of my final thoughts on this project after year 2:

  • December Daily: 0 for 3; Holiday Faves: 2 for 2 – I think we know who’s the clear winner for me in this one.
  • Love that this format allows me to change things up as I go. My first fave started before Thanksgiving but since the foundation of the album isn’t daily or date based, it was easy to adjust.
  • Loved having the themed pages mixed in this year. I did end up taking two of them out (Recipe Love & Music Faves) but I think they round out the album really nicely.
  • 5×7 & 4×6 printable photo sheets make this album WAY easier – no trimming!
  • I’m thinking next year I’m going to be ready to switch the format up some. Not sure what exactly yet – maybe a different size? Same size but landscape instead of portrait orientation? We’ll see I guess!

My absolute fave moment of this album – seeing Adam get all mushy as he flipped through the album and saw all the stories and photos. Made all the hard work finishing it up worth it and reminded me why I love this hobby so much.

And that’s it for Holiday Faves 2012! As I’ve said many times before, I LOVE LOVE LOVE this project. But I am definitely ready to call this one done and move on to some brand-new 2013 projects.

Holiday Faves is a yearly November/December mini album project celebrating the holiday season. Find all of my Holiday Faves posts here.

Can I take Levitra if I am taking other remedies at the same time

POSTED IN Holiday Faves, Holiday Faves 2012, Memory Keeping, Hybrid Scrapbooking, Mini Albums

  • 1
  • 2
  • 3
  • Next Page »
HI I'M LYNNETTE. Graphic designer, tech-lovin’ memory keeper and lover of bold colors & patterns, good food and the great outdoors. Here at Nettio Designs, I share a behind the scenes peek at my own creative & life adventures. Read more...

KICKSTART YOUR CREATIVITY


By popular demand, photo book templates are back! Grab all three sets in the shop.
ADVENTURES IN ORGANIZING
GOAL-SETTING
MEMORY KEEPING
PROJECT LOVE
LIFE ADVENTURES
TIPS & TRICKS
BEHIND THE SCENES

POPULAR PROJECTS

TO SEE ALL MY PROJECTS, CLICK HERE

MUST READ POSTS

  • WHY EVERY SCRAPPER SHOULD SCRAP A FAVES PAGE
  • HOW TO CREATE A SCRAP-WORTHY MAP WITH PHOTOSHOP
  • REMEMBERING THE IMPORTANCE OF TELLING YOUR STORY
  • WHAT DOES IT MEAN TO CREATIVELY CAPTURE YOUR LIFE ADVENTURES?
  • BROWSE BY CATEGORY

    BROWSE THE ARCHIVES

    GET IT FOR FREE

    Copyright © 2025 ·Dynamik Website Builder · Genesis Framework by StudioPress · WordPress · Log in