Nettio Designs

Design + Creativity + Adventure = LOVE

  • HOME
  • JOIN THE 2023 MONTHLY FAVES
  • THE SHOP
  • ABOUT
  • CONTACT
You are here: Home / Archives for Project Love

Week In the Life 2013 | My Top 5 Tips & Game Plan For 2013

POSTED ON September 9, 2013 IN A Week In the Life, A Week In the Life 2013, Project Love

nettio_blurb01

Welcome to Week in the Life 2013.

If you haven’t heard about Week In the Life before, Week In the Life is a week-long memory-keeping project hosted by Ali Edwards where the goal is to capture a week in your life using photos + words. This year she is running WITL from Monday, September 9th to Sunday, September 15th which makes today Day 1.

I participated in Week In the Life back in July 2011 and I loved the end result so much I’ve been dying to do it again. I’d planned to do it last year in April and even though I wrote up a plan for 2012, I got about a day into it and realized enough time hadn’t passed for me to feel inspired by the project again. I felt like I was taking the same photos and telling the same photos and it just wasn’t inspiring to me at the time.

But now, here we are over two years later, living in a new apartment in a new city and I’m ready to do it again, for real, this time. So here’s my plan for 2013:

My Game Plan for Week In the Life 2013

nettiodesigns_LifeCaptured-Photobook-Sample1-700

To prepare myself for Week In the Life 2013, I looked through all of my previous Week In the Life posts here on the blog as well as my 2011 WITL photo book, and I realized something, especially when reading the plan I’d written for 2012:

I don’t want to do things differently for the sake of being different. 

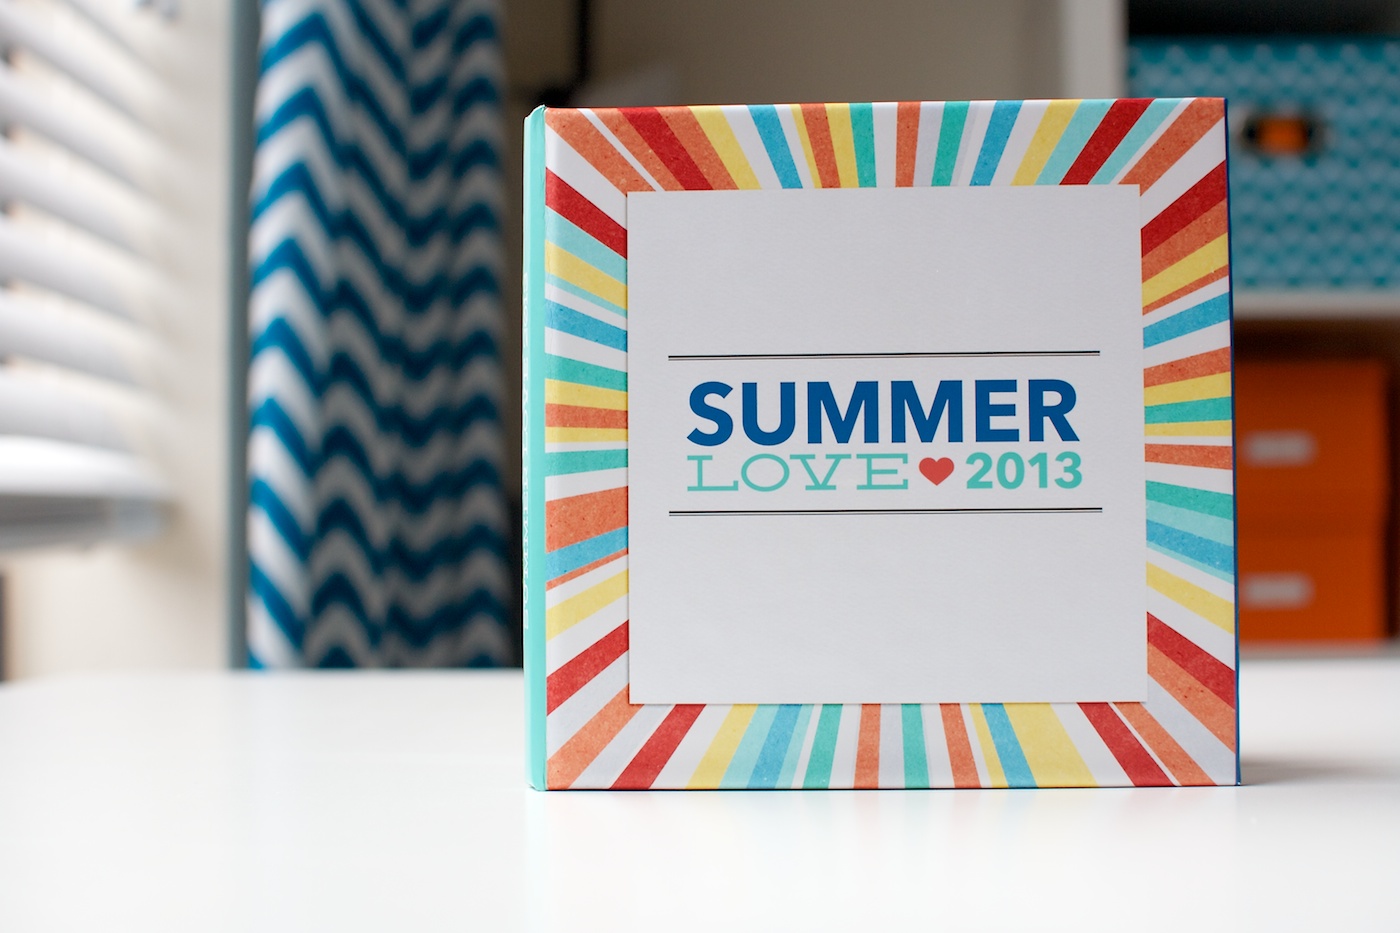
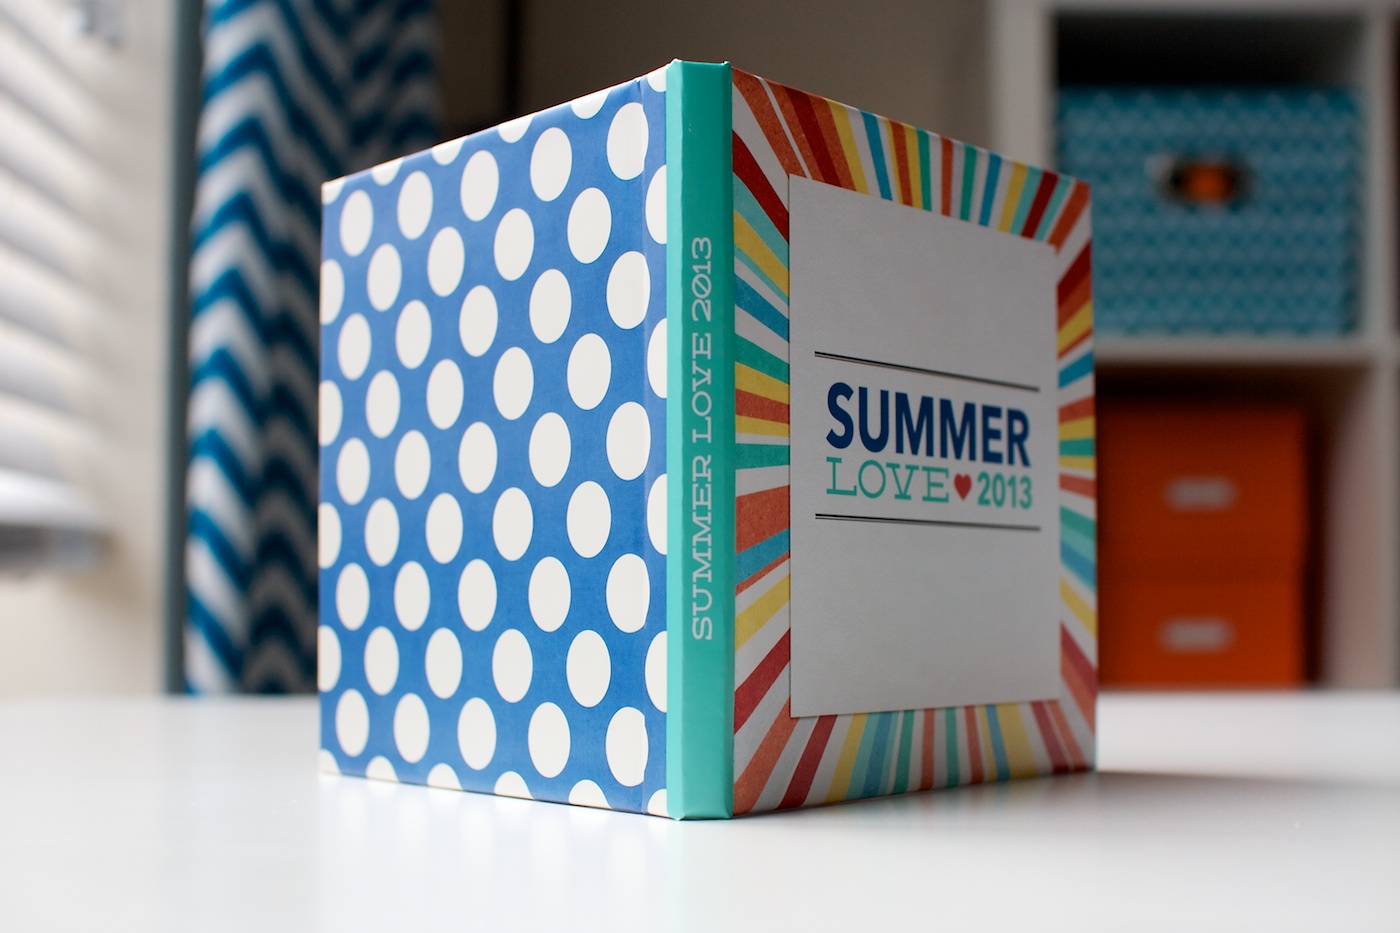
Instead this year I’m going to stick with the plan that worked for me in 2011 using the same Blurb 8×10 photo book size but with an all new, fresh design.

So here are the details of my plan:

Capture Week: September 2nd to 8th – No, those dates are not a typo. SURPRISE! This week didn’t work well with Adam’s work schedule and some other stuff we’ve got going on, so instead I decided to get a jump on things and do all my “capturing” last week.

But I’ll be sharing everything this week so I can play along with everyone else (and may even snap an additional filler photo here and there). Other than my Monday photos being from the Labor Day holiday it should represent a pretty normal week around here.

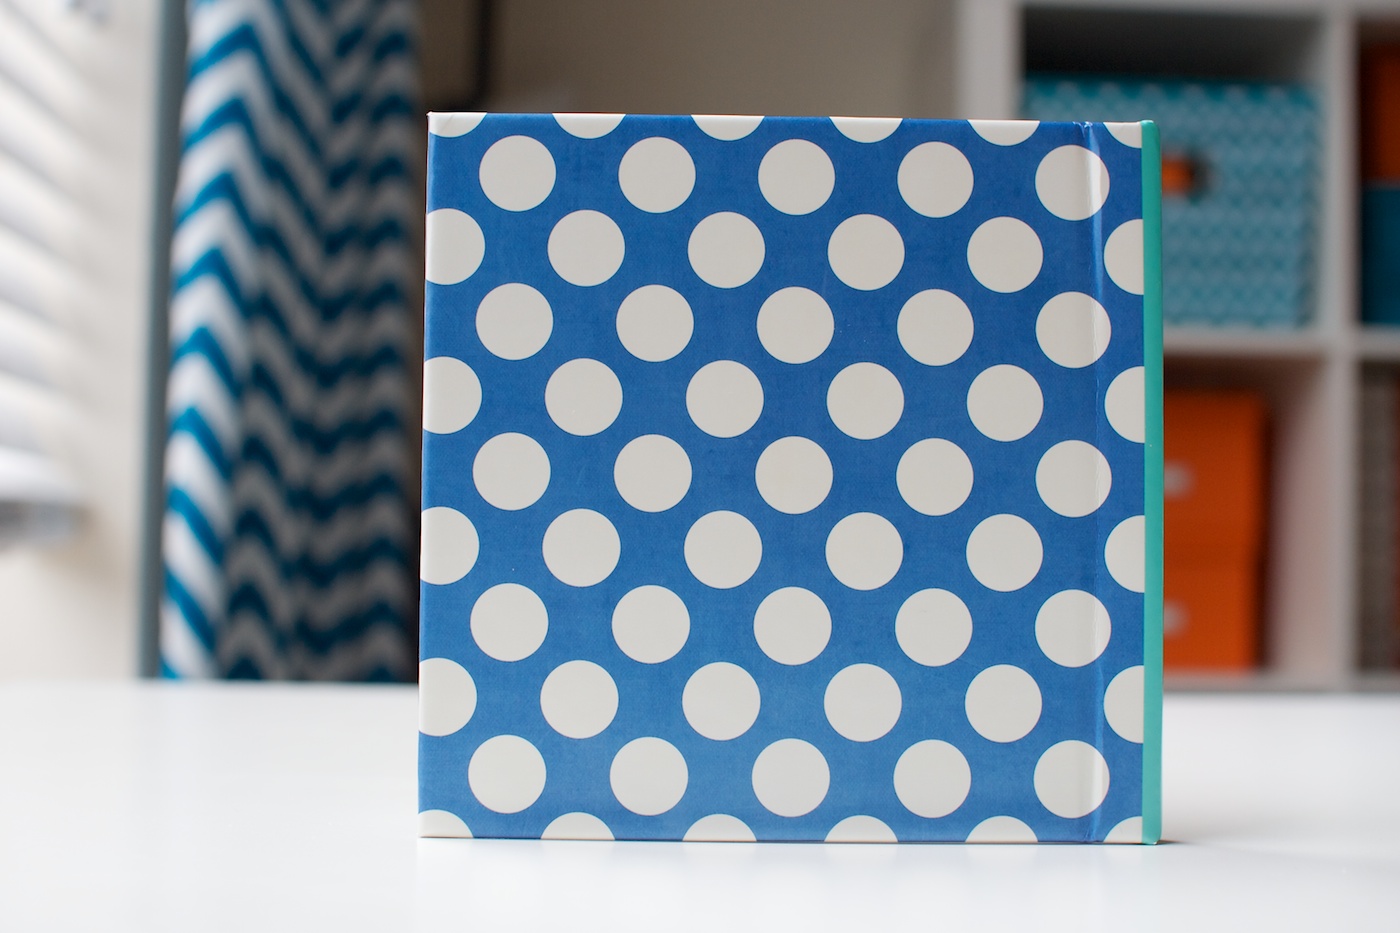
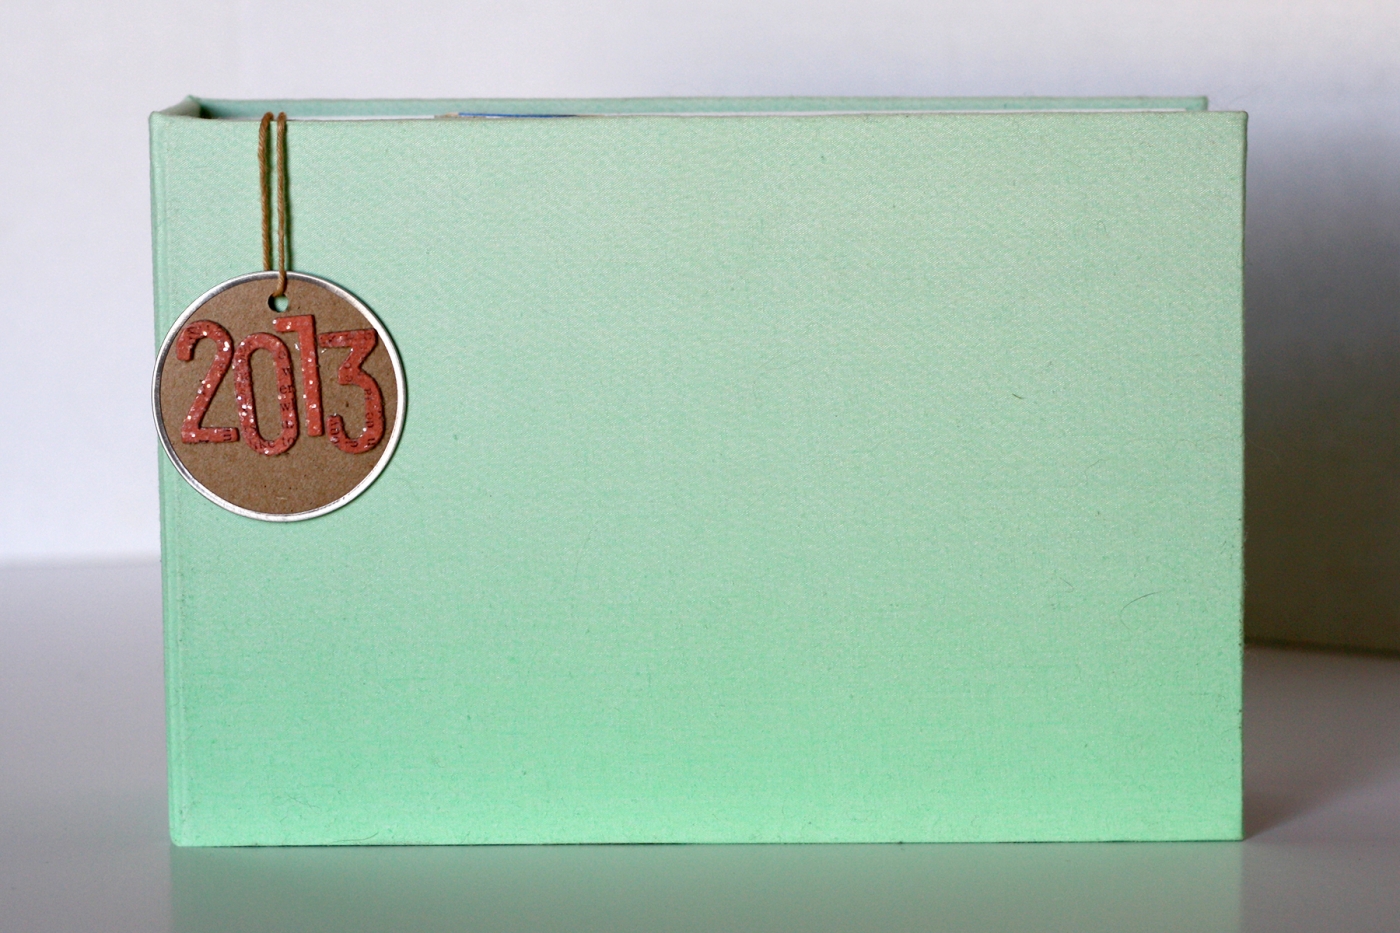
Album: 8×10 Blurb Standard Portrait Photo Book with Image Wrap Hardcover – This is the size I used for my 2011 album and I loved it. To me it’s the perfect combo of size, price and ease of use. Plus I love the idea of having a little series of WITL photo books that are all the same size but from different years.

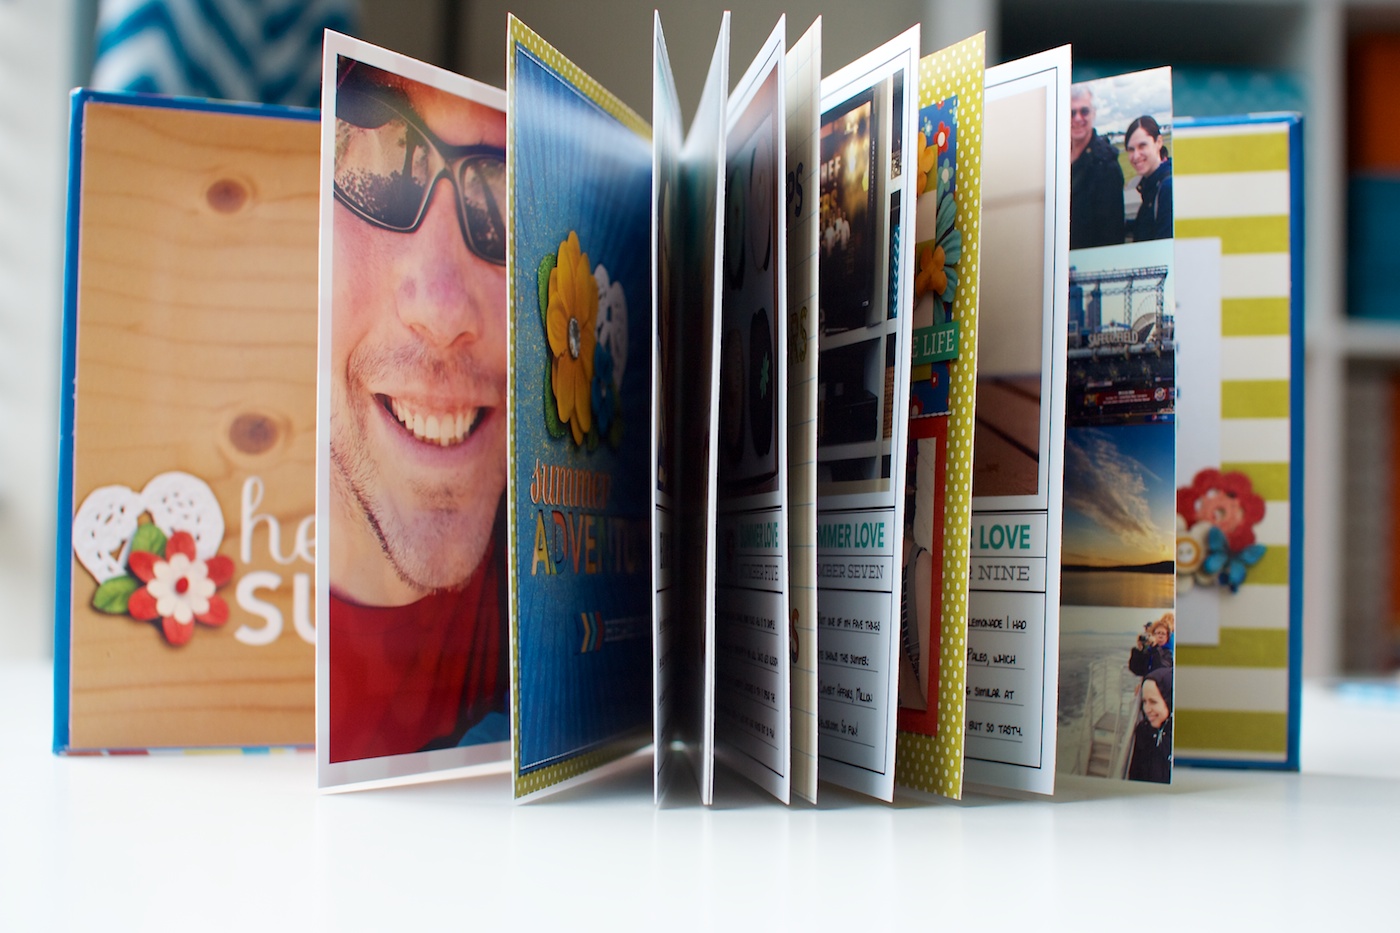
Design: Clean & graphic design in the style of my new Life Captured: Photo Book Templates. I will most likely put my pages together in Adobe InDesign so I can upload a single PDF to Blurb. Each day will have between 4-6 pages (2-3 two-page spreads) and then there will be 4 additional highlight pages at the end.

Deadline: I’d like to have my album designed and printed by October 15th. We have some big stuff happening this month so that should give me plenty of time to get it done but won’t give me so much time that I forget everything.

Project Life vs WITL: I’ve seen a lot of people asking how to handle doing Week In the Life at the same time as Project Life and the truth is, I’m not worrying about it. I’m so far behind in Project Life that I think it’s somewhat of a moot point anyway, but if I do eventually get “caught up” (blah, I hate that phrase), I will let my Project Life week be more of a fave photos/highlights from Week In the Life.

Overall I’m feeling pretty good about my plan since I’ve done this before and I know what works for me. But if you’re still feeling nervous/intimidated by the Week In the Life process, here are a few more tips for you:

Tips for Capturing A Week In Your Life

1) Begin with the end in mind

Picture yourself at the end of the week – What stories do you want to have captured? What photos or moments would you be disappointed if you didn’t capture? Make an extra effort to focus on those during the week.

For example for me, people shots are a must so I always make an extra effort to use my camera remote or timer to get myself and others together in photos.

2) Have a design plan in place from the start

So I hesitate to mention this because I know your first thought is going to be “Ack, it’s the start of the week and I don’t have a PLAN!” So before you go panicking on me, haha, don’t worry, there’s still time!

You don’t need to have a photo play-by-play for your week before you get started. But having a general idea of what you’d like your completed album to look like can simplify the capture process by giving you a clear focus on what you need (and don’t need to capture) whether it’s long paragraphs of journaling or full-page photos with plenty of white space for text.

Of course, if you want to get a jumpstart on your design plan, you can always pick up my Life Captured templates which I designed especially for this project.

3) Set yourself a deadline

Most scrapbookers seem to think the tough part of Week In the Life is the capture week. But the truth is – that’s the easy part!

The challenge comes in actually making time to finish your album.

I don’t recommend trying to create your album as you go through the week (although I know some speedy scrappers do) but I do recommend scheduling time to work on your album and setting yourself a deadline for when you want to have it done. If you leave it up to “when I have time”, it’ll just end up on top of the unfinished projects pile.

4) Embrace imperfection & avoid the comparison game

Part of the magic of Week In the Life is that it encourages you to take a close, detailed look at your everyday life. But you know what? Every day life isn’t always pretty and it certainly isn’t perfect.

So this week I challenge you to embrace the imperfections. Rather than focusing on all the things that aren’t “right”, like your bland beige walls or clutter around your house, focus on all of the bits that are amazing. And don’t let yourself get bogged down into thinking everyone else’s life/photos/story/adventures are better than yours. Your life is unique to you so for this week let’s celebrate all the awesomeness you’ve already got going on.

5) Remember the whole is greater than the sum of it’s parts

Finally, say it with me: no single photo, taken or untaken, is going to make or break your album.

Much like December Daily or Project Life, the magic of Week In the Life is not any individual photo. It is the overarching stories all of the photos tell well combined together.

So relax, have fun and figure no matter what you end up with at the end of the week, it will tell the story of a week in your life.

I hope you’ll be coming on this Week In the Life creative adventure with me! I’ll of course be sharing my progress and thoughts here on the Nettio Designs blog.

nettiodesigns_lifecaptured-collection-preview-1400

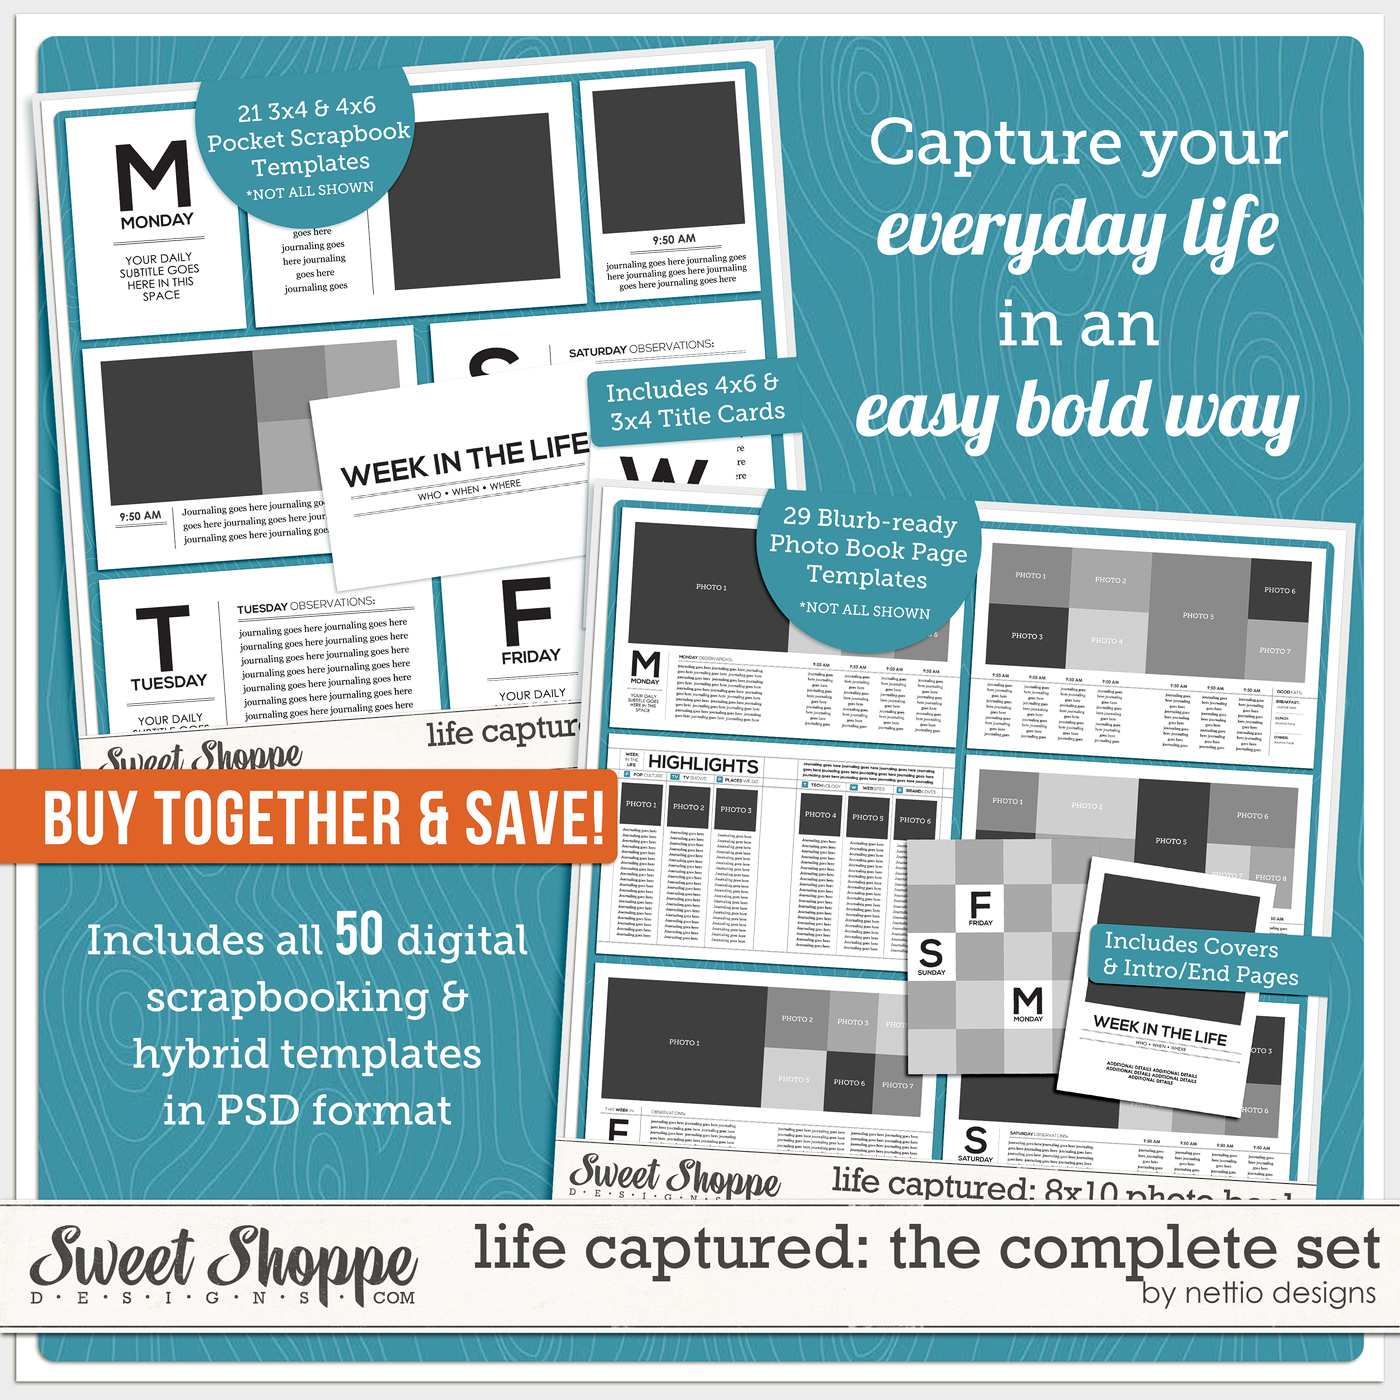
Looking for an easy but creative way to capture a week in your life?

Pick up the Life Captured: 8×10 Photo Book & Bits & Bytes Scrapbooking Templates here.


Can I take Levitra if I am taking other remedies at the same time

POSTED IN A Week In the Life, A Week In the Life 2013, Project Love

New Release | Life Captured Photo Book and Bits & Bytes Templates

POSTED ON September 7, 2013 IN A Week In the Life, Shop News & Releases

Woohoo, happy Sweet Shoppe Saturday everyone! I am super excited to share today’s new releases with you because they are designed around one of my absolute favorite scrapbooking projects I’ve ever done: Week In the Life.

In case you haven’t heard, Ali Edwards is running a new round of Week In the Life starting on Monday, September 9th. I played along with her Week In the Life back in 2011 and I loved the end result so much I’ll be playing along again this year (and of course sharing my progress here on the Nettio Designs blog).

You might think the hardest part of Week In the Life is the capture week, but in reality, snapping photos and jotting down a few notes is the easy part. The challenge comes in actually getting your photos and story from the computer into a completed album. Odds are if you’ve started Week In the Life before but didn’t finish, THIS is the point where you got stuck.

One of the lessons I learned while doing Week In the Life in 2011 is that having a design plan in place from the get go makes Week In the Life SO much easier to finish. Not only does it simplify the capture process because you know exactly how many photos/stories you need to capture (snapping 15 photos in a day sounds a lot easier than 75, no?) but it also takes out the guesswork once you’re ready to create your album.

So I wanted to design products this week that would make the entire process ridiculously easy for you. Because seriously, having a completed album showcasing a week in your life right now is something you’ll treasure more than you know.

It’s amazing to me when I look back at my album just how many big things have changed (new house, new city) but also how many little things have changed without me even thinking about them, like the food we eat or the phones we use. Capturing these little moments are exactly what Week In the Life is all about and I would hate for you to miss out on the magic of that just because the process seemed overwhelming.

Which brings me to this week’s new releases…

Life Captured: 8×10 Blurb-Ready Photo Book Templates

My first release this week are the Life Captured: 8×10 Photo Book Templates. These Blurb-ready templates have been custom designed to work with Blurb.com’s 8×10 Standard Hardcover Image-wrapped Photo Book. No need to worry about bleed or trim when you’re ready to print, I’ve done all that work for you!Just add your photos and stories to the templates, crop the two-page templates into single JPGs and upload to Blurb using their online Bookify or downloadable Booksmart tools. It really couldn’t be an easier.

For each day of the week, I’ve included three two-page templates for a total of six pages in the album. You can use all three or if you have a day with a few less photos, you can leave out the second template and use only four pages. It’s totally up to you and what works for your life.

Here’s a look at the Monday template in action using photos from my 2011 Week In the Life…

In addition to the 21 day templates, I’ve also included 4 highlights templates designed to give you an overview of your week as well as capture a week in your life of fashion, technology and home decor. These highlights pages are some of my favorite to look back on from my 2011 photo book so it was a no-brainer to include them this time as well. What can be more fun than looking at your fashion choices from two years ago and realizing you still wear ALL of the same things which uh, totally did not happen to me, no not at all.

Life Captured Photo Book FAQ

Here’s a few answers to the questions I’ve been asked most commonly about these templates:1) Will you be releasing a square version of these photo book templates as well?This year, unfortunately, no. I know square pages are the norm for scrapbooking layouts but that’s exactly why I love the 8×10 Portrait size so much. It’s not only makes this album feel that much more special but it really feels like you have your very own real book of your life.

2) Why Blurb?

I used Blurb.com for printing my 2011 Week In the Life Photo Book and I was so impressed by the quality and ease of the process that it was a no-brainer to me to double-down on Blurb this time around. For the size, quality and price, they’re hard to beat.

3) What will the finished size of my photo book be?

The Life Captured: Photo Book Templates have been custom-designed based off Blurb’s exact dimensions for their 8×10 Standard Portrait Image-wrapped Hardcover Book. The finished size of the cover pages are 8.433 x 10.267 inches and the inside pages are 7.877 x 10 inches. If you use all 29 included templates, your finished photo book will be 52 pages long.

Any other questions? Email me at nettiodesigns at gmail dot com and I’ll be more than happy to help you out.

Of course, if you’d like a square or pocket-scrapbooking friendly Week In the Life version, I’ve got you covered as well…

Life Captured: Bits & Bytes

My second release this weekend are the Life Captured: Bits & Bytes Templates. These mini templates include 3×4 and 4×6-inch cards perfect for capturing a week in your life pocket-scrapbooking style.

Here’s a peek of these templates in action. I chose to stick with a black and white color scheme so my photos would really pop but each element of the templates comes on it’s own layer for easy customization.

Here’s a closer look at each page. The great thing with these is you could easily do a spread or two and be done!

Life Captured: The Complete Set

Of course, if you’d like the best of both worlds, you can pick up Life Captured: The Complete Set which will give you all 50 templates included in the Life Captured Photo Book and Bits & Bytes sets for only a few dollars more than buying the Photo Book templates on their own…

SAVE 20% thru Saturday

As with every Sweet Shoppe Saturday you can save 20% off all new releases thru Saturday….

Spend $10 & Get A Free Kit!

And finally, my time as the Sweet Shoppe Designs Featured Designer has come to an end but I’m happy to pass the baton onto the lovely Ju who’s designed this gorgeous Learn & Grow kit which you can pick up for FREE with any $10 purchase in the shoppe.

Want to save 20% off this weekend AND get a free kit with your purchase?

Pick up the Life Captured Templates today!

Phew, that’s it from me today! I hope to see you all around next week for Week In the Life! I will be sharing my progress and how I’m using the Life Captured templates here at Nettio Designs and I can tell you, it’s going to be a blast. I can’t wait!

Can I take Levitra if I am taking other remedies at the same time

POSTED IN A Week In the Life, Shop News & Releases, Template-y Goodness

Summer Love Mini Course | The Completed Albums

POSTED ON August 15, 2013 IN Summer Love 2013 Mini Course

summerlovemini-logoAw, sad day, the final day of the Summer Love Mini Course is upon us. If you’ve followed along with us this summer, WOOHOO, 1000 gold stars to you! I hope you’ve enjoyed our mini album adventures this summer.

Of course we have one final post for you today, in which myself and Team Awesome members Jen & Sara will be sharing some photos of our completed albums and photos books to give you an idea how it’ll all look when your album is all printed out. *Spoiler alert: all the work this summer was totally worth it.*

Both Sara and I chose to have our Summer Love Mini Albums printed as 6×6 photobooks from AdoramaPix. This was my first time printing with AdoramaPix and let me just say, they’re a little pricey but the quality is SO worth it.

By Lynnette

Here’s a look at the cover of my mini album. It’s hard to tell from the photo but the cover actually has this really nice metallic sheen to it.

nettiodesigns_Summer-Love-Mini-Album-Final_01

I created a custom cover for my mini album. If you want to do this I highly recommend downloading AdoramaPix’s Photoshop cover templates because even using those it took me a few tries to get it just right. It printed exactly how I wanted so I was happy to see that after all the trouble I had.

nettiodesigns_Summer-Love-Mini-Album-Final_02

Back of the album. The cover is really nice and sturdy – I had no trouble standing it up on it’s own and I definitely wouldn’t worry too much about people looking through it.

nettiodesigns_Summer-Love-Mini-Album-Final_03

The inside pages are nice & sturdy – much sturdier than any other photo book I’ve printed before. They aren’t as thick as chipboard. I’d say, they’re more like a really thick card stock.

nettiodesigns_Summer-Love-Mini-Album-Final_04

One of the options when creating your photo book is to either add a set of free blank pages at the front and back of your album or to have the first and last page of your album be glued to the front and backside of the cover. I chose to go with the glued option and while I was worried it might be weird, I really like how it turned out.

nettiodesigns_Summer-Love-Mini-Album-Final_05

One of my favorite features of the AdoramaPix photo books is the lay flat binding. No worrying about details getting lost in the gutter of the book which is awesome for digiscrap pages.

nettiodesigns_Summer-Love-Mini-Album-Final_06

Here’s a few more of the interior pages of my book:

nettiodesigns_Summer-Love-Mini-Album-Final_07

nettiodesigns_Summer-Love-Mini-Album-Final_08

This grid page on the right had me a bit nervous because during the upload process, it showed I had quite a bit of important stuff outside the safe-zone (you know like tops/sides of heads, haha). I debated about shrinking down the grid and printing it with a border instead but I loved the full-bleed look so much I decided to take a chance – and I’m so glad I did! Only a tiny bit of edges got trimmed off and nothing anyone would ever notice.

nettiodesigns_Summer-Love-Mini-Album-Final_09

A look at the final page in the album. The Goodbye Summer page is glued down to back of the cover but you really can’t tell when looking at the album – it just looks like a normal page.

nettiodesigns_Summer-Love-Mini-Album-Final_10a

A funny story – I don’t know if you can tell from the photo but the green & cream striped paper looks like it has some creases in it and when I first got my book, I had a momentary panic when I was like, “Oh no, is it wrinkled?”

…And then realize the “wrinkle” was on the digital paper and not the actual book, haha.  #digiscrapperfail

Overall I’m highly impressed with my AdoramaPix photo book and would definitely consider ordering from them again in the future. They get the Nettio official stamp of approval.

By Sara

Sara also had her Summer Love mini album printed at AdoramaPix and here’s a peek at her album to give you another perspective. I think her album turned out really cute!

sara_minialbum-cover sara_summer-album-sample-pages2 sara_summer-album-sample-pages3 sara_summeralbum-sample-pages1

By Jen

And finally our resident hybrid gal, Jen, was kind enough to take some photos of her Summer Love mini album. She chose to bind her album using the Dear Lizzy album I linked to in this post. I especially love the little 2013 hanging tag she made to go with it.

jen_summer-mini-cover jen_summer-mini-double-photos jen_summer-mini-inside-1

Here’s a look at how Jen added memorabilia into her album using the page protectors and a little washi tape. Such a quick and easy idea!

jen_summer-mini-memorabilia

Well, there ya have it: three different takes on our completed Summer Love Mini Albums. I hope this gives you some ideas and inspiration for finishing off your own album.

I will tell you that every time I do one of these projects, whether it be Holiday Faves, Week In the Life, or my Summer Love Mini Album, it can feel like a lot of work in the moment. But once I get the end result in my hot little hands, it makes all the time and energy so so so worth it.

Seriously, if you’re one of those scrapbookers who’s never printed any of your layouts, do me a favor and stop reading this right now and go upload some layouts for print. Seeing your layouts in a printed form will totally change the way you look at your layouts, in an amazingly awesome way.

And with that, I’m going to bring the Summer Love Mini Album Course to a close! I hope you’ve enjoyed playing along with Team Awesome and I this summer.  If at any time you’d like to share your own Summer Love Mini Album with us, feel free to link us up over at Sweet Shoppe Designs or in the comments section below this post.

And if you enjoyed this course and don’t want to miss out on others like it, be sure to sign up for my Nettio Designs email list here so you’ll be the first to know about all the happenings around here. You never know what I may have up my sleeve next.

[catalyst_hook_box name=”summerlovesignup”]

__________________________________________________________________

Previous Summer Love Mini Course posts:

  • Options for Binding Your Mini Album
  • Summer Loves No. 9 & 10
  • Summer Highlights & Final Pages

View all Summer Love Mini Course posts here.

Note: No perks of any kind were received from AdoramaPix in exchange for this post. We’re just a couple of happy digiscrappers sharing our experience. 

How Can Customers Lower Their Remedy Costs

POSTED IN Summer Love 2013 Mini Course

Summer Love Mini Course | Summer Highlights & Final Pages

POSTED ON August 13, 2013 IN Summer Love 2013 Mini Course

summerlovemini-logoIt’s here, it’s here, the final week of the Summer Love Mini Course! My printed photo book from AdoramaPix is currently on it’s way here via a big brown truck and I’m SO excited to see the final result!

I’ll be sharing photos of my printed album as well as some of Team Awesome’s albums on Thursday, but before we get to that, we have one final set of pages to share today, pages 25-27 in our Summer Love Mini Books.

Summer Highlights Pages 25-27

Here’s a look at the Summer Love 6×6 Mini Album templates for pages 25-27:

nettiodesigns_SummerLove-pg25-27-templates

By Lynnette

Here’s a look at my page 25-27 layouts. Because AdoramaPix limits the page count to a specific number for their custom cover photobooks, in this case 26 pages, I chose to leave page 25 out of my album and only include pages 26-27 instead.

nettiodesigns_SummerLove-pg25-27-Lynnette

Here’s a look at Team Awesome’s pages 25-27:

By Sara

Another round of cute pages from Sara! The cupcake lover in me is eyeing those cupcakes on highlights page.

nettiodesigns_SummerLove-pg25-27-sara

By Jen

Here’s a look at Jen’s hybrid take on the Summer Love Mini Album. I’ll be sharing more photos of her completed album on Thursday in case you’re curious how she bound it all together.

nettiodesigns_SummerLove-pg25-27-Jen

By Brittney

I love the way Brittney adapted the Summer Highlights page to include more photos. This is one of the great perks of templates – y0u can really adapt them to your own adventures as needed.

brittney_nettiodesigns_SummerLove-pg25-27

By Jennifer

Aww, I love Jennifer’s big family photo here! So sweet and such a great wrap up to her album.

JenniferH_SummerLove-pg25-27

By Jenn

I absolutely adore the way Jenn layered all her details under the Goodbye Summer text. Such a stunning use of clustering!

nettiodesigns_SummerLove-pg25-27-JENN

By Sherly

Aww, I love Sherly’s family photo here! Love her use of elements too – her pages always pop.

sherly_SummerLove-pg25-27

Well, that’s it from us today! If you’re still playing along and would like to share your mini album progress, you can add them to my designer gallery at SSD and link us up in this thread at Sweet Shoppe Designs.

Coming up next…Last day of the Summer Love Mini Course, where Team Awesome and I will be sharing our completed albums. I can’t wait!

[catalyst_hook_box name=”summerlovesignup”]

__________________________________________________________________

Previous Summer Love Mini Course posts:

  • Summer Currently & Loves No. 7 & 8
  • Options for Binding Your Mini Album
  • Summer Loves No. 9 & 10

View all Summer Love Mini Course posts here.

Can diabetes cause erectile dysfunction

POSTED IN Summer Love 2013 Mini Course

Summer Love Mini Course | Summer Loves 9 & 10

POSTED ON August 8, 2013 IN Summer Love 2013 Mini Course

summerlovemini-logoWoohoo, welcome back to the Summer Love Mini Course. Today Team Awesome and I are sharing our Summer Loves No. 9 & 10, which are pages 21-24 in our Summer Love Mini Albums. Our final set of Summer Loves, I can hardly believe we’re here. Is it just me, or did this summer FLY by?

Summer Loves 9 & 10 Pages 21-24

Here’s a look at the Summer Love 6×6 Mini Album templates for pages 21-24:

nettiodesigns_SummerLove-pg21-24-Templates-1400

By Lynnette

Here’s a look at my page 21-24 layouts. I decided to save the best for last with my Summer Love No. 10: my trip to Seattle for my cousin’s wedding back in June. Since I had so many photos from the trip, I used the InstaLove template to showcase photos from our trip.

A quick tip: when you want to add a little fancy photo editing to a large group of photos:  add them to a grid first and then run your filter or action to the entire group at once (I used Totally Rad RadLab here). Not only will it save you time editing but it’ll add a nice, consistent coloring to your photos that’ll help tie them all together.

nettiodesigns_SummerLove-pg21-24-Lynnette-1400

Of course, Team Awesome has been scrapbooking right along with me so here’s a look at their pages 21-24:

By Sara

I love the randomness of Sara’s InstaLove photos. They’re exactly what I envisioned when I designed that template. I love the subtle blending of her large photo as well. That’s an easy way to add texture to your photo.

nettiodesigns_SummerLove-pg21-24-sara

By Jen

So I admit, non-digital glitter scares me a little (the mess, oh the mess!), but I LOVE how Jen used the glitter behind her flip-flop title. Such a fun way to add a little sparkle to the page.

nettiodesigns_SummerLove-pg21-24-Jen

By Brittney

Brittney’s use of the grid within the grid for her InstaLove page is so fun! What an awesome way to add more photos onto the page.

brittney_nettiodesigns_SummerLove-pg21-24-1

By Jennifer

Jennifer’s pages are always so bright and colorful and these are no exception. I love how she adapted the Life is better in flip-flops title work to fit with her family.

JenHignite_SummerLove-pg21-24

By Jenn

So I have been to Montana & Glacier National Park many many moons ago but Jenn’s photos are so making me want to go back! She’s done such an awesome job capturing her adventures with this little album.

nettiodesigns_SummerLove-pg21-24-jenn

Well, that’s it from us today, but now we’d love to hear from you!

Want to share your mini album progress? Feel free to add them to my designer gallery at SSD and link us up in this thread at Sweet Shoppe Designs.

Coming up next…Home stretch, baby! On Tuesday, Aug 13th, we’ll be sharing the final pages of our Summer Love Mini Albums and then on Thursday, Aug 15th, we’ll be sharing our completed albums. See you then!

[catalyst_hook_box name=”summerlovesignup”]

__________________________________________________________________

Previous Summer Love Mini Course posts:

  • Tips for Printing Your Mini Album
  • Summer Currently & Loves No. 7 & 8
  • Options for Binding Your Mini Album

View all Summer Love Mini Course posts here.

How do I purchase Levitra without going to the doctor

POSTED IN Summer Love 2013 Mini Course

Summer Love Mini Course | Three Options for Binding Your 6×6 Summer Mini Album

POSTED ON August 6, 2013 IN Summer Love 2013 Mini Course

summerlovemini-logoWoohoo, welcome back to the Summer Love Mini Course! We’re on the home stretch baby! Today marks the final tips & tricks article of the course so I figured I’d build on Amy’s tips for printing your Summer Love Mini pages post from last week and share three non-photobook options for binding your printed Summer Love Mini Album pages.

6×6 Summer Love Mini Binding Options

nettiodesigns_SummerLoveMini-6x6AlbumOptions

AC Dear Lizzy / WRMK / AC Modern / Maya Road / Little Yellow Bicycle / Bo Bunny

1) Use a Pre-made Album with Page Protectors

One of the easiest solutions for binding your 6×6 Summer Love Mini pages is to buy a ready-made 6×6-inch scrapbooking album from a company like American Crafts (No. 1 & 3) or We Are Memory Keepers (No. 2).

Simply print your pages 6×6, slip them into the included page protectors and you’re good to go! No messy resizing or hole punching necessary.

2) Use a Chipboard Mini Album or Binder

Another option, if you’d like to get a little more crafty, is to use a 6×6-inch naked chipboard mini album like the ones from Maya Road (No. 4), Little Yellow Bicycle (No. 5), or Bo Bunny (No. 6).

The awesome thing about these naked chipboard albums is you aren’t tied into any specific color-scheme like you are with a pre-made scrapbooking album – you can customize your cover however you’d like using alphas, paint, fabric or even printed digital elements. Then simply print out your Summer Love Mini pages, glue them back to back and hole punch them using the chipboard cover as a guide.

If you’d like to see the Maya Road mini album binder in action, you can see how I customized one for my 30 Days of Lists mini album here.

3) Make Your Own Mini Album

The final mini album option, and my personal fave, is to create your own mini album cover using book board or art board from the craft store and then bind it using binder rings from the office supply store.

If you want to get really fancy, you can even add a fabric spine to your mini to really give it a polished look. I’ve done this for my last two Holiday Faves mini albums and I love the way it makes them look like real little books.

Well I hope this gets the wheels turning for how to bind your Summer Love Mini Album! If you haven’t yet, be sure to check out Amy’s article from last week for tips for printing your pages. We’re on the home stretch but if you’ve fallen behind, never fear! There’s still plenty of time to catch up on your Summer Minis before the class ends.

Coming up next…On Thursday, August 8th, Team Awesome and I will be sharing our Summer Loves No. 9 & 10 and our Summer InstaLoves. See you then!

[catalyst_hook_box name=”summerlovesignup”]

__________________________________________________________________

Previous Summer Love Mini Course posts:

  • Summer Loves No. 5 & 6
  • Tips for Printing Your Mini Album
  • Summer Currently & Loves No. 7 & 8

View all Summer Love Mini Course posts here.

Can I take Levitra if I am taking other remedies at the same time

POSTED IN Summer Love 2013 Mini Course

  • « Previous Page
  • 1
  • …
  • 3
  • 4
  • 5
  • 6
  • 7
  • …
  • 18
  • Next Page »
HI I'M LYNNETTE. Graphic designer, tech-lovin’ memory keeper and lover of bold colors & patterns, good food and the great outdoors. Here at Nettio Designs, I share a behind the scenes peek at my own creative & life adventures. Read more...

KICKSTART YOUR CREATIVITY


By popular demand, photo book templates are back! Grab all three sets in the shop.
ADVENTURES IN ORGANIZING
GOAL-SETTING
MEMORY KEEPING
PROJECT LOVE
LIFE ADVENTURES
TIPS & TRICKS
BEHIND THE SCENES

POPULAR PROJECTS

TO SEE ALL MY PROJECTS, CLICK HERE

MUST READ POSTS

  • WHY EVERY SCRAPPER SHOULD SCRAP A FAVES PAGE
  • HOW TO CREATE A SCRAP-WORTHY MAP WITH PHOTOSHOP
  • REMEMBERING THE IMPORTANCE OF TELLING YOUR STORY
  • WHAT DOES IT MEAN TO CREATIVELY CAPTURE YOUR LIFE ADVENTURES?
  • BROWSE BY CATEGORY

    BROWSE THE ARCHIVES

    GET IT FOR FREE

    Copyright © 2025 ·Dynamik Website Builder · Genesis Framework by StudioPress · WordPress · Log in