Nettio Designs

Design + Creativity + Adventure = LOVE

  • HOME
  • JOIN THE 2023 MONTHLY FAVES
  • THE SHOP
  • ABOUT
  • CONTACT
You are here: Home / Archives for Project Love / 30 Creative Adventures

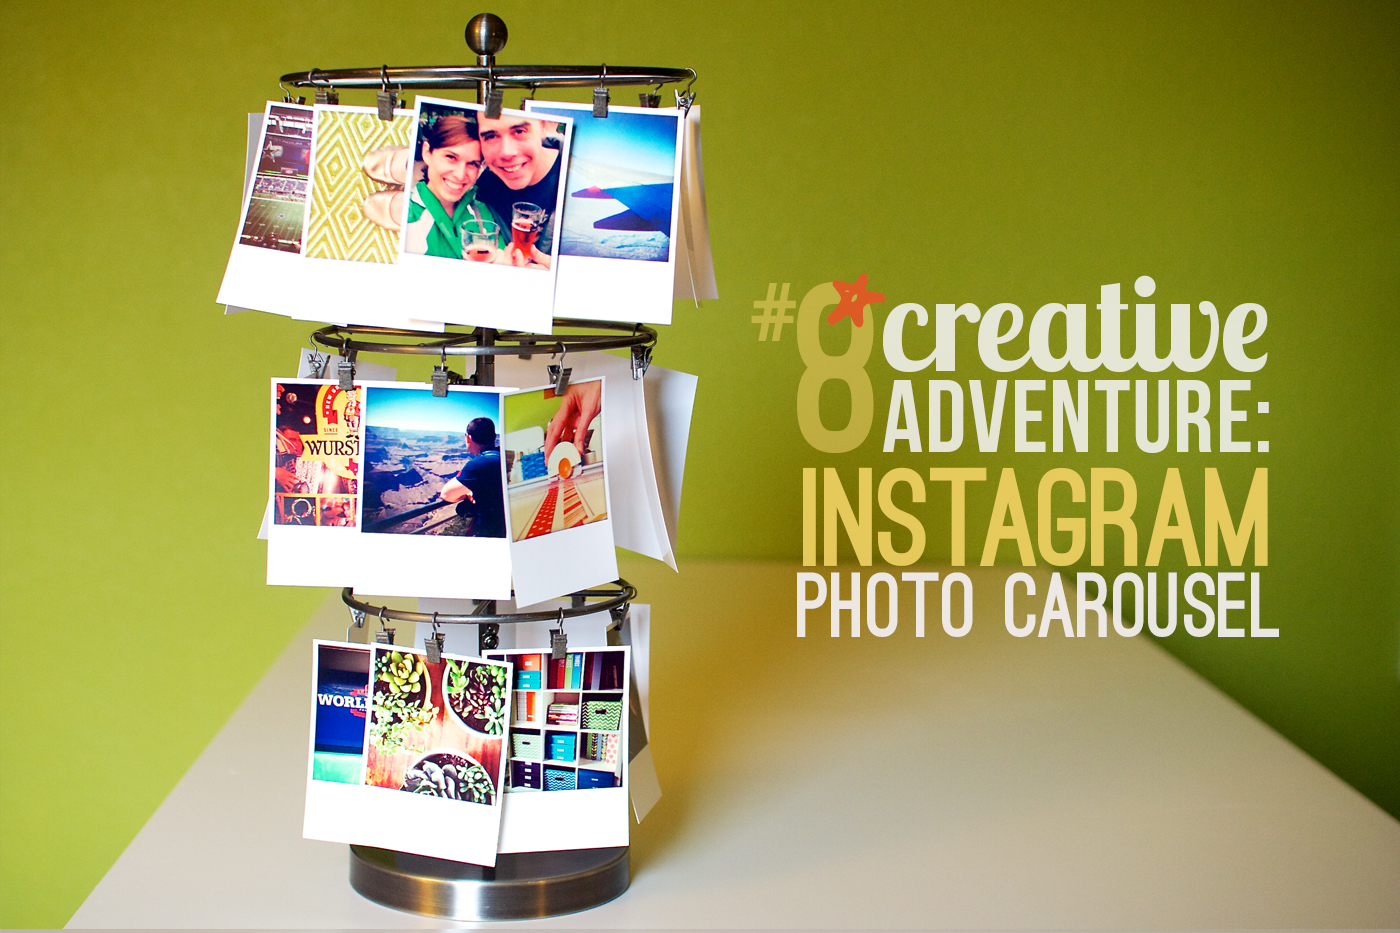
Creative Adventure #8: Instagram Photo Carousel

POSTED ON April 23, 2013 IN 30 Creative Adventures

This Creative Adventure actually a started a few years back when on a trip to Archiver’s on a whim I picked up this standing carousel from 7 Gypsies:
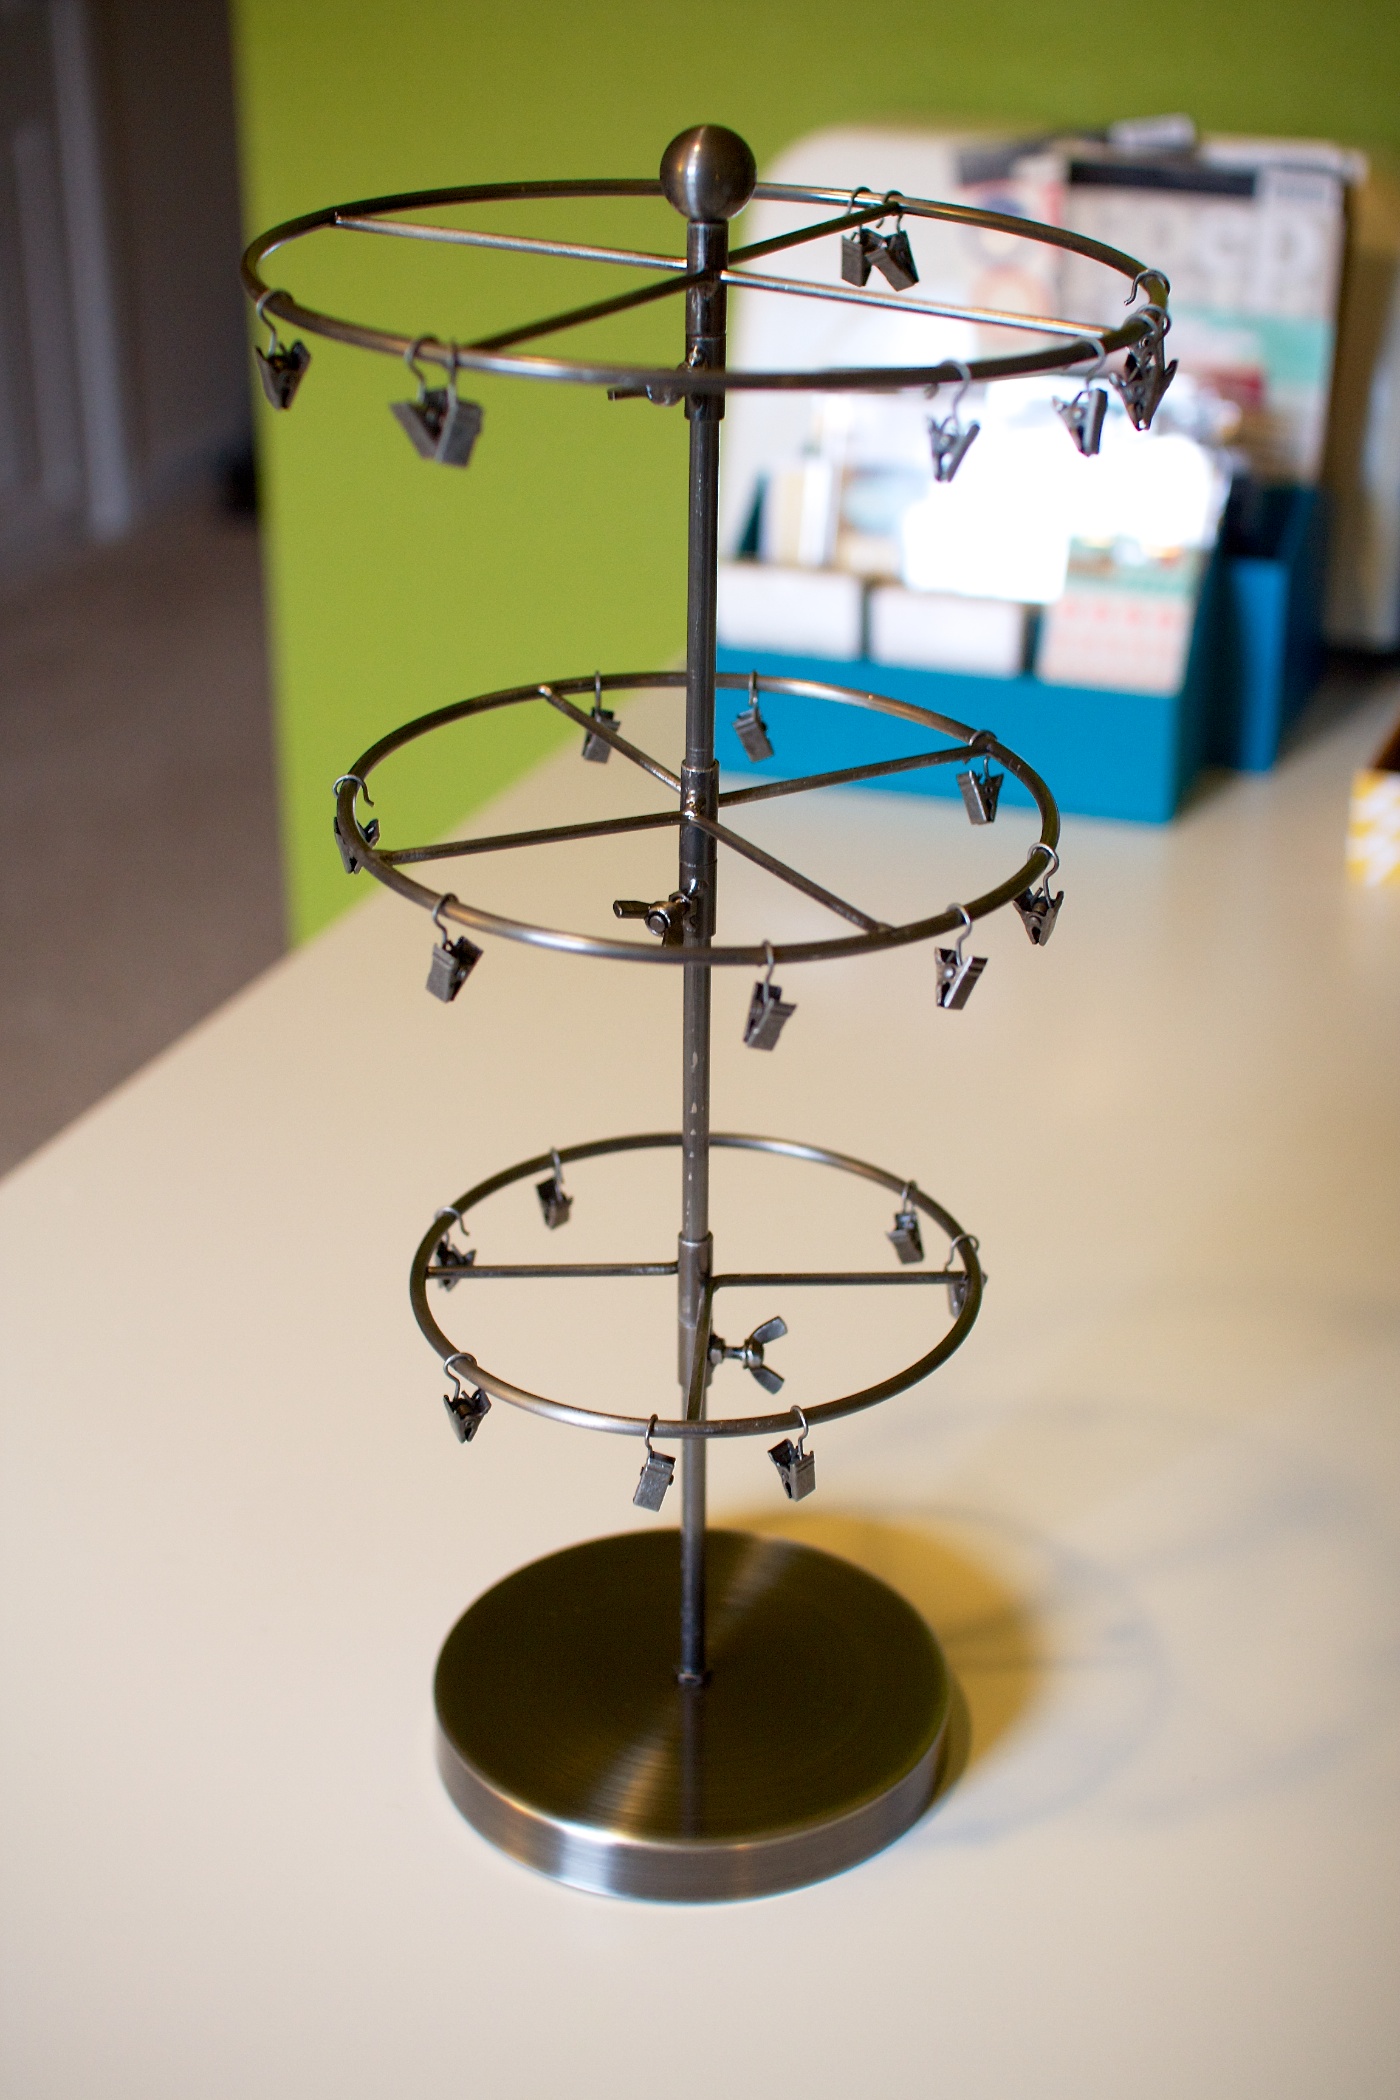
I think it’s designed to be a product organizer of some kind but at the time I thought it might be fun to make little hybrid Christmas  to hang from each clip as a Christmas decoration. Of course, that plan never materialized, and for several years now this poor baby has languished away in a plastic tub, unloved and unused.

That is until last month when I saw Persnickety Prints now offers polaroid prints of your Instagram photos:
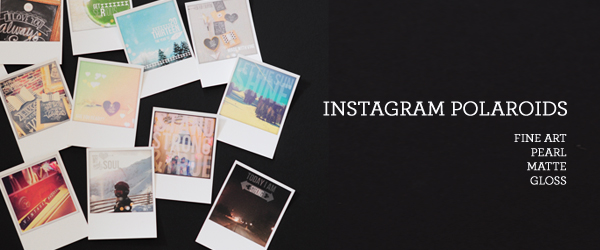
I’ve written about my love for Instagram before so when I saw I could combine two of my favorite things together to make adorable printed photos, I was all over that.

Ordering my Instagram polaroids from Persnickety Prints was pretty straight forward. I have Instagram set up to automatically save all my photos (both edited & unedited) to the camera roll on my iPhone and then all of those photos get downloaded to Apple Aperture thanks to iCloud. All I had to do was browse through my Photo Stream in Aperture and select my fave Instagram photos:
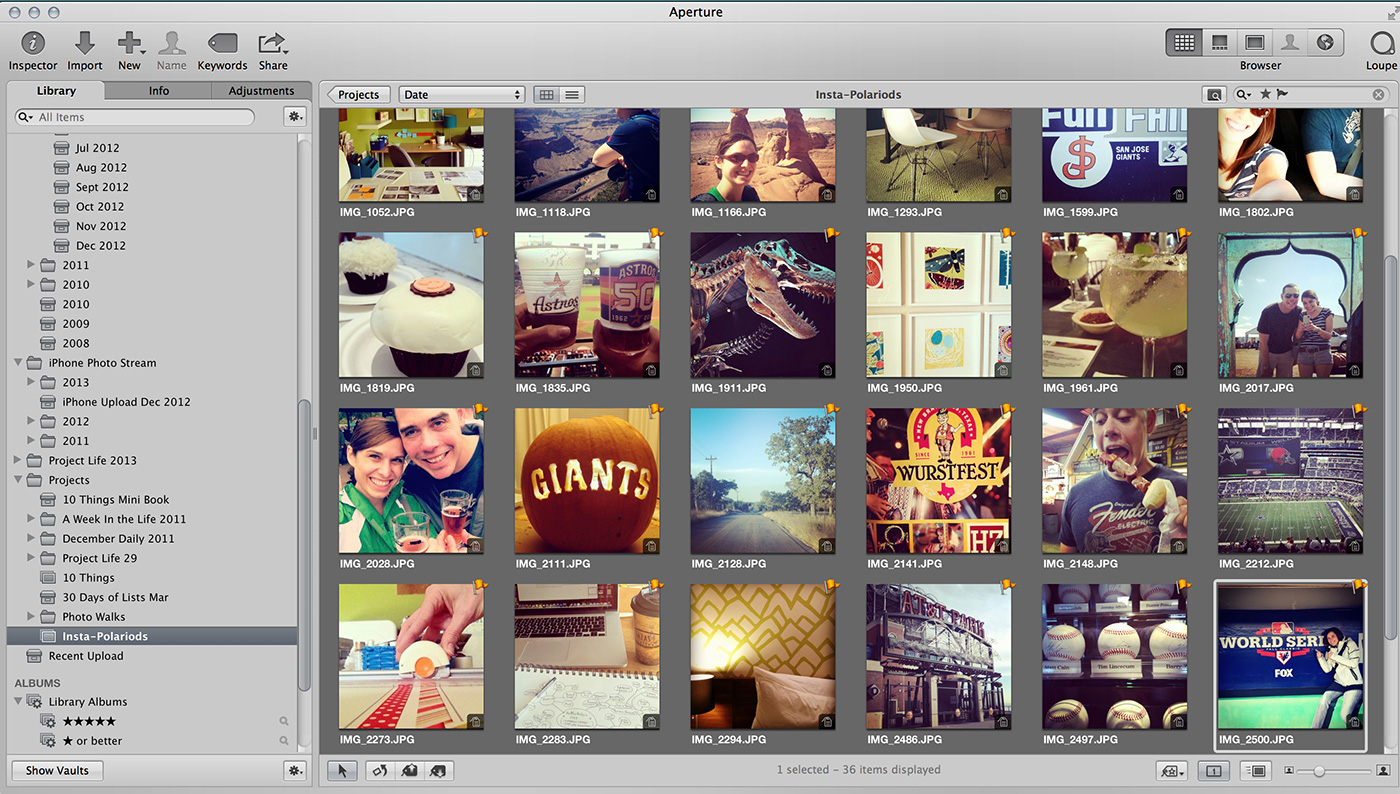
Once I had my fave photos selected, I exported them out into a new folder and uploaded them to Persnickety Prints. Since the carousel came with 25 clips, I ended up ordering 35 different Instagram polaroids so I’d have options later. If you order more than 15 prints as a time, the cost drops to $0.45 a polaroid so in total it cost me about $16 for all 35 prints.

I ordered all of mine on the Matte Cardstock but if you’re curious about all of Persnickety Prints different paper options, Christine has an awesome post on her blog that compares them all.

Once my prints arrived, I divided them into two piles: people and things:

Then I laid all my photos out on my desk paying attention to mixing up people and things photos as well as colors and patterns:
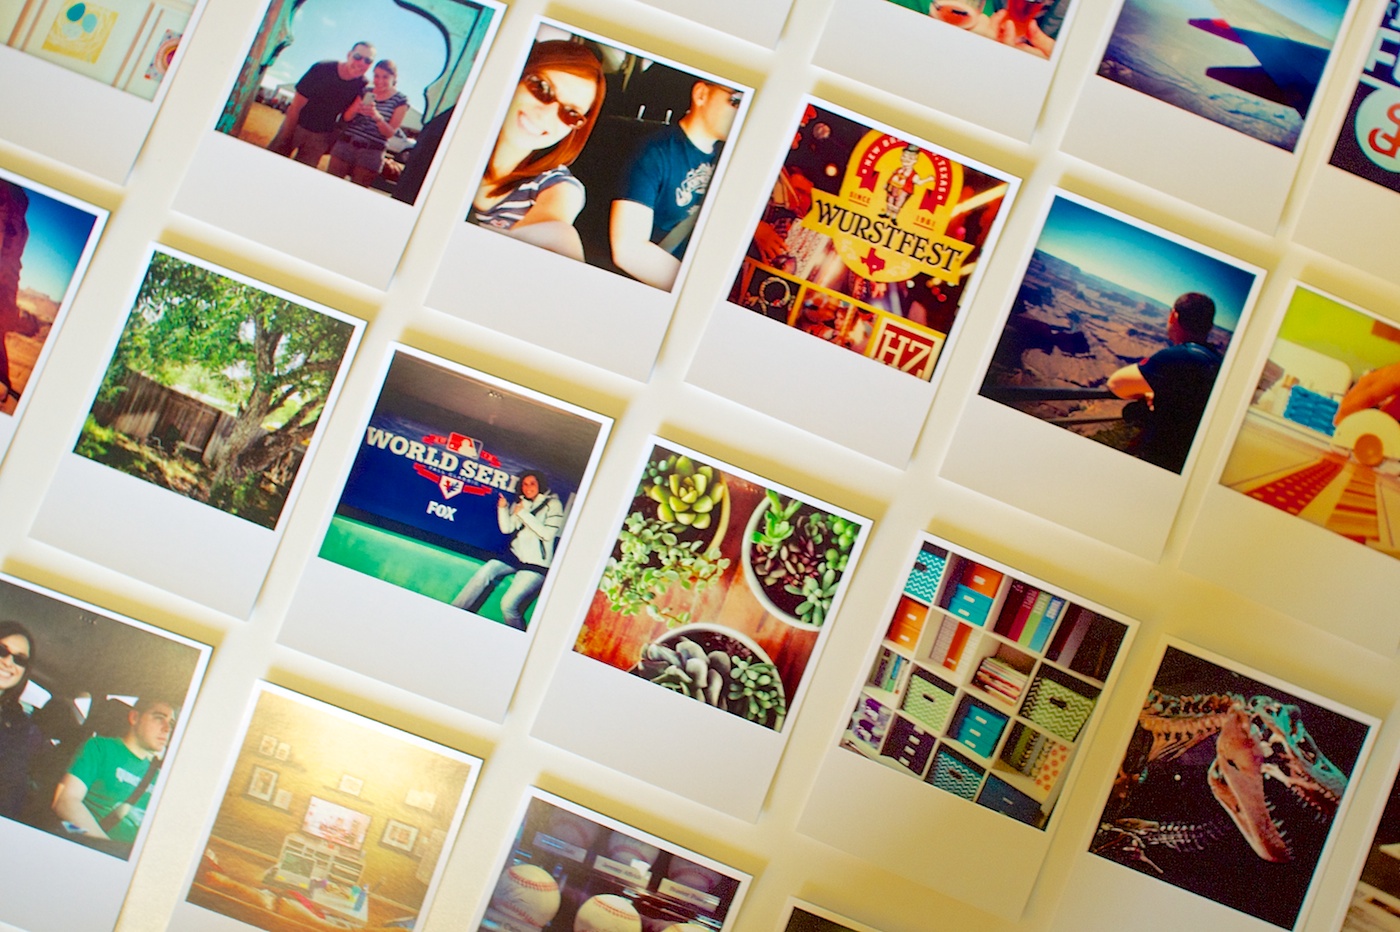
Once I had them in an order I liked, I started clipping them on to the stand, starting with the bottom tier:
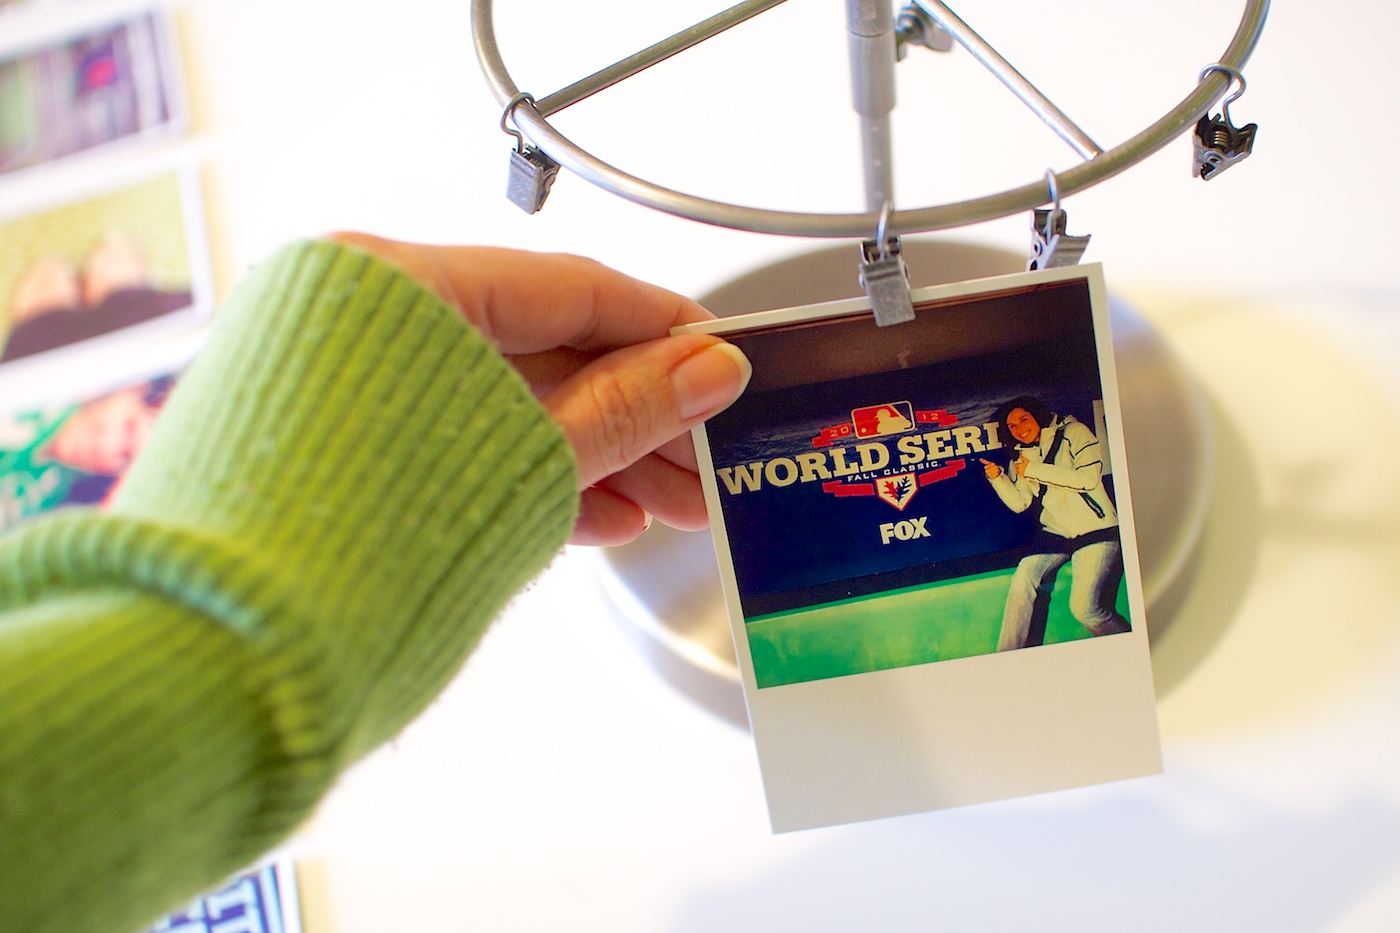
I found it worked best to add the clips to the stand first and then clip the photos onto them there. In total there are 7 clips on the bottom tier, 8 on the middle tier and 10 on the top tier.
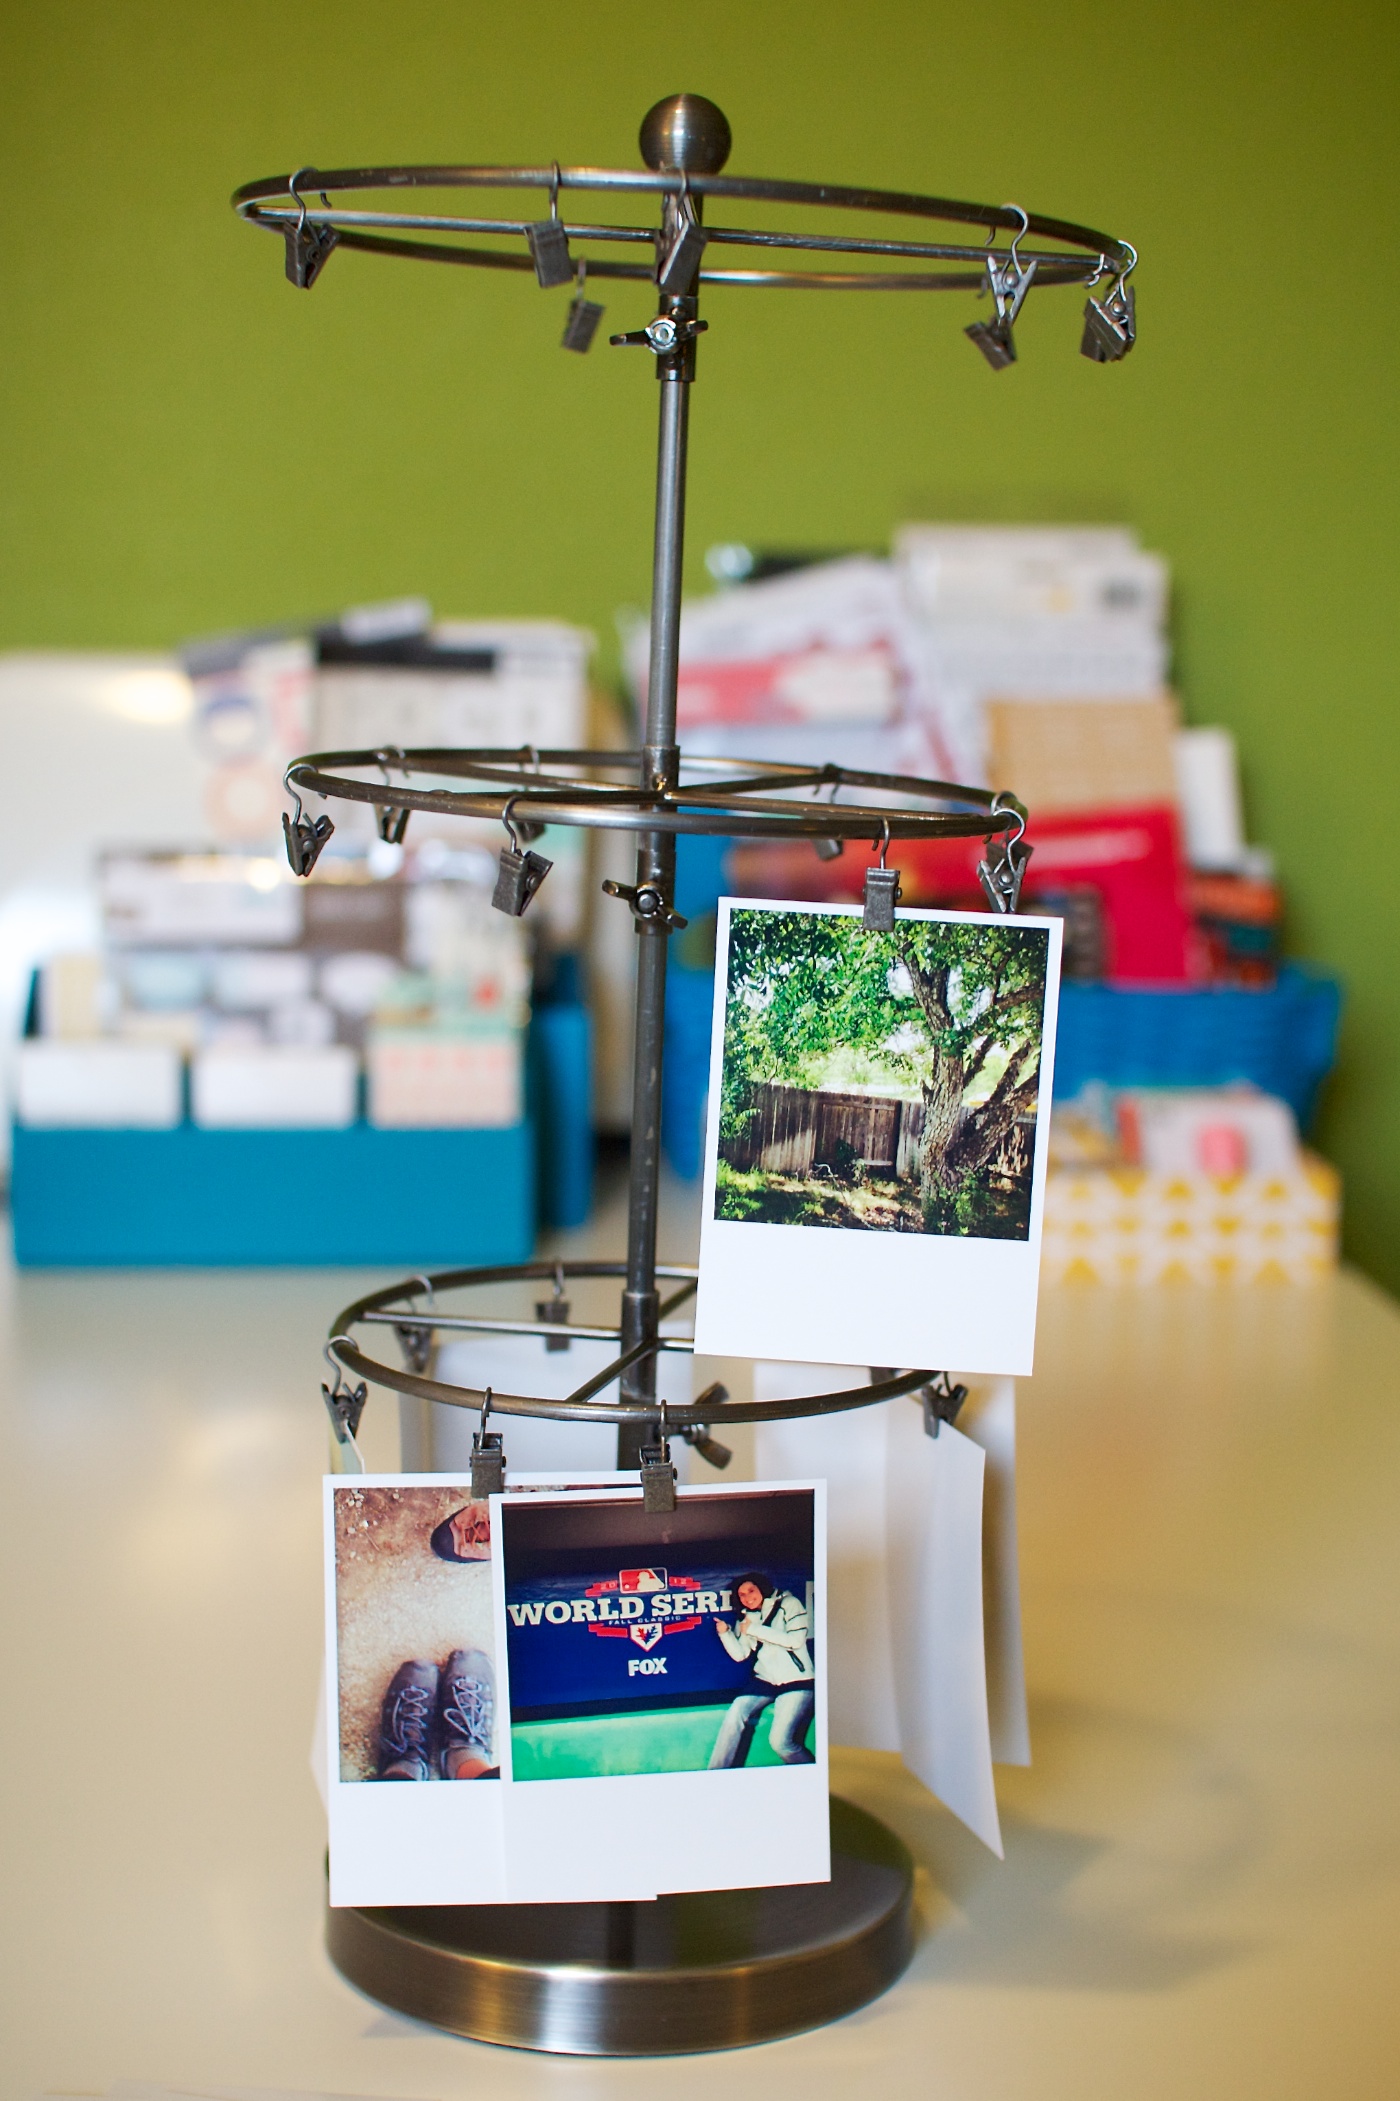
Here’s what it looked like after I’d clipped up all 25 polaroids:
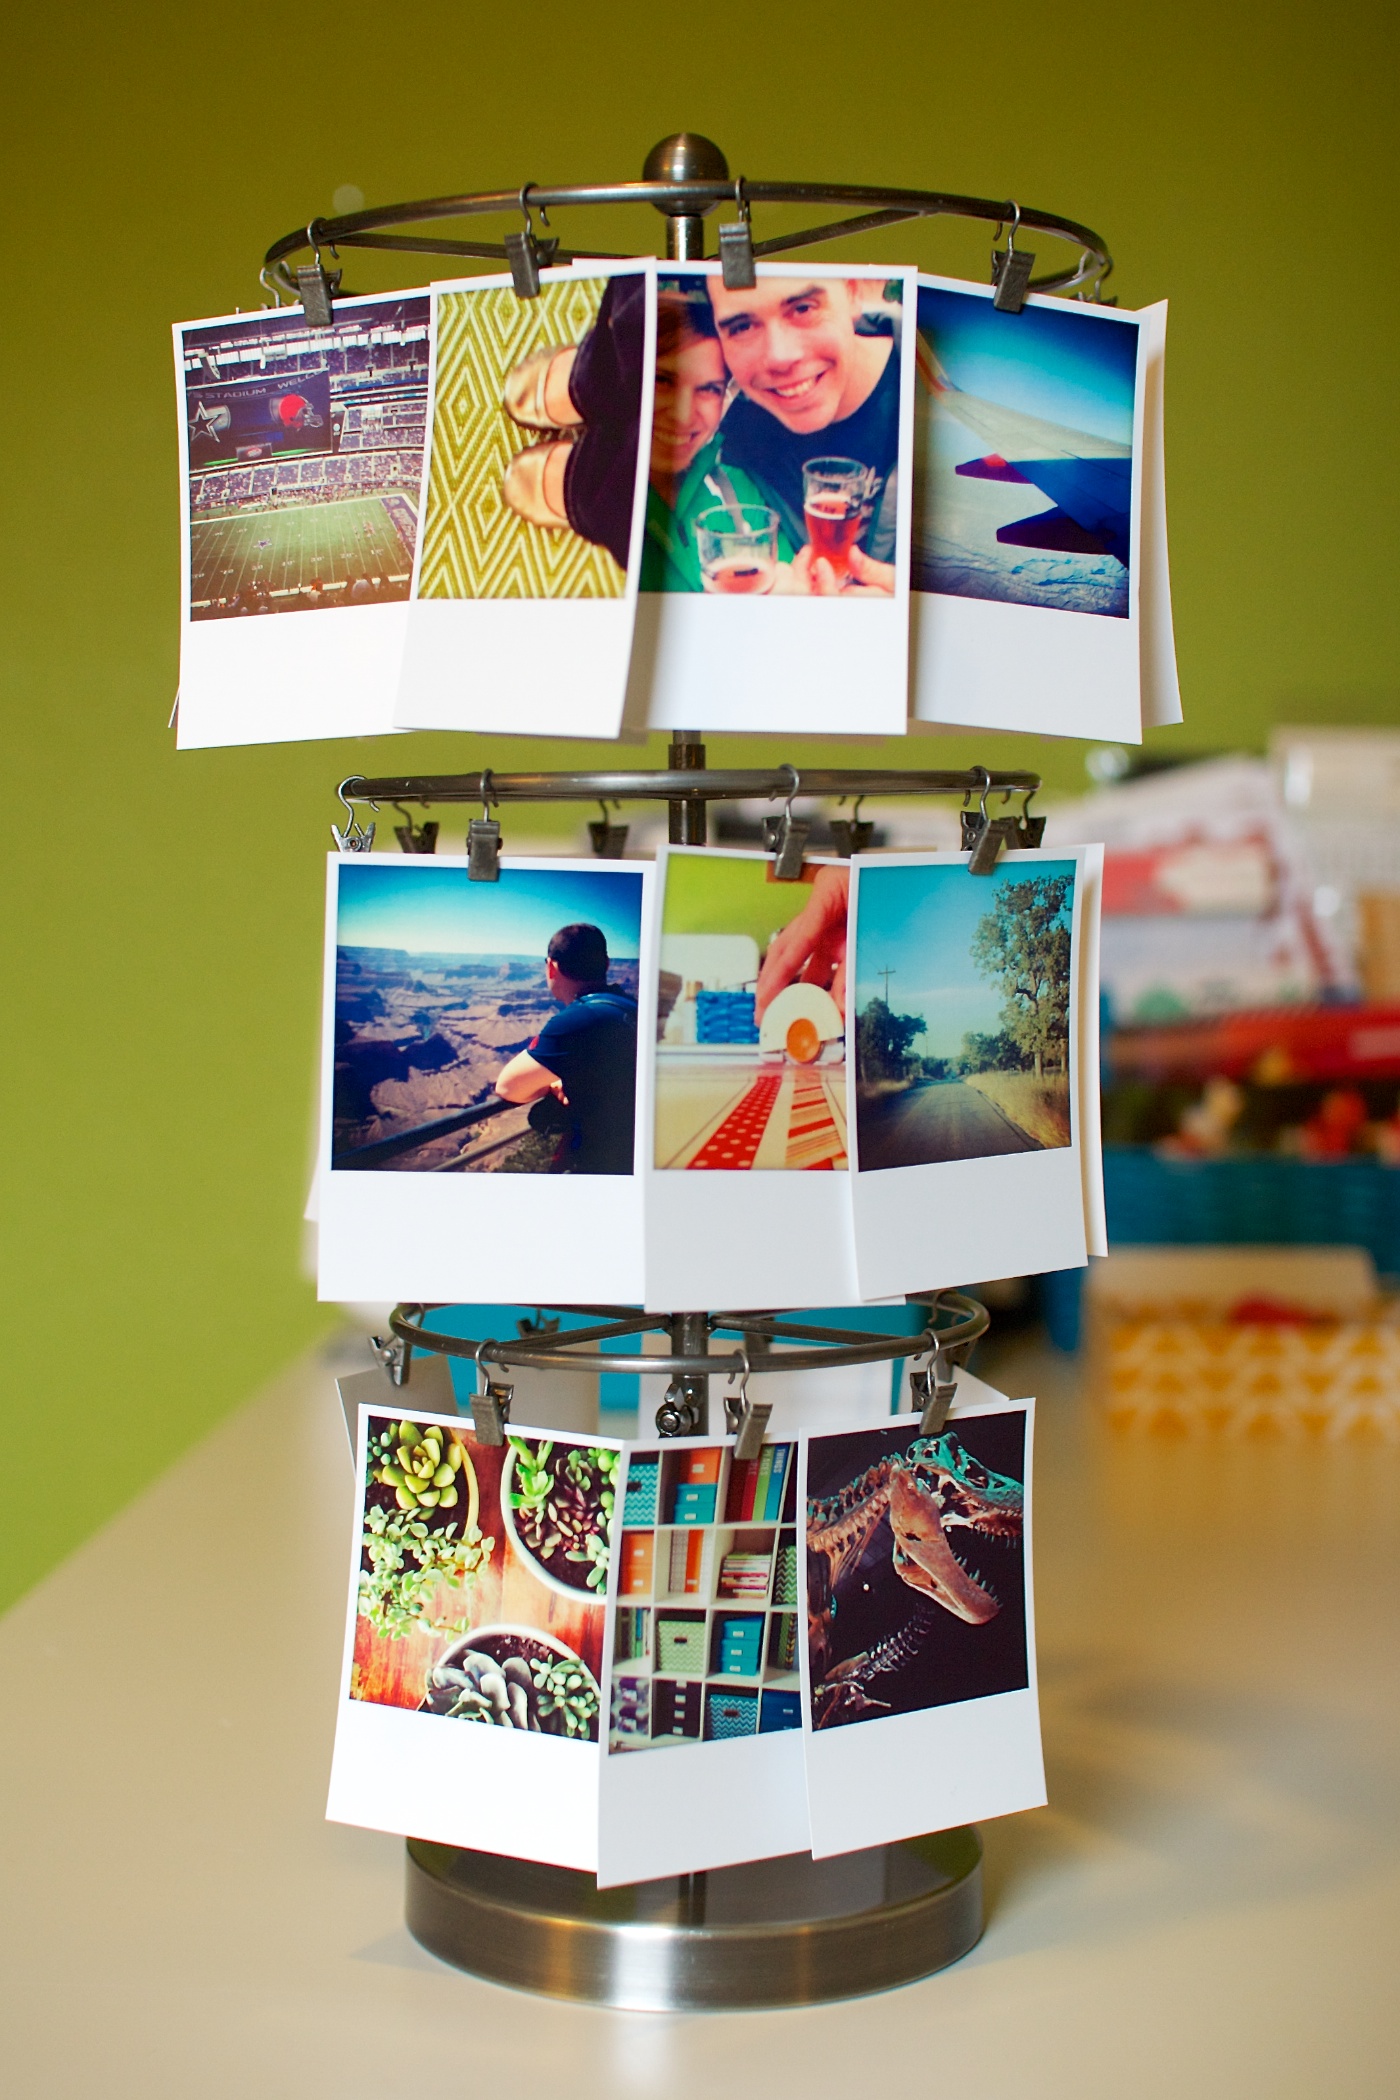
Cute, right? Here’s a close-up of the clipped photos:
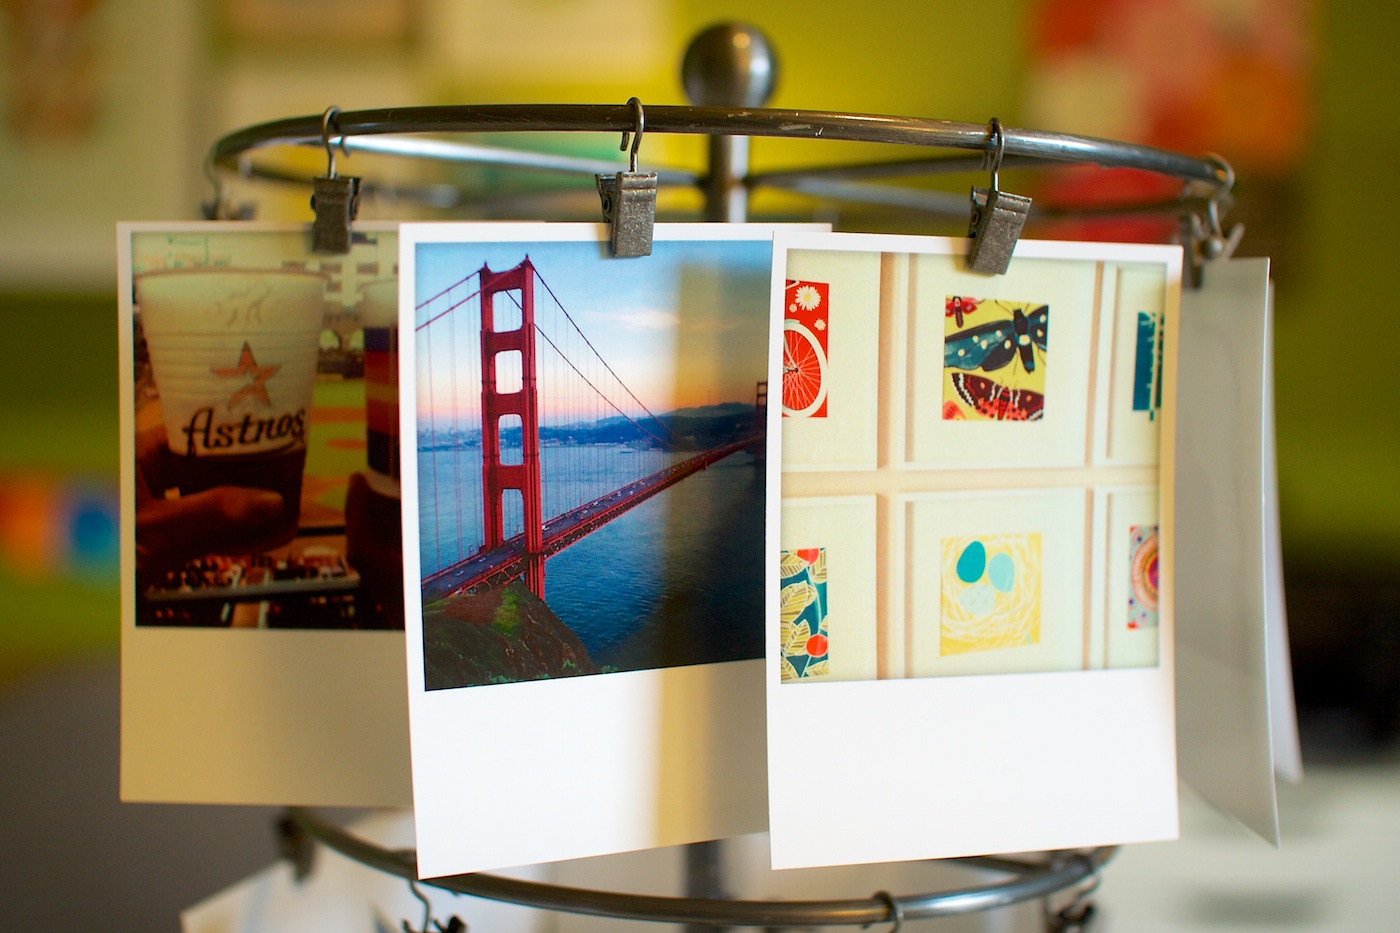
If you’re wondering whether the photos move around the stand, the answer is yes, and sometimes they end up hiding behind one another because of that. It doesn’t bother me – I see it as part of the organic charm of the stand – but if you’re super OCD about things staying lined up or equally spaced, it might drive you a little bit nuts, haha.
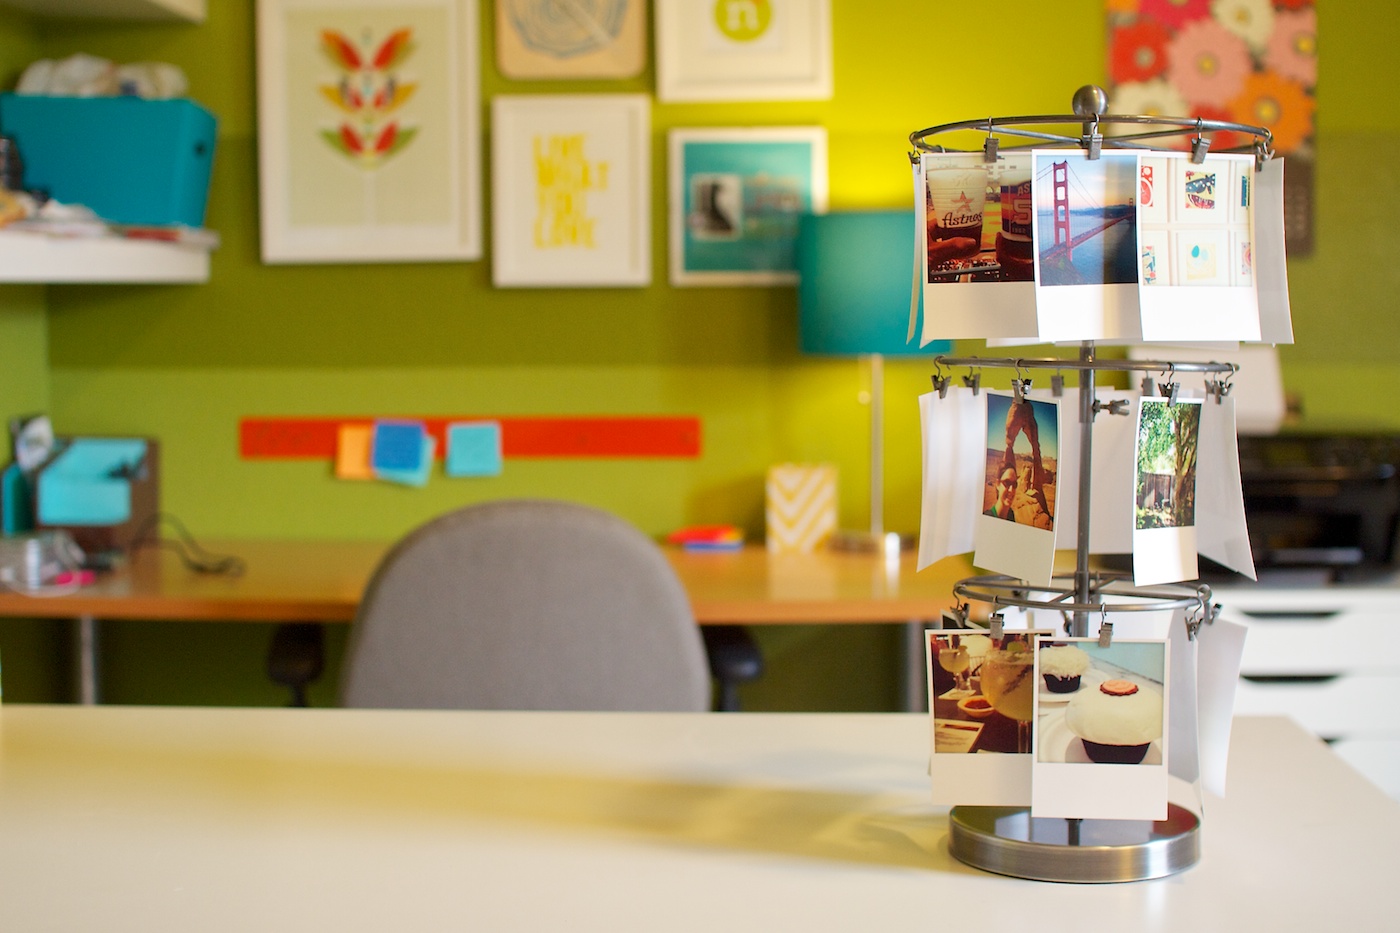
Right now my Instagram photo carousel is in my office but once we’re no longer having to show our house to future renters, I’ll likely move it downstairs where it can be part of our everyday decor.

All in all this may be one of my favorite Creative Adventures I’ve done to date. I’m sure I probably say that every time, haha, but what I love most about this one is that it’s literally like I took all of my favorite things and clipped them up for all to see. From the outdoors to travel to baseball, beer and cupcakes, it’s all on there and I can’t help but smile every time I see it.

Plus I love that when I tire of these photos, I can easily print out a new batch and swap them out – no messing around with frames or tape or anything. As a lazy photo printer and hanger-upper, you know I’m all over that.

What about you? Have you done anything creative with your Instagram photos?

______________________________________________________________________

ABOUT THIS PROJECT

In honor of my 30th birthday, I’m challenging myself to go on 30 creative adventures before the end of 2013. This is Creative Adventure 8 of 30. You can read all the details behind this project here and find links to all my completed adventures here.

Benefits Of Using Canadian Pharmacy

POSTED IN 30 Creative Adventures

Creative Adventure #7: Neighborhood Photo Walk

POSTED ON March 14, 2013 IN 30 Creative Adventures, Photo Walk

After seeing Elise’s photo walk posts last year, I knew photo walks were a creative adventure I wanted to try. To be honest, considering I see myself as more of a photo-taking memory keeper than a photographer, I was a bit nervous about tackling such a photo-centric challenge. But it seemed easy enough in theory so I decided to go ahead and give it shot earlier this week.

Creative Adventure #7: Neighborhood Photo Walk

On Tuesday evening after Adam came home from work, I grabbed my trusty Canon Rebel XT and we headed out for a short stroll around our neighborhood. In total we were out for about 30 minutes. Here were some of my favorite shots:

Nettiodesigns CA7 PhotoWalk1Nettiodesigns CA7 PhotoWalk2Nettiodesigns CA7 PhotoWalk3Nettiodesigns CA7 PhotoWalk4
Nettiodesigns CA7 PhotoWalk5Nettiodesigns CA7 PhotoWalk6Nettiodesigns CA7 PhotoWalk8Nettiodesigns CA7 PhotoWalk9Nettiodesigns CA7 PhotoWalk10Nettiodesigns CA7 PhotoWalk11Nettiodesigns CA7 PhotoWalk12Nettiodesigns CA7 PhotoWalk13Nettiodesigns CA7 PhotoWalk14

For anyone interested in trying their own neighborhood photo walk here were a few tips I learned from my walk:

  • Look up, down and all around you – the most interesting textures and elements were rarely right in front of me.
  • Get in close, then get closer – pretty much anything looks more interesting when bound by a tight crop.
  • Key an eye out for interesting patterns and textures – these photos were my favorites.
  • Take someone with you – that way when you’re doing crazy things like setting your camera down in the street you have someone watching out for cars for you. Plus then you don’t look like the lone weirdo wandering around the neighborhood with a camera, haha.

To be honest, I really wasn’t sure what to expect going into this creative adventure but I LOVED it. In fact, it may even be one of my favorite ones I’ve done so far.

It was simple & easy but I loved the way it made me look at the world differently than I do when I take photos for memory keeping purposes. This format really forced me to slow down and look for things like shapes, details and textures or patterns which was awesome. Will definitely be doing more photo walks in the future, for sure.

For anyone interested in the technical details: All photos were taken around 7:30pm with my Canon Rebel XT and Sigma 30 1.4mm prime lens. Aperture was set to f4 and ISO was between 400-800 (I increased it as the sun went down). All photos were edited slightly with Aperture but almost all cropping was done in camera.

______________________________________________________________________

ABOUT THIS PROJECT

In honor of my 30th birthday, I’m challenging myself to go on 30 creative adventures before the end of 2013. This is Creative Adventure 7 of 30. You can read all the details behind this project here and find links to all my completed adventures here.

Can diabetes cause erectile dysfunction

POSTED IN 30 Creative Adventures, Photo Walk

Creative Adventure #6: 30 Days of Lists

POSTED ON March 12, 2013 IN 30 Creative Adventures, 30 Days of Lists, Project Life

I’ve known since I started this Creative Adventures project last May that one of the adventures I wanted to include this year was 30 Days of Lists.

If you haven’t heard of 30 Days of Lists before, it’s pretty much exactly what it sounds like it would be. It’s a month long event hosted by the lovely Kam of Campfire Chic and Amy of Lemon & Raspberry. It costs $8 to participate and then every day during the month of March you receive one list prompt posted on a private blog, covering anything from weekend goals to celebrity crushes. At the end of the 30 days you’ll have a collection of entries capturing a snapshot of your life right now.

Let’s be honest, a project featuring lists that captures a snapshot of my life right now? You know I’m all over that.

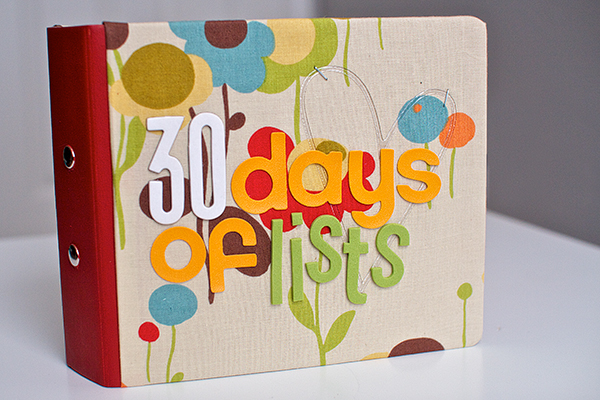
Last March I played along with 30 Days of Lists and created this 6×6 mini album for my lists:

Nettio 30Days cover1

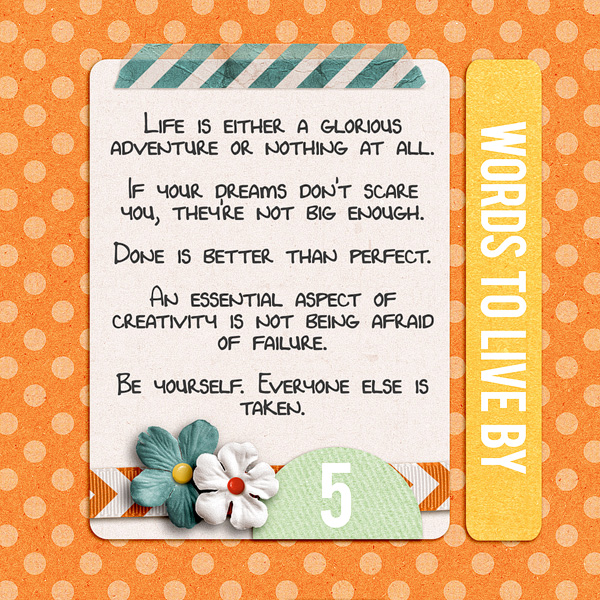
Here’s what the design for each page looked like:

Nettio 30Days 5

You can see my all my completed pages here: #1-5 and here: 6-11.

I LOVED how the pages turned out, but I only ended up making it through about Day 11 and I can tell you right now why: because as much as I loved my pages, they were too complicated. Too many details and decisions needed to be made for each one.

If there’s one thing I’ve learned in 7 years of scrapbooking it’s this: the more times you have to repeat something, the more simple the design should be or else you aren’t going to finish it. #wordstoliveby

Creative Adventure #6: 30 Days of Lists

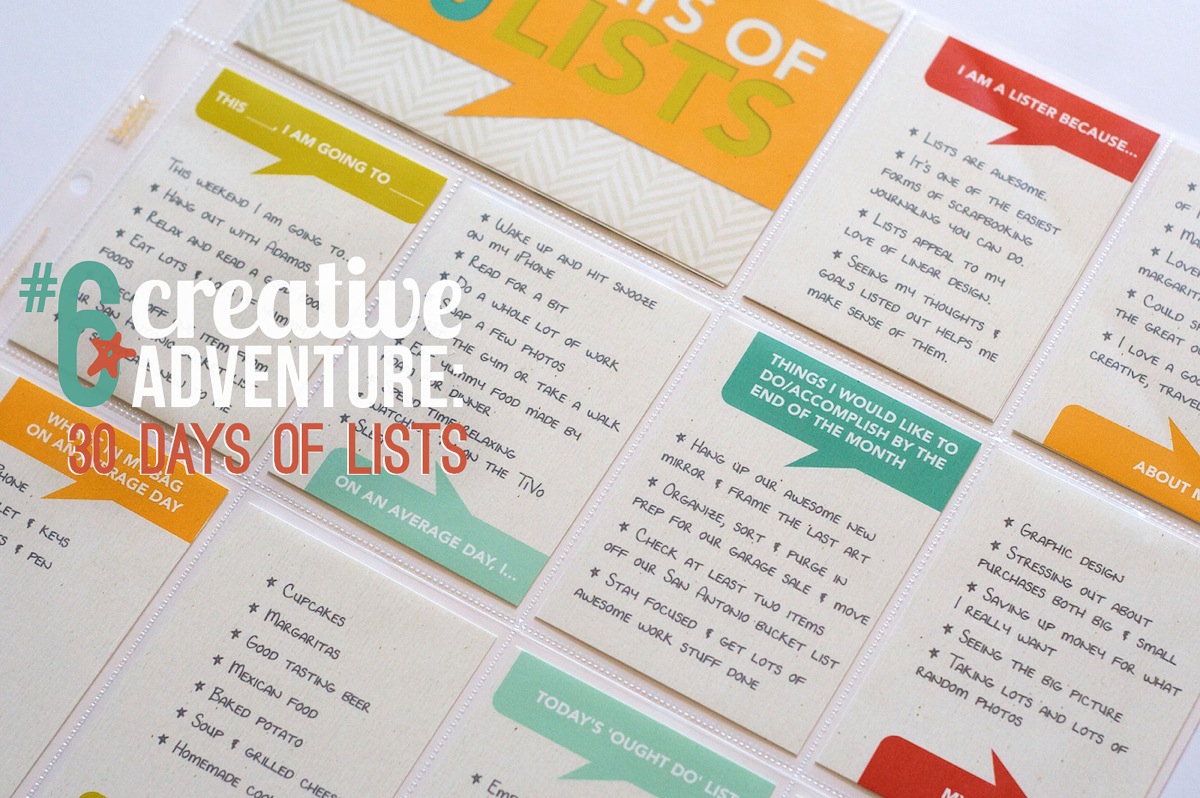
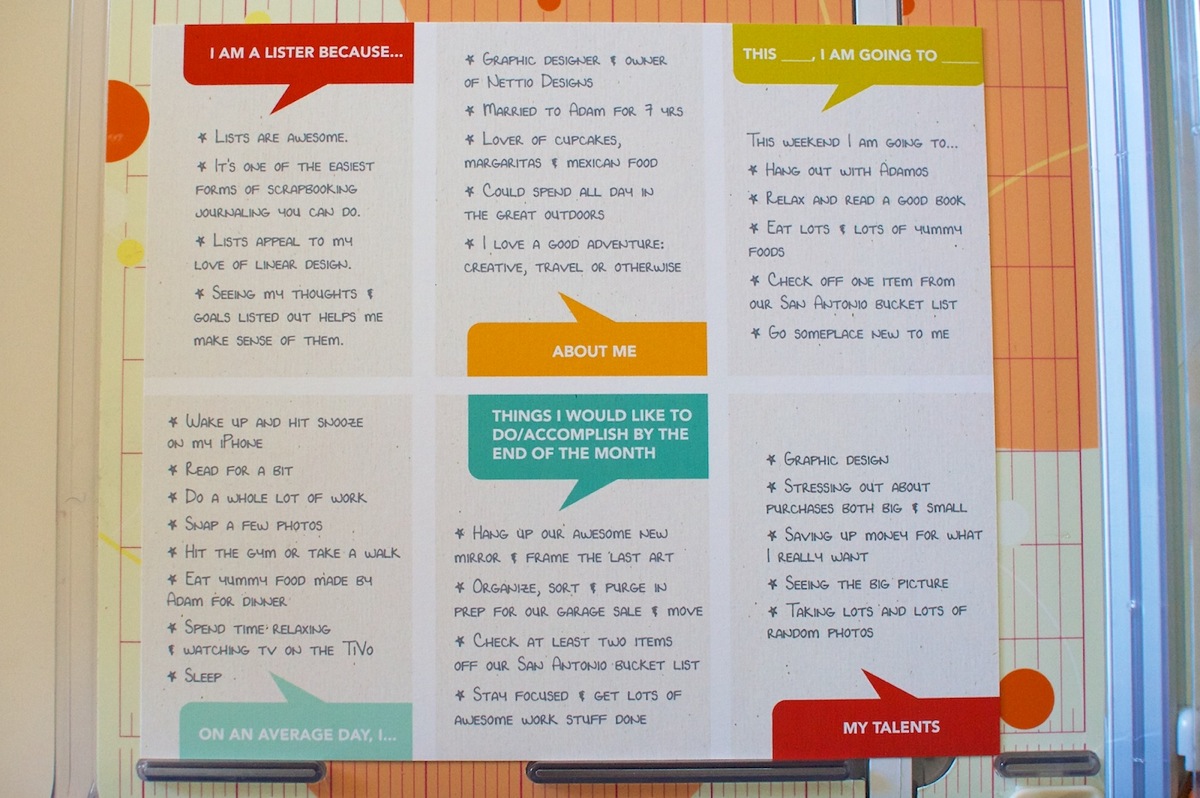
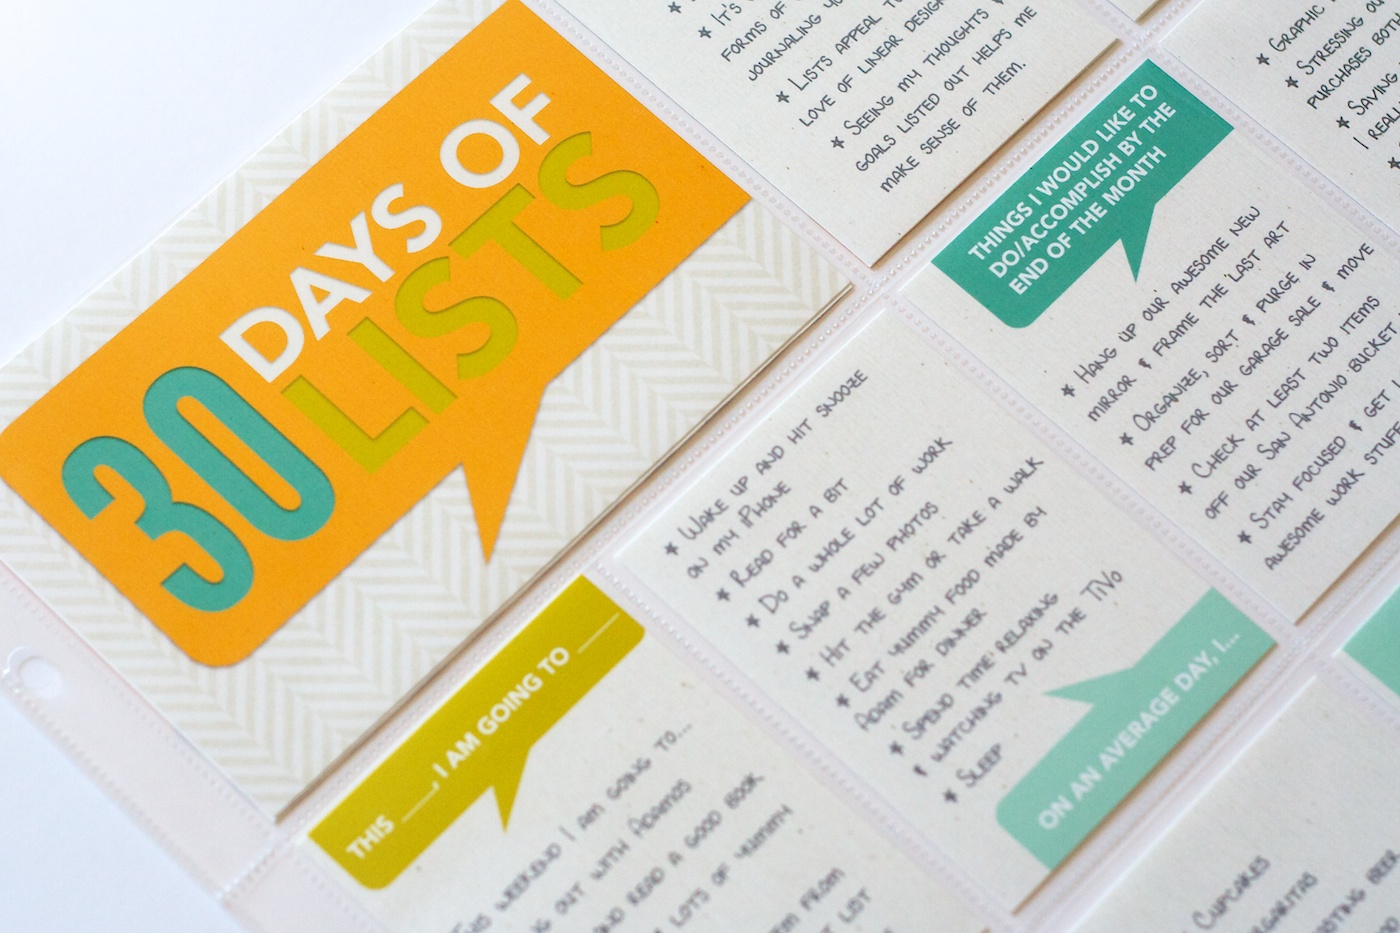
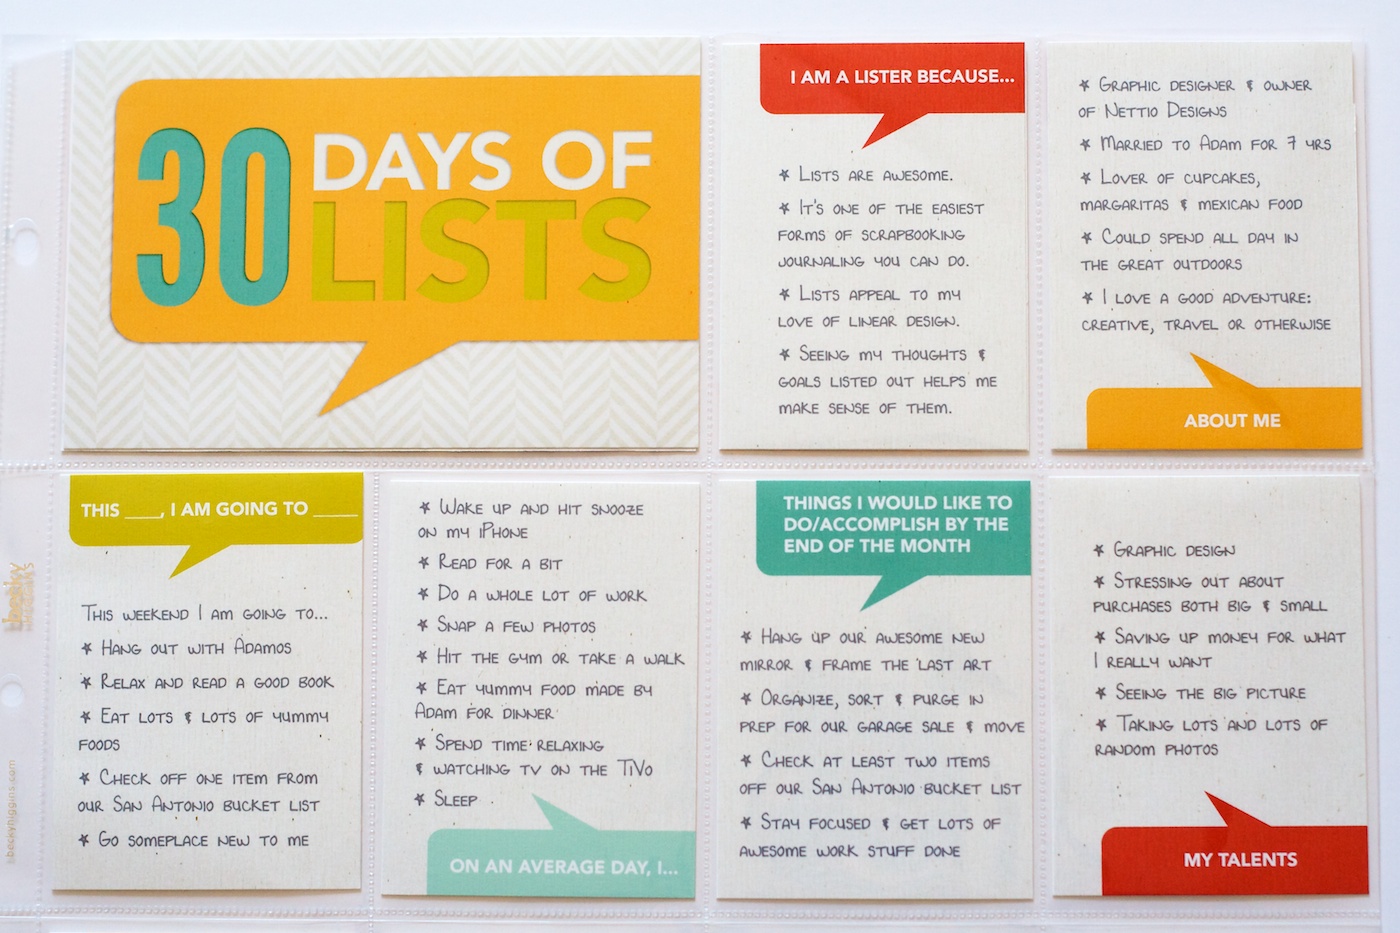
So for 30 Days of Lists, the March 2013 edition, I decided to keep things super simple. And since I’ve been enjoying Project Life so much, I decided this year I’d include my lists as 3×4 cards as part of my Project Life album by including them in a series of Project Life Design F page protectors.

Nettio CA6 30 Days of Lists title

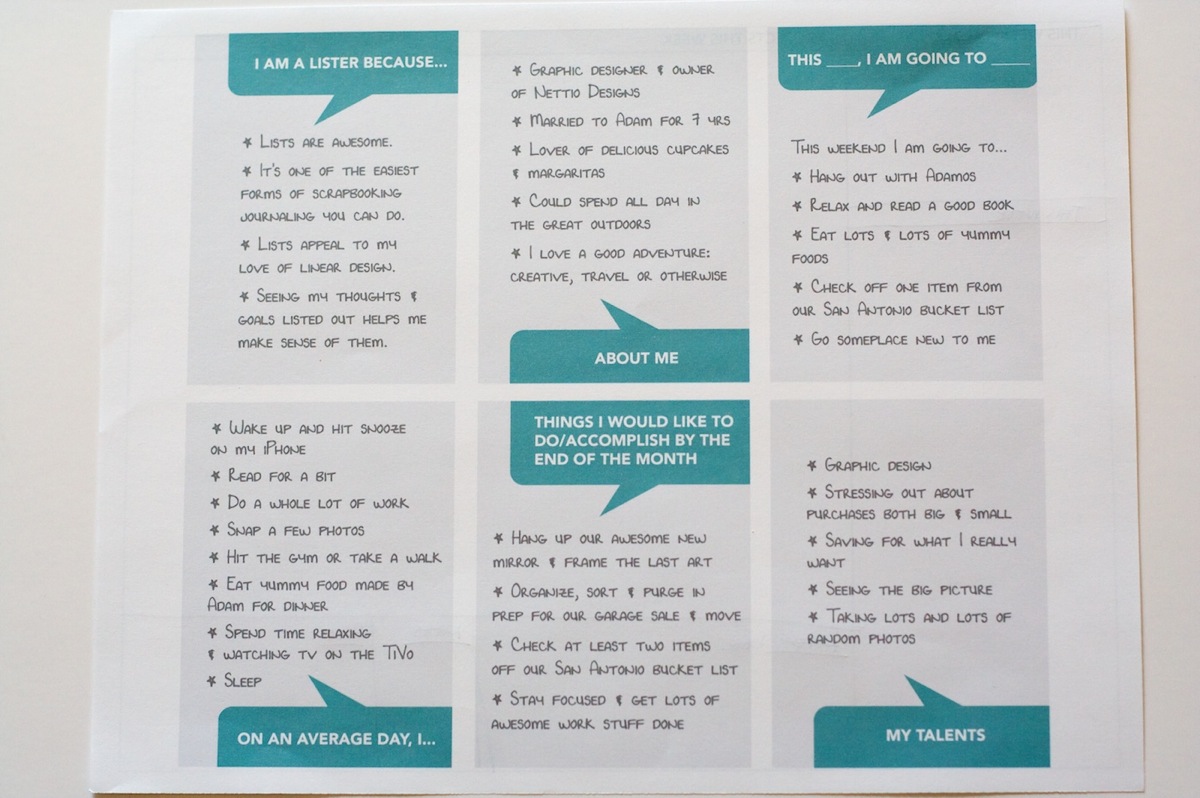
I started by designing a mock-up template in Photoshop and then printing it out to check the sizing of the type. I almost always start with a mockup when I know I’m going to be design multiple copies of something since the last thing I want to do is design a bunch of cards and then have to change them all. I designed all of the talk bubbles using the shape tool in Photoshop.

Nettiodesigns 30 Days of Lists 1

Once I was happy with the overall design, I started playing around with colors and papers. Since I knew I wanted to tie my color scheme into my March Project Life pages, I chose to use a background paper and colors from Libby & Shawna’s Oh Snap! kit which I plan to use for my March Project Life weekly title cards.

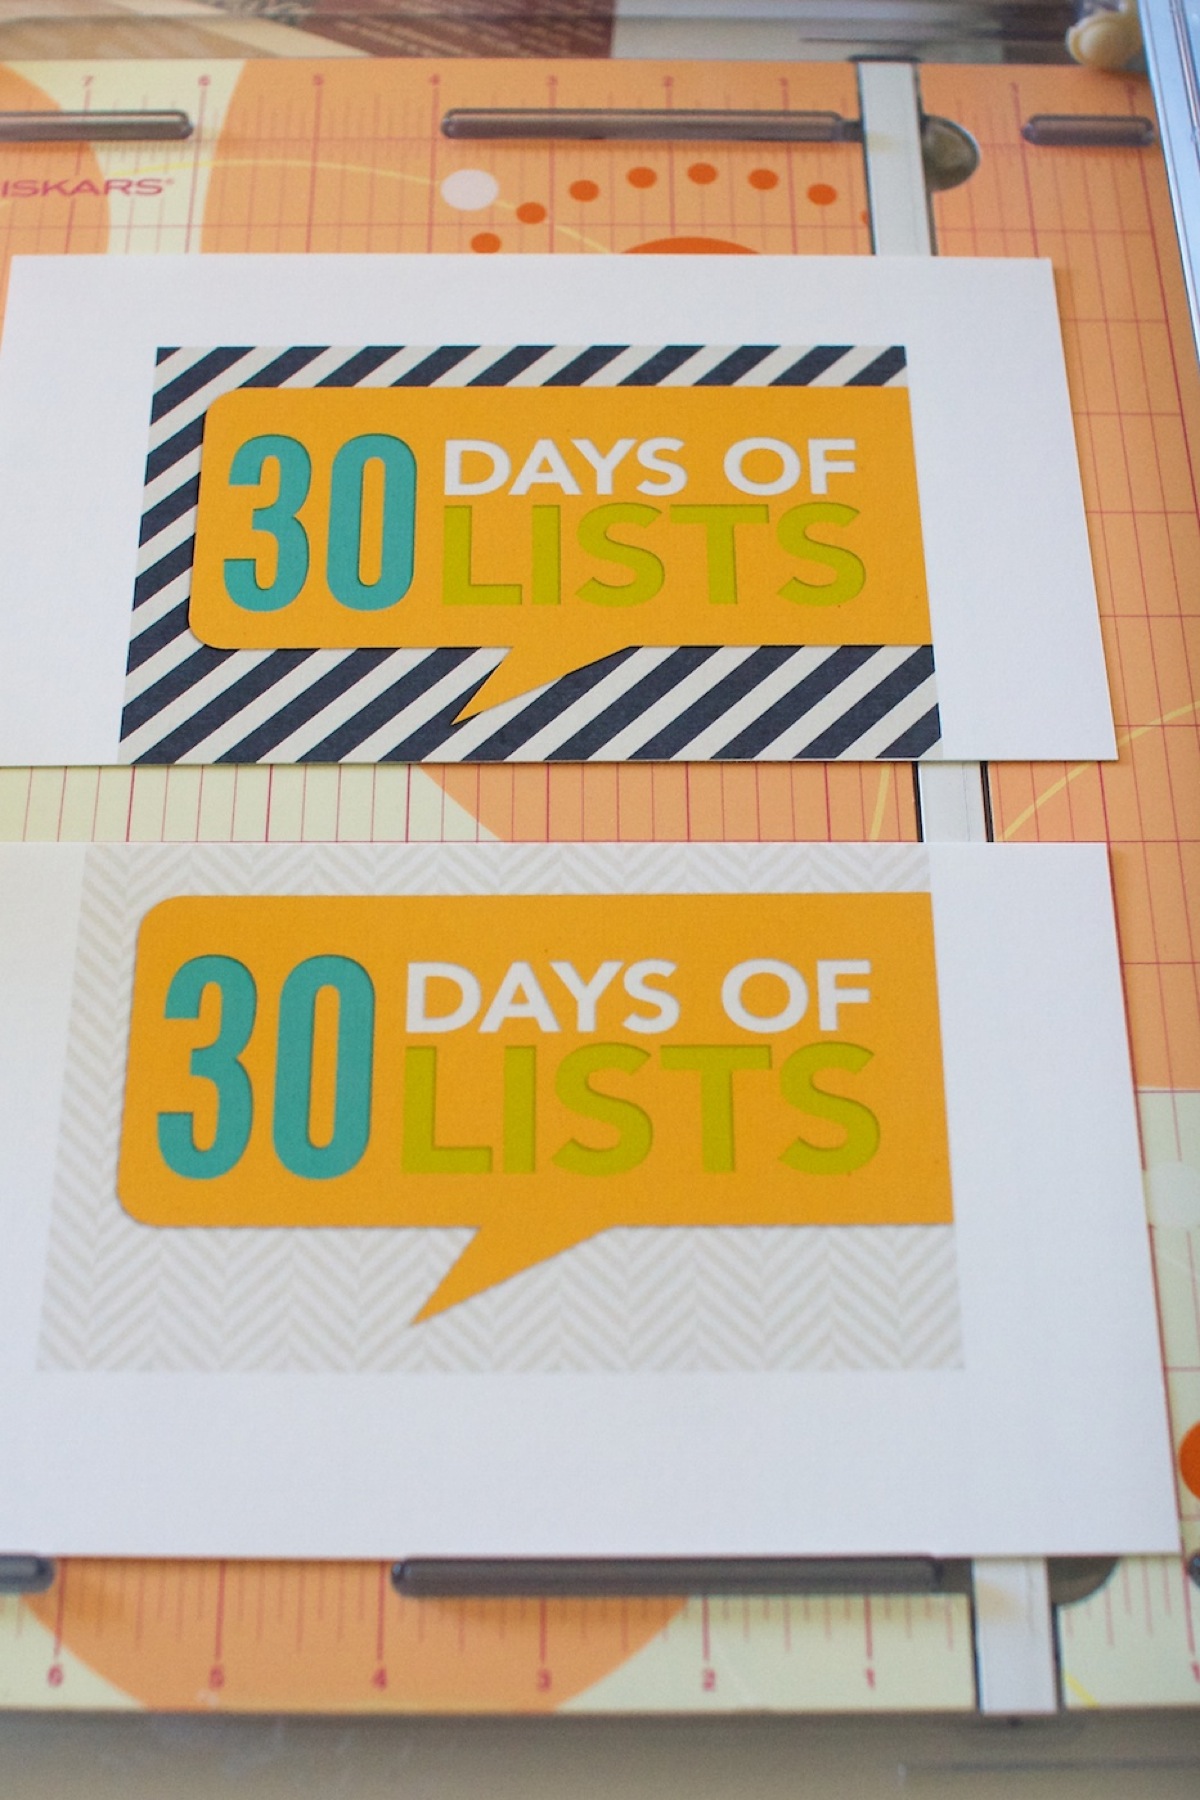
Once I had a design I liked, I printed everything on Epson Matte Premium Presentation Paper and then trimmed everything out with my Fiskars paper trimmer:

Nettiodesigns 30 Days of Lists 8

I also printed a couple of title cards to use in the 4×6 slot in the Design F page protectors. All of the patterned papers for these came from Libby & Shawna’s Oh Snap! kit as well.

Nettiodesigns 30 Days of Lists 4

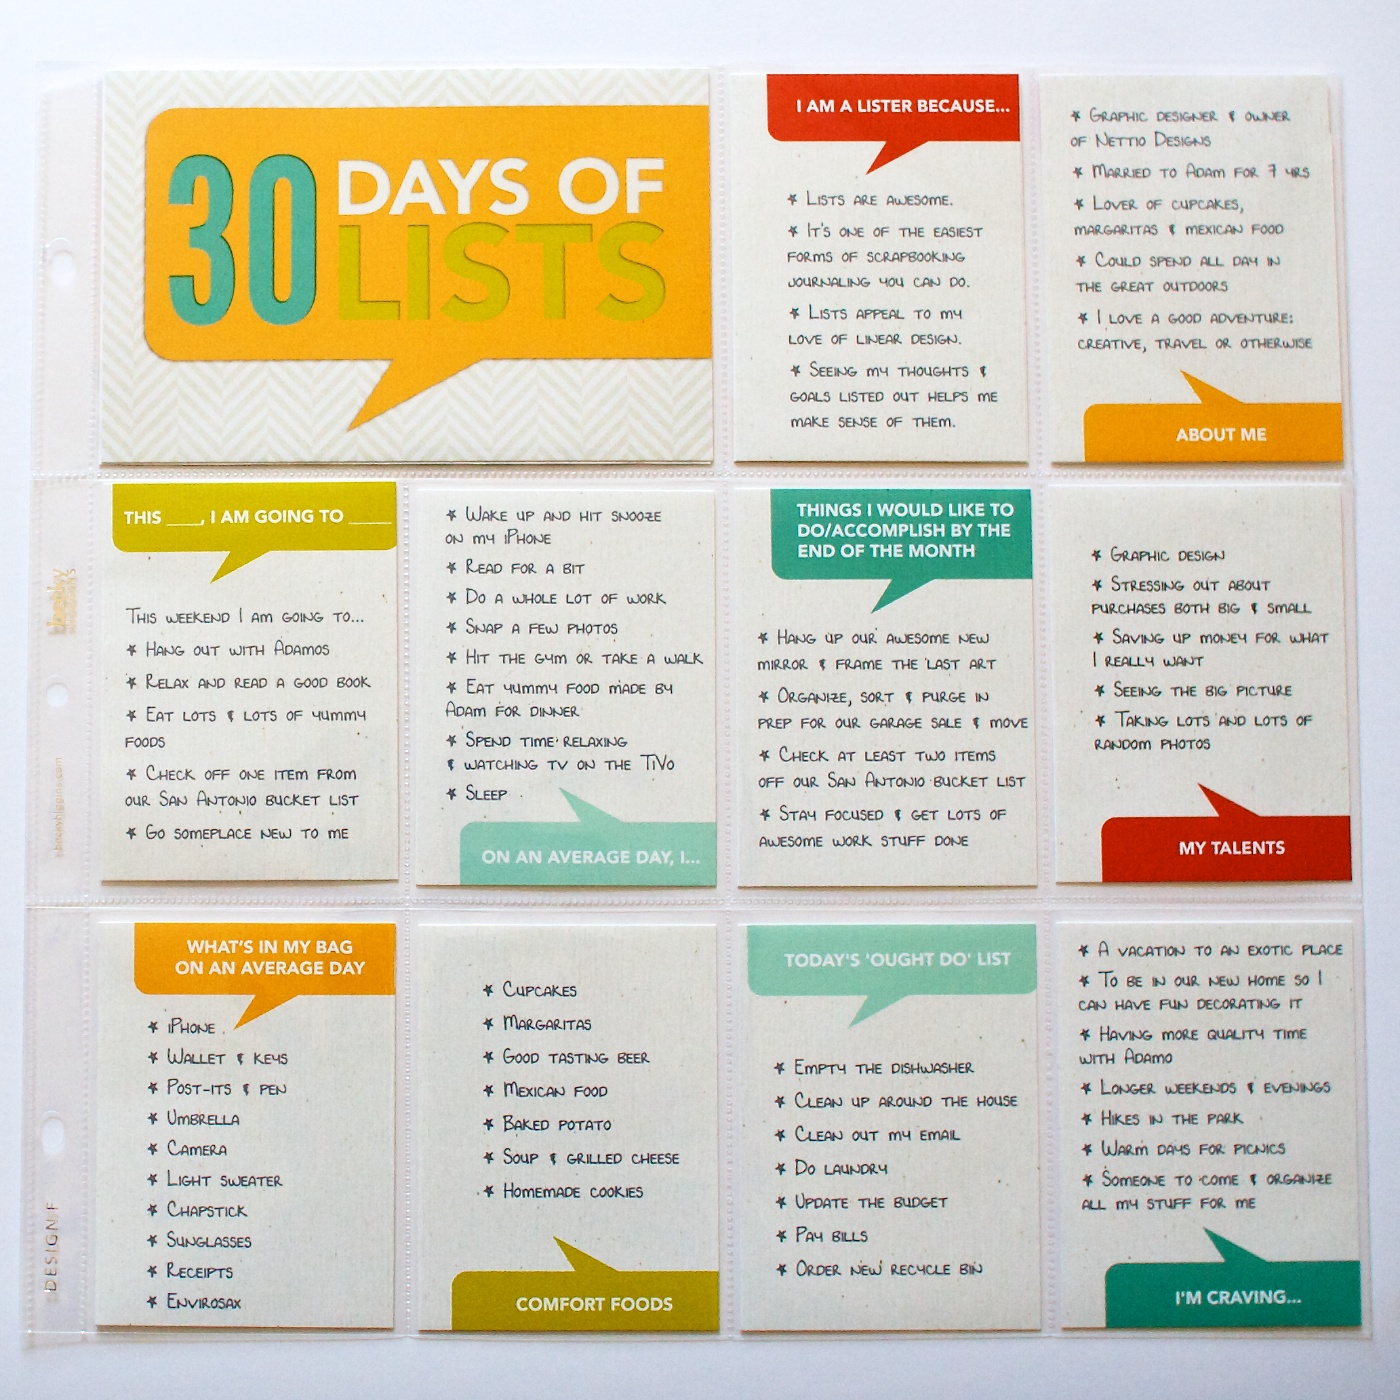
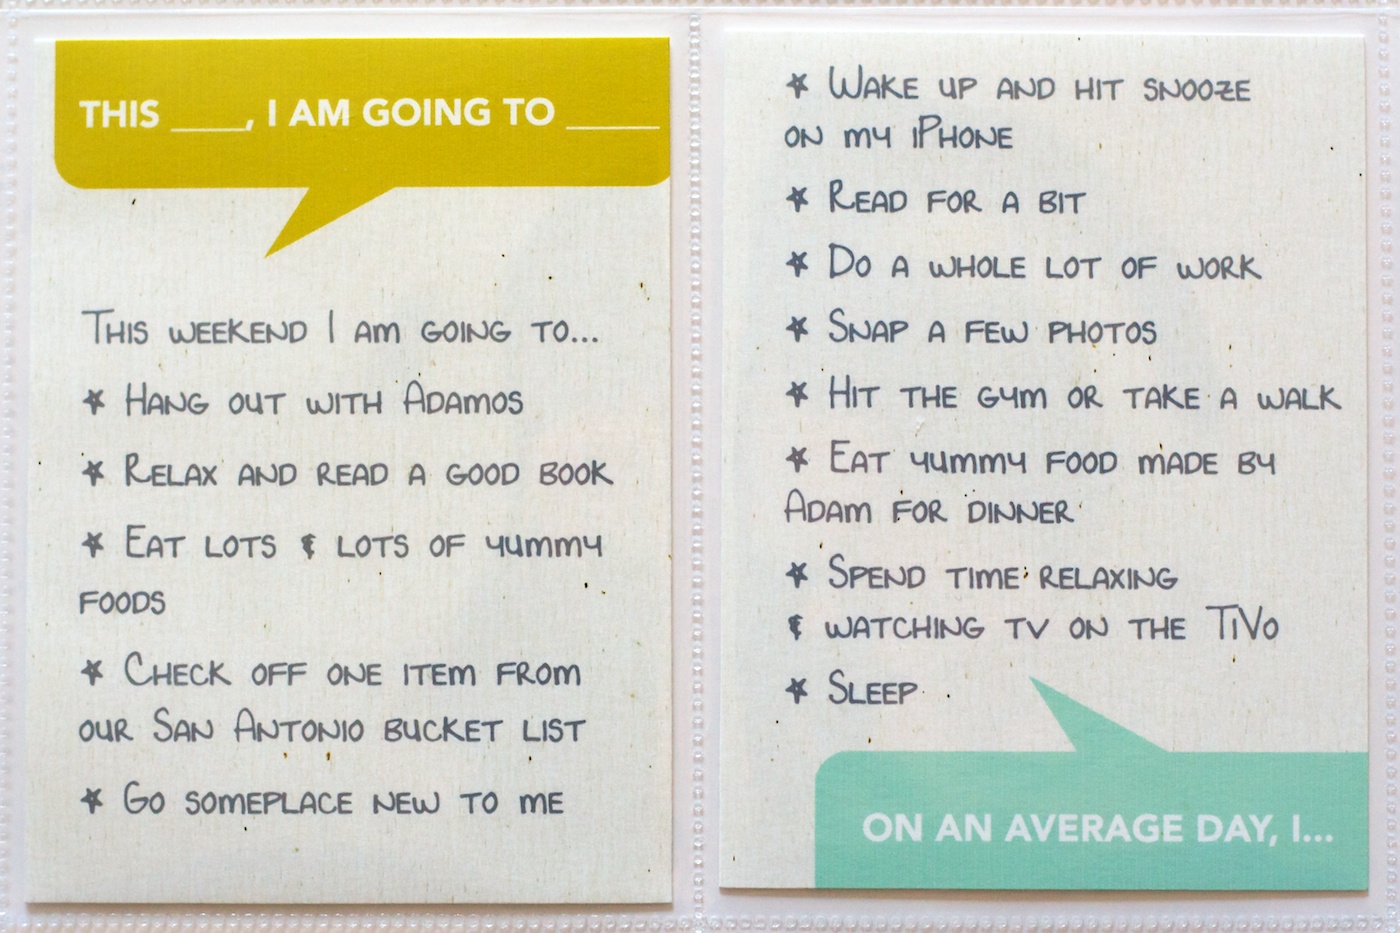
Here’s what all the cards looked like once I added them to the page protector. I’m not going to lie, I’m totally in love with the talk bubbles – they’re so fun! I can definitely see using them again as part of my regular Project Life pages.

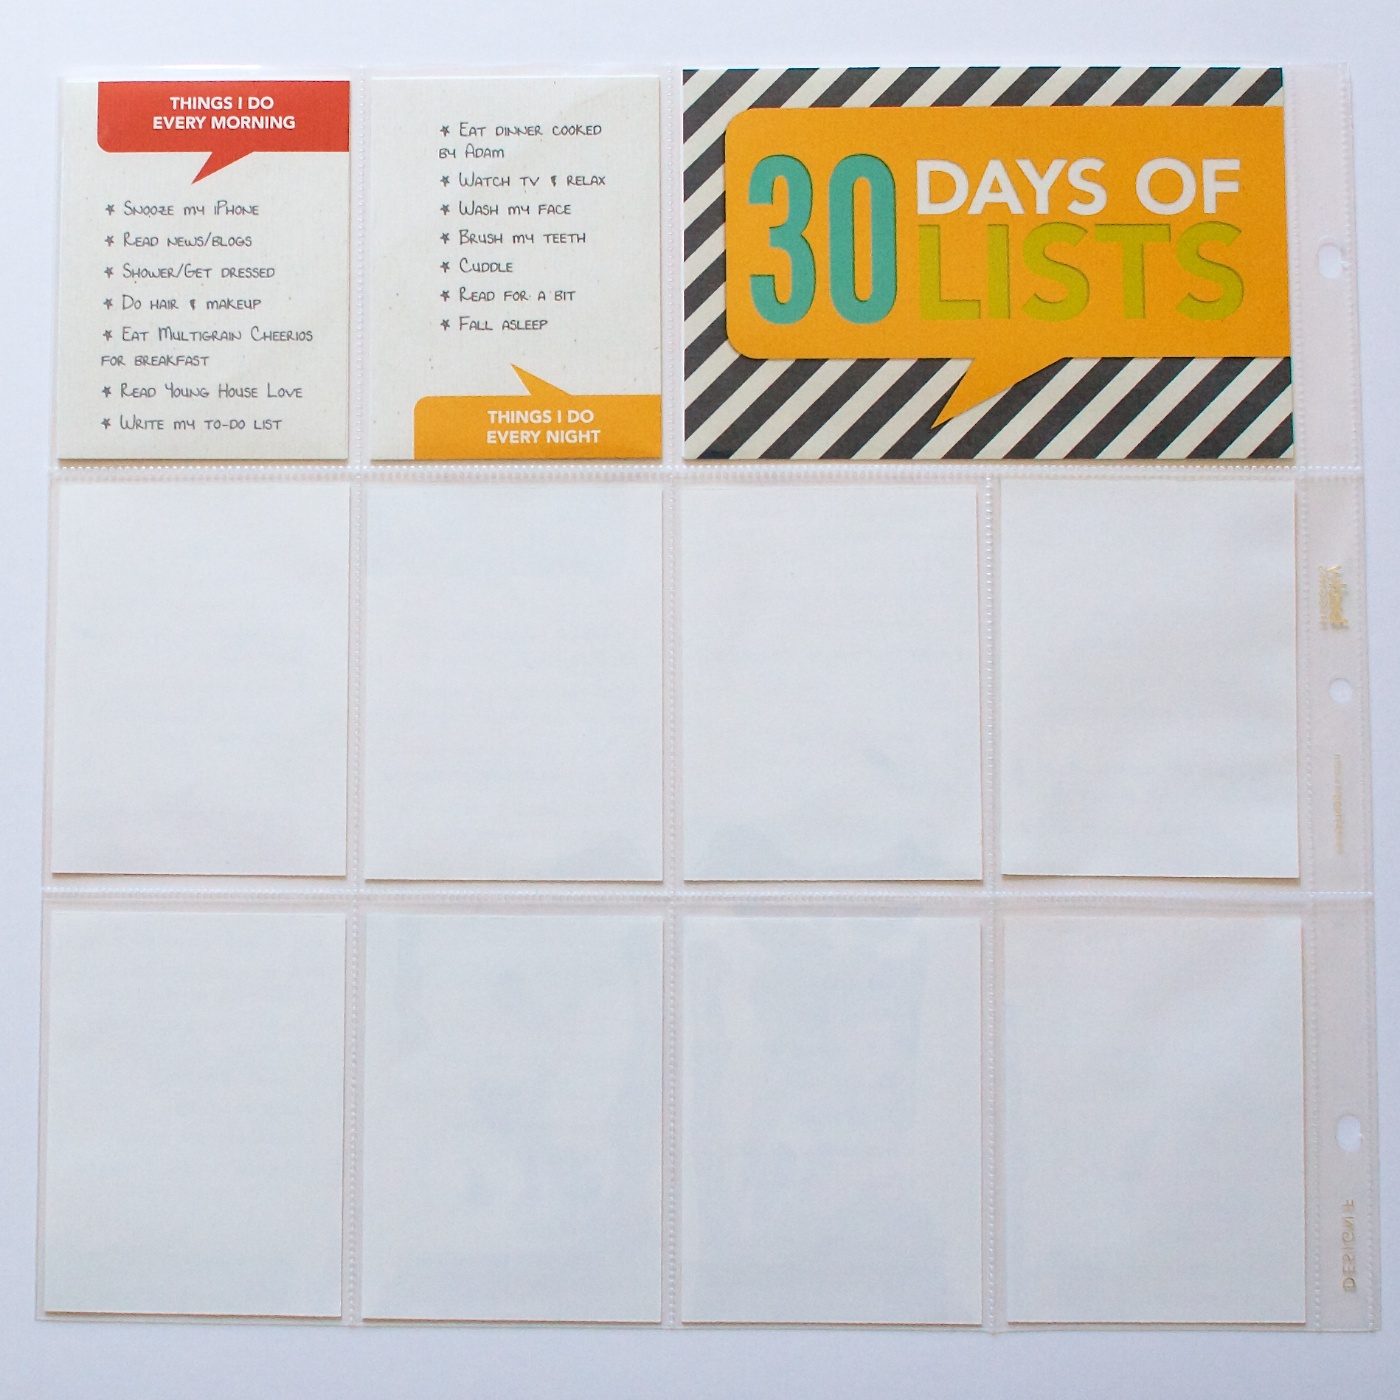
And here’s what the back of the page looks like right now. Since I’ve only done up through Day 12, the majority of this page is blank.

I purposely went with a textured off-white digital paper for the background of the cards because I wanted them to stand out from the regular bright white 3×4 cards I use for Project Life.

For all of the list titles I used the font Avenir and for the lists themselves I used my own journaling font Darcy Baldwin made for me. I love the way the handwriting font makes it feel so much more personal without me having to actually write everything by hand.

If you don’t already have a custom handwriting font by Darcy, RUN, don’t walk or wait for a sale, and get yourself one because they are awesome.

Here’s a close up of the texture of the cards. I really wanted the colored talk bubbles (which I made using the shape tool in Photoshop) to look like they were actually printed on the textured background paper, so I added a duplicate copy of the paper above the talk bubble layer and changed the blend mode to Color Burn. Because the paper was fairly neutral, it added a nice texture without altering the color too much.

If you’re wondering how I’m planning to incorporate my 30 Days of Lists pages into my Project Life album, the answer is I have a plan, but you’ll have to wait until my next Project Life update to see it in action.

And that’s pretty much it for this list-tastic Creative Adventure! I will be back to share an update of my album once I have it all completed but I have to say so far, I’m so very glad that I took the simple route this time around. This project is definitely a case where less is more.

______________________________________________________________________

ABOUT THIS PROJECT

In honor of my 30th birthday, I’m challenging myself to go on 30 creative adventures before the end of 2013. This is Creative Adventure 6 of 30. You can read all the details behind this project here and find links to all my completed adventures here.

Can I take Levitra if I am taking other remedies at the same time

POSTED IN 30 Creative Adventures, 30 Days of Lists, Project Life, Hybrid Scrapbooking

Creative Adventure #5: Designing a Hybrid Mini Photo Book With Photoshop

POSTED ON January 31, 2013 IN 10 Things I Love Mini, 30 Creative Adventures, Memory Keeping

I’ve known since the beginning of this 30 Creative Adventures project that one of the projects I wanted to do was another photo book. I had designed one once before for my Week In the Life album in 2011 and I thought it’d be a fun challenge to do another one.

And since I designed my WITL photo book using Adobe InDesign the first time around, I thought I’d give designing a book in Adobe Photoshop a try since I know that’s what most of you use and I was curious to see how the process works for you.

Let me just preface this post by saying, designing a photo book in InDesign? WAY easier than using Photoshop. Seriously. But I survived and am so very in love with my completed mini photo book that all the hard work was worth it.

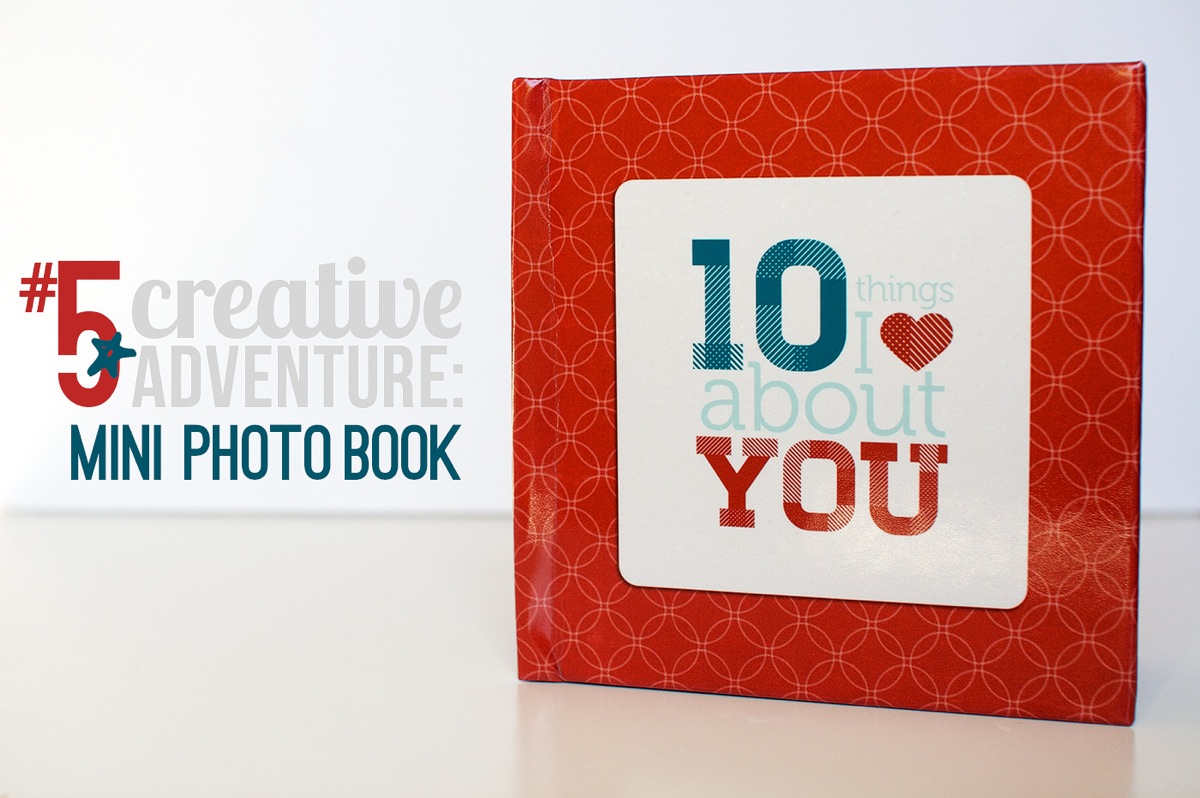
Which brings me to Creative Adventure #5: Designing A Hybrid Mini Photo Book With Photoshop

Creative Adventure #5: Designing A Hybrid Mini Photo Book With Photoshop

Nettio CA5 VDayMini title 1400

Step 1: Planning My Mini Photo Book

When I started this project, here were a few things I knew:

  • I wanted to use Photoshop to design my book, as I mentioned
  • I wanted to do something smaller, like a 6×6 or 5×5 book as opposed to the 8×10 book I did for WITL
  • I didn’t want to pay a fortune to have it printed

Since Valentine’s Day was coming up, I thought it’d be fun to make a little book as a gift for Adam. So I came up with the idea to do a 10 Things I Love About You mini book because a) I love lists and b) it seemed like it’d be fun to design.

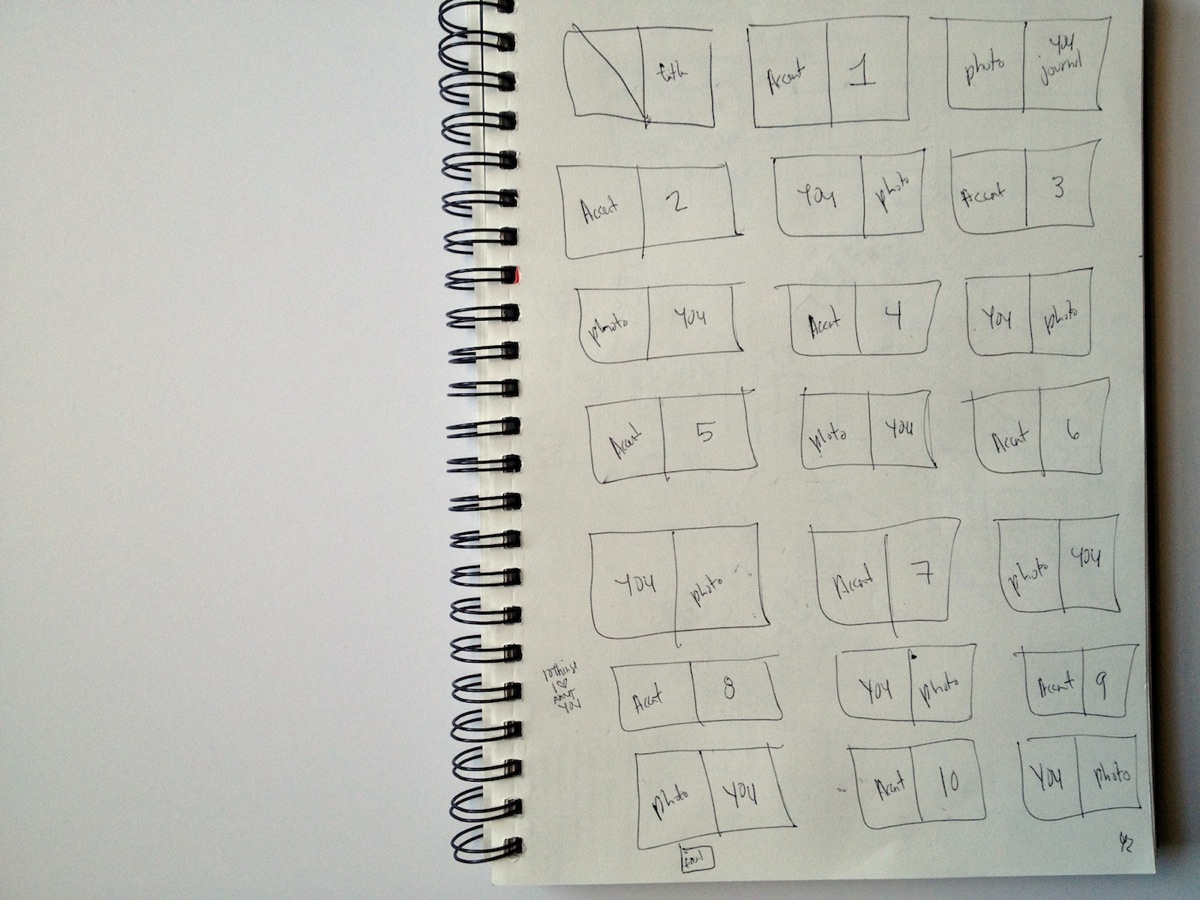
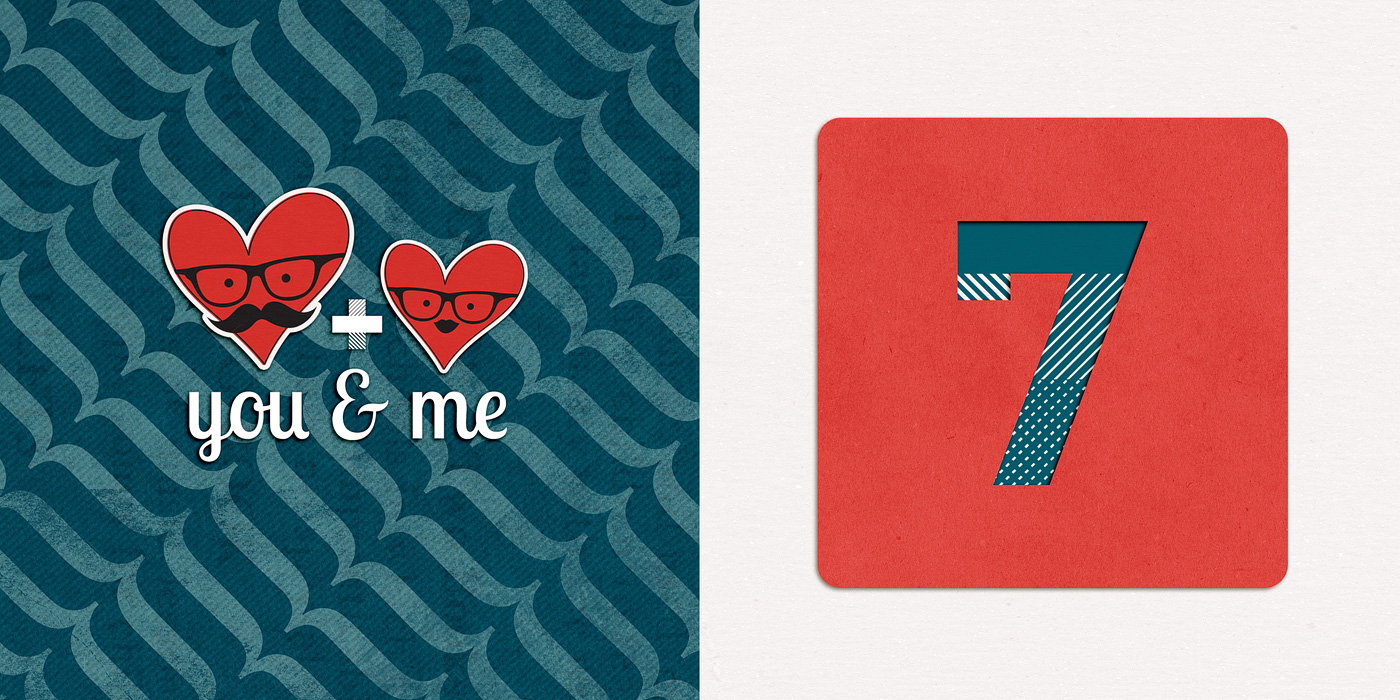
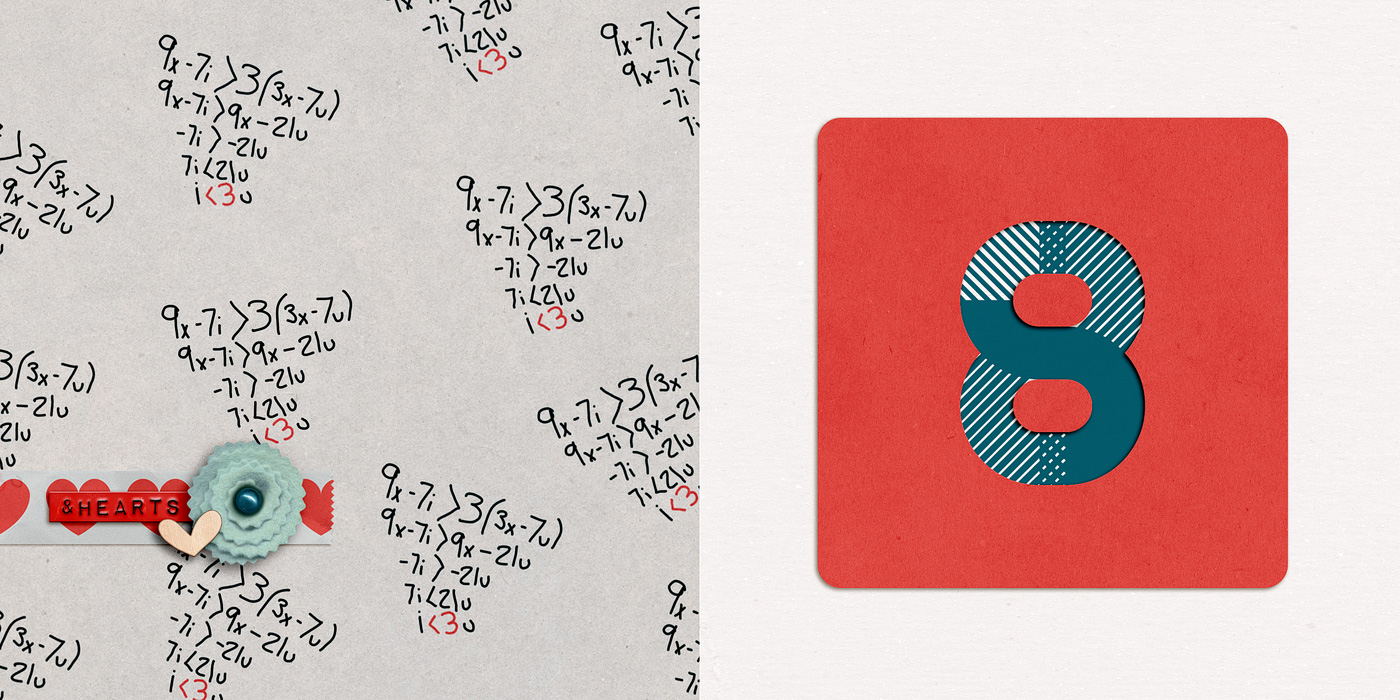
After drawing up some sketches, I decided I wanted to go with a repeating pattern of 2-page spreads: an accent/number spread and a full photo/text spread using the word YOU as the focus for the text.

So I made a little mockup version on scratch paper to see how it would work:

Nettio Valentine Mini Photo Book Sketch1

Nettio Valentine Mini Photo Book Sketch2

Then I drew out a bigger version of all the pages I would need since I wanted to make sure whatever printer I used could handle the number. I also decided to keep all the number pages on the right side of the spreads but I wanted the photos/text to alternate with every other number like so:

Nettio Valentine Mini Photo Book Sketch3

Super high-tech, I know, haha. But I find it really helps to give me a feel for sizing and/or the flow of the book.

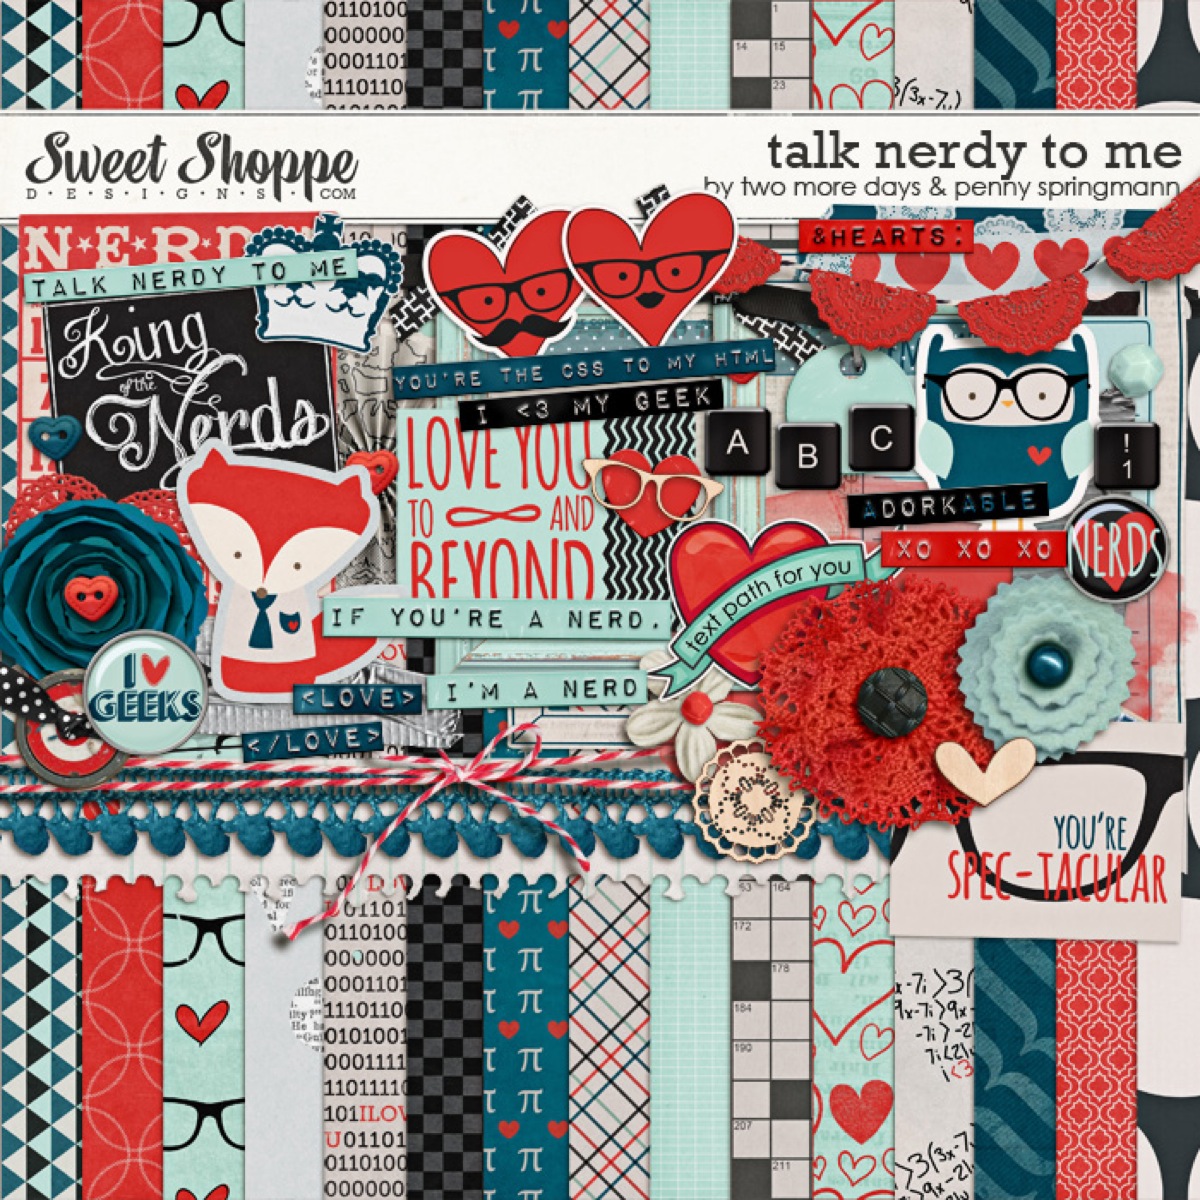
Once I had a general feel for the design of the book, I went on the hunt for a kit that would work with my design. As soon as I saw this super adorable Talk Nerdy To Me kit from Penny at Sweet Shoppe Designs, I knew we had a winner. A+L definitely equals nerdiness, haha.

Pspringtmd talknerdytome preview

The final planning decision I needed to make to decide on a final size and book printer. I like to do this before I design any actual pages since the final size of a printed book varies depending on the printer and this way I can account for any bleed/trim since every book publisher does things a little differently.

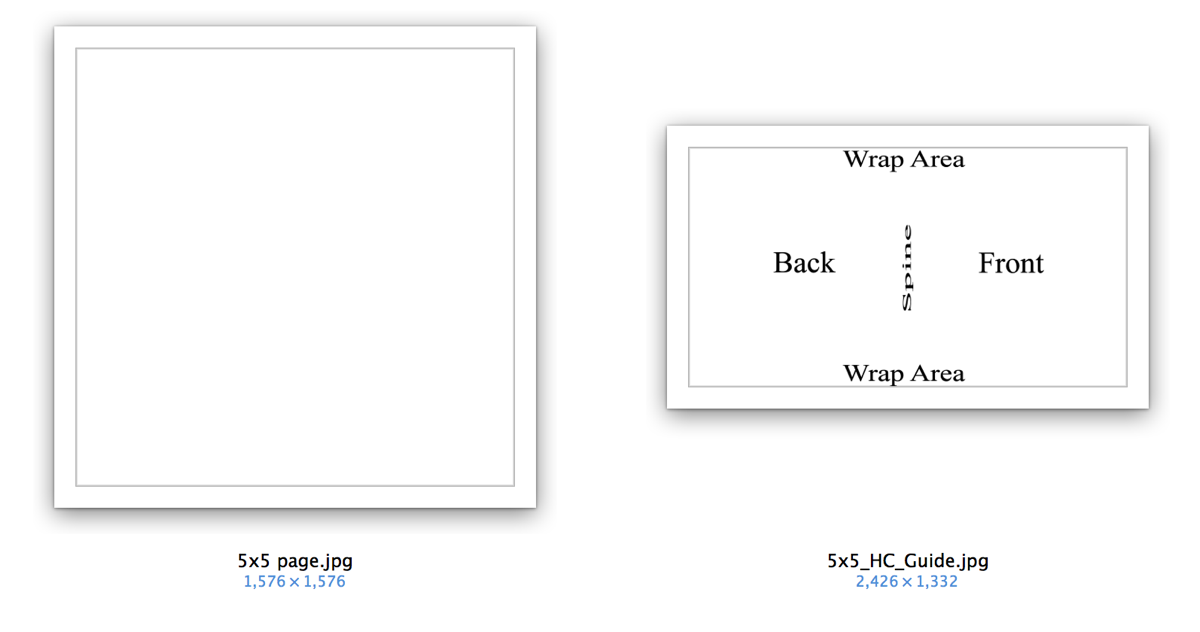
After looking around a bit, I finally settled on an Mpix 5×5 Hardcover book (it’s under their Coffee Table Books in the left sidebar). A huge selling point for me was they had templates I could download to make sure I got the sizing just right and their books were reasonably priced:

Nettio CA5 VDayMini Step1

Step 2: Prepping My Mini Photo Book

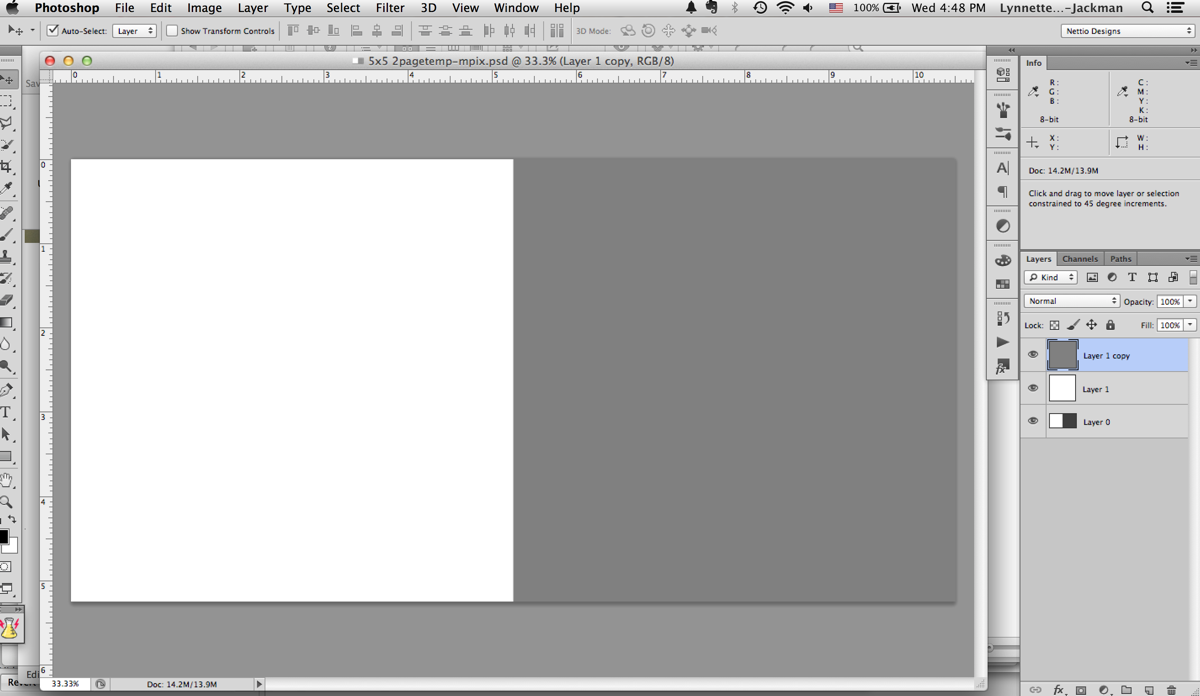
Since I like to design two-page spreads as a single file, I used the 5×5 page template to make a single 5×10 document. The actual size ended up being around 5.25 x 10.5 since their 5×5 pages are actually 5.253 x 5.253. This is why checking the sizing for the book printer you want to use is so important before you start – because it’s much easier to design your pages correctly the first time than it is to make adjustments later on, especially if you want full-bleed (images going all the way to the edge) pages which I did.

Nettio CA5 VDayMini mpix2page

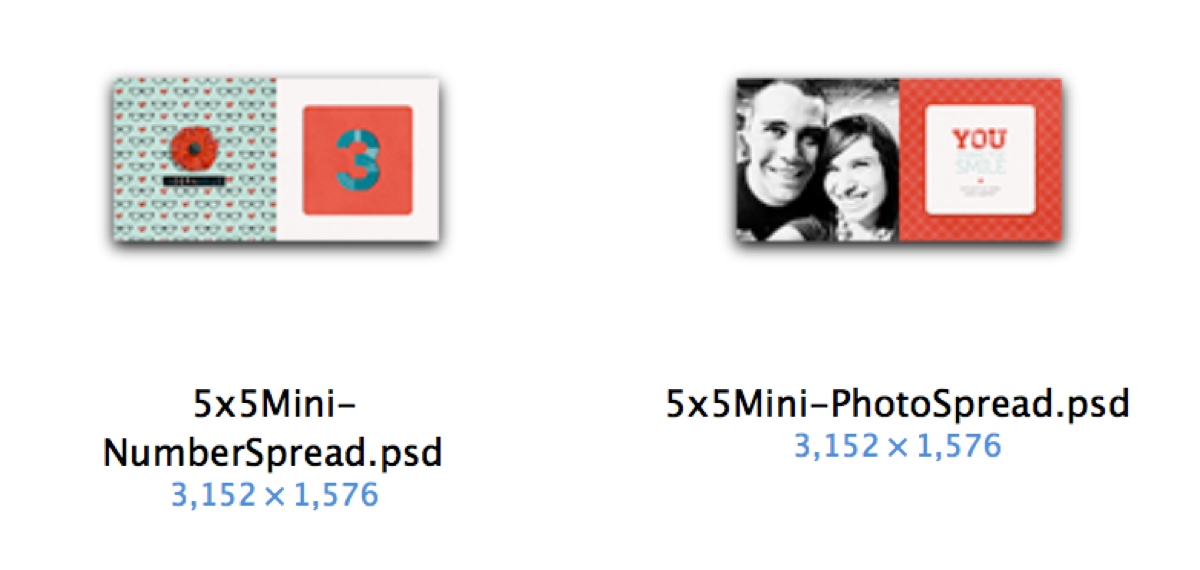
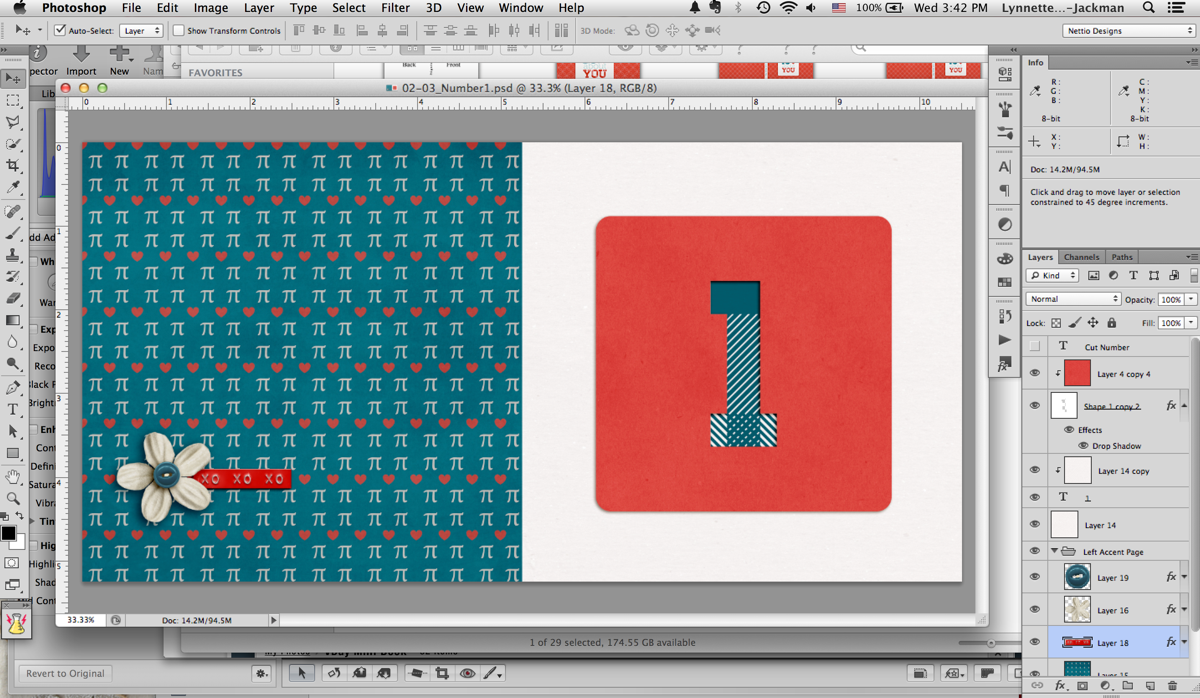
Once I had my two-page template made I made two master templates: one for the accent & number page and one for the photo & text page.

Nettio CA5 VDayMini Step2

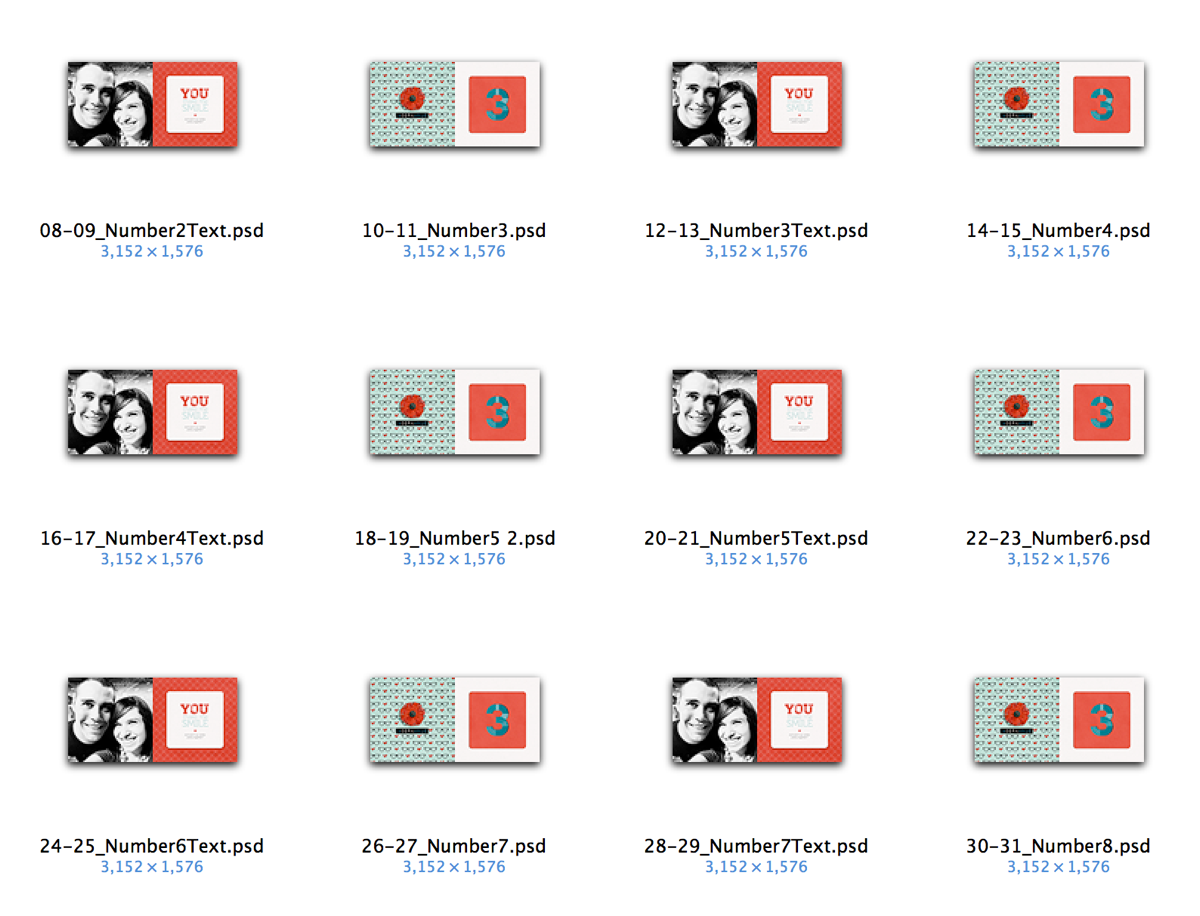
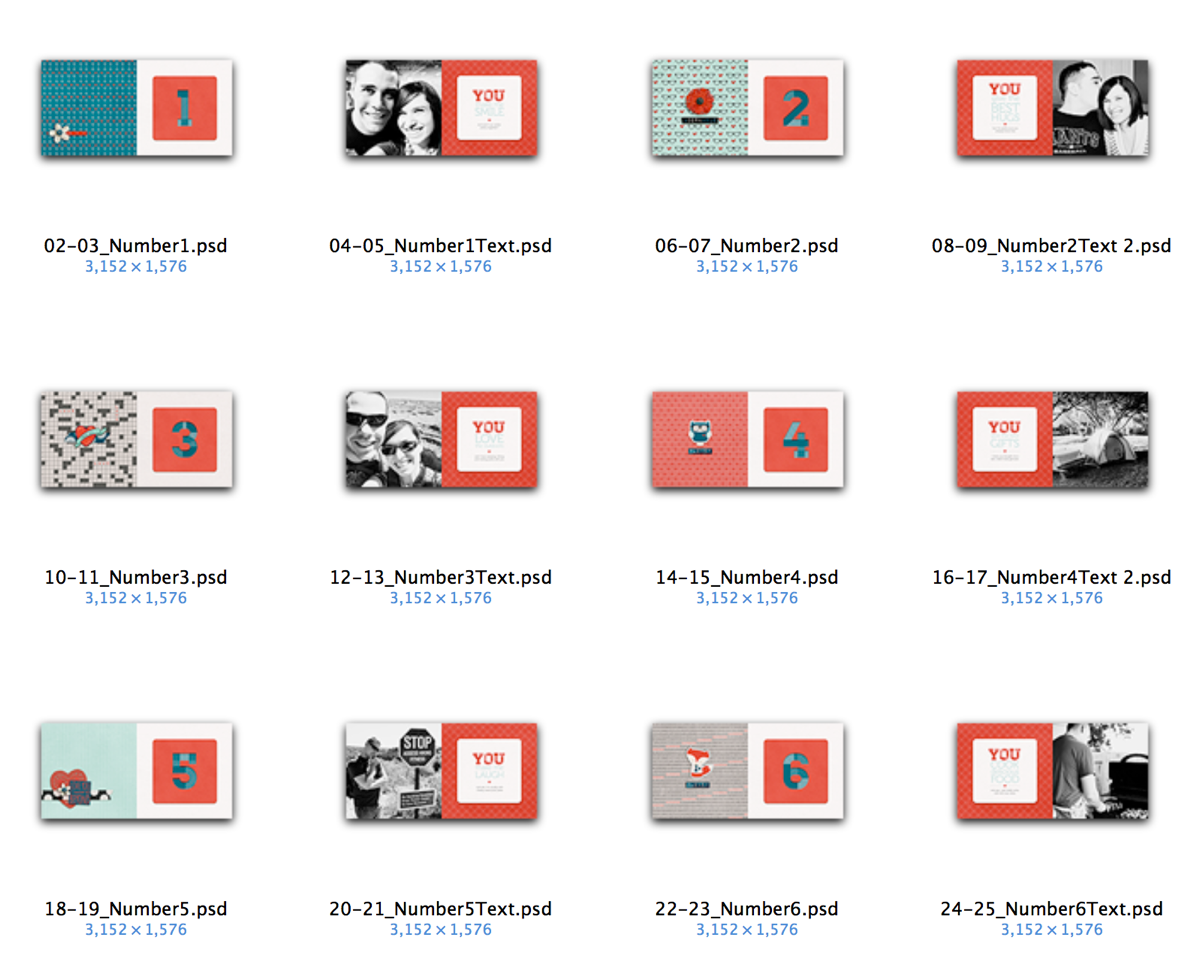
Then I duplicated and renamed all those files to represent each spread in the book. This is basically the same exact process I would use in InDesign: design master pages first and then duplicate them as a template for all the following pages. But in InDesign it’s much simpler since all these pages are in a single document. Since I was using Photoshop this time around, I had to make all the pages by hand as individual files. #sotedius

Nettio CA5 VDayMini Step3

Step 3: Designing My Mini Photo Book

But once I finally had all the planning out of the way, now came the fun part: designing the book! This was the easy part, haha.

Nettio CA5 VDayMini Step4

Since I was trying to keep this a secret from Adam, I designed all the accent & number pages one night while we watched TV (I just told him I was making a mini book) and then I did all the photo & text pages while he was at work one morning.

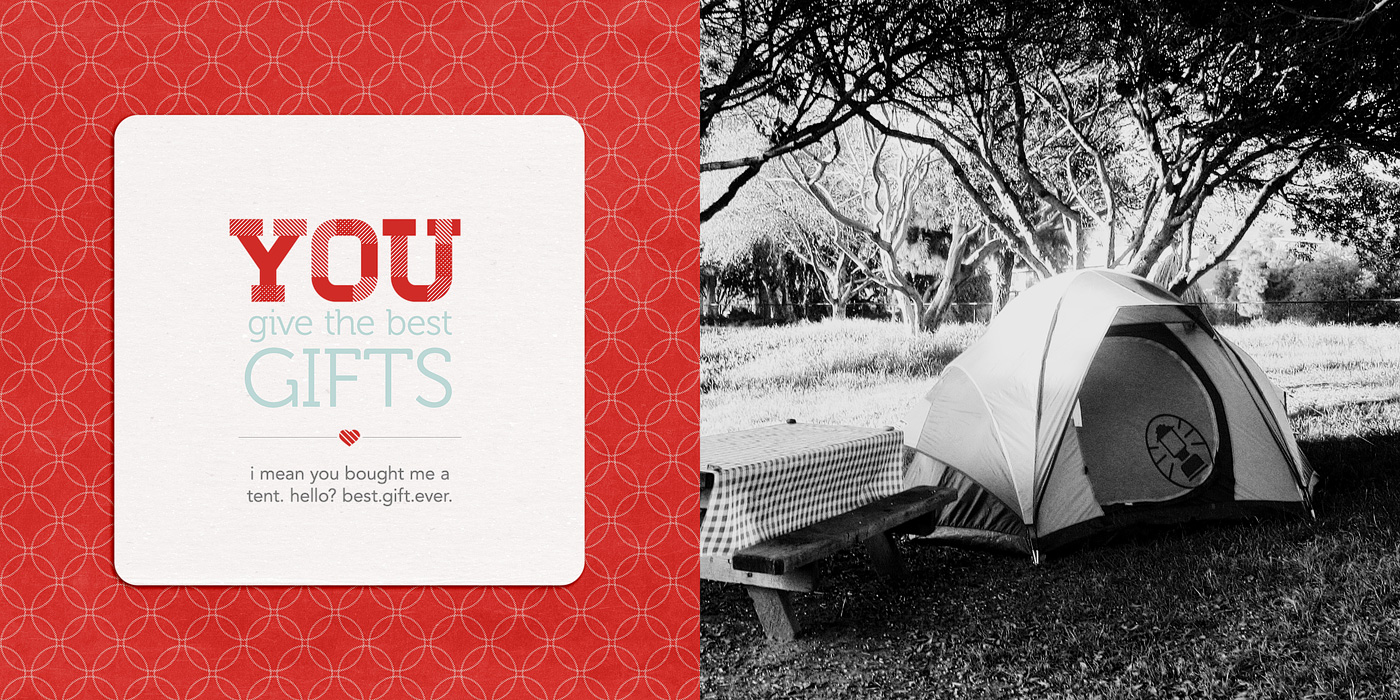
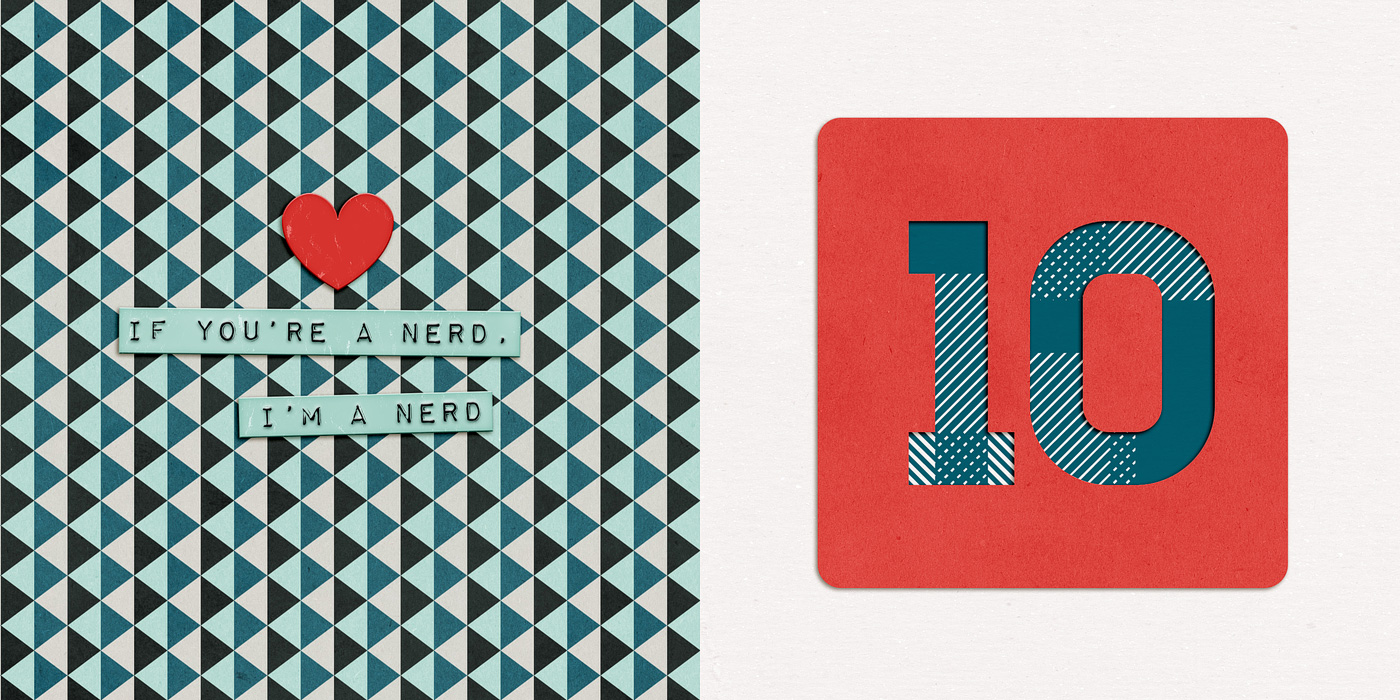
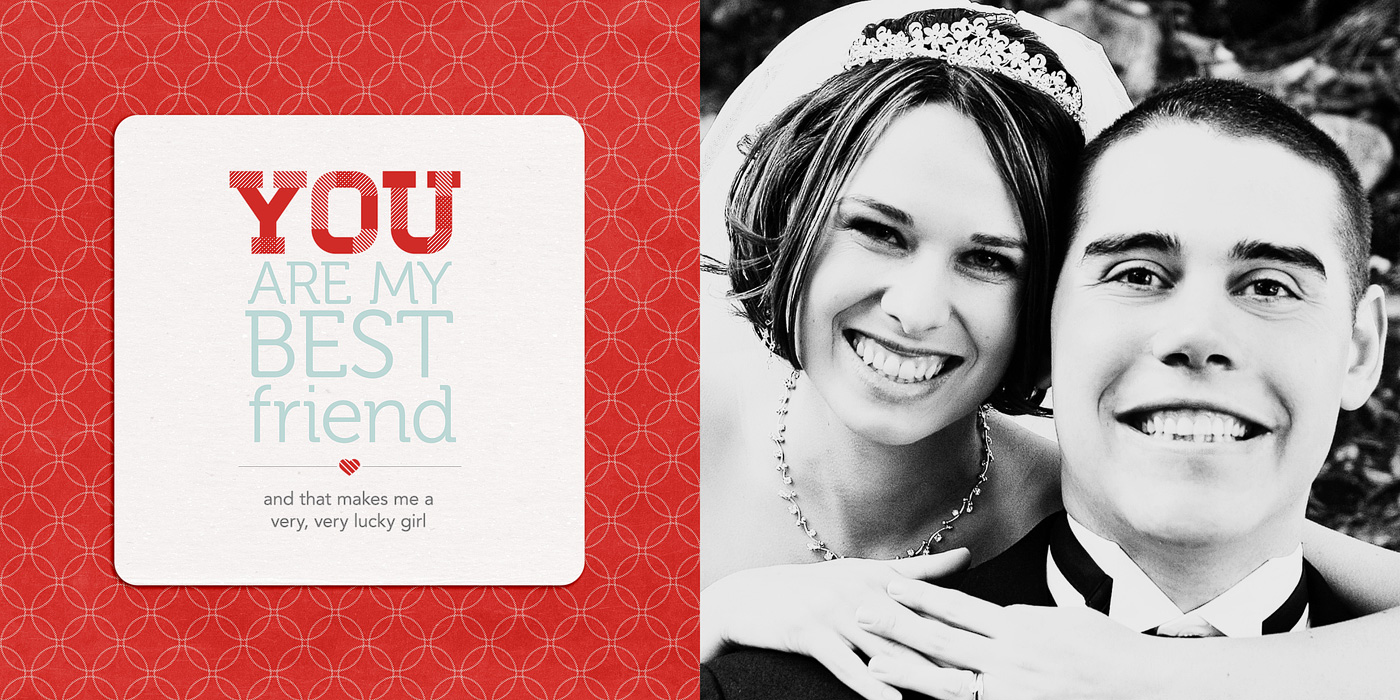
Here’s what the pages looked like once I had them completed:

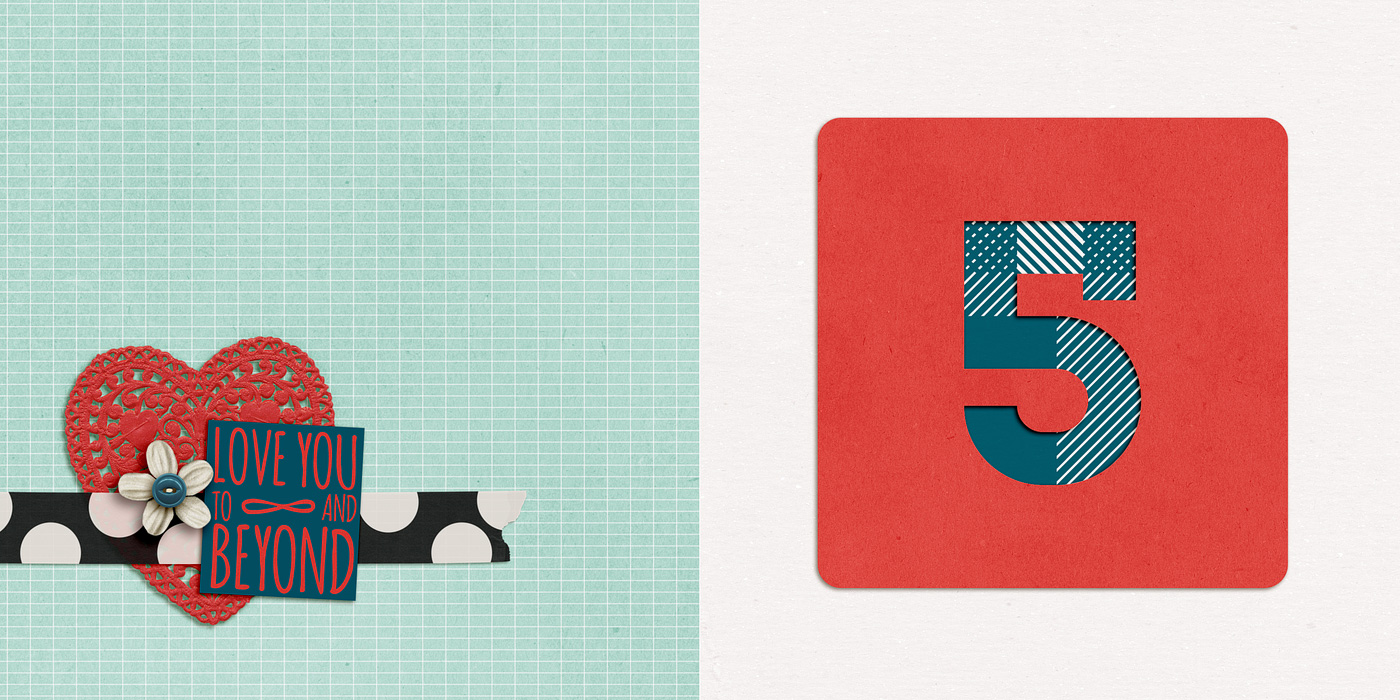
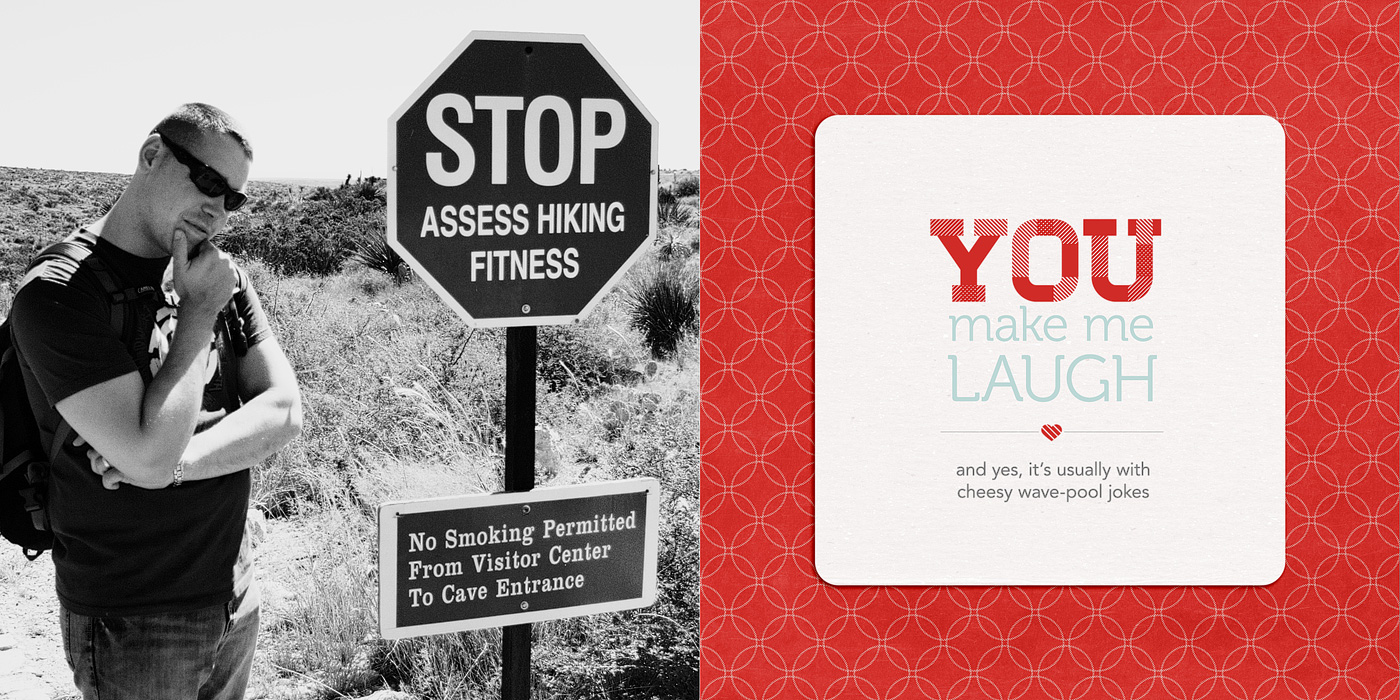
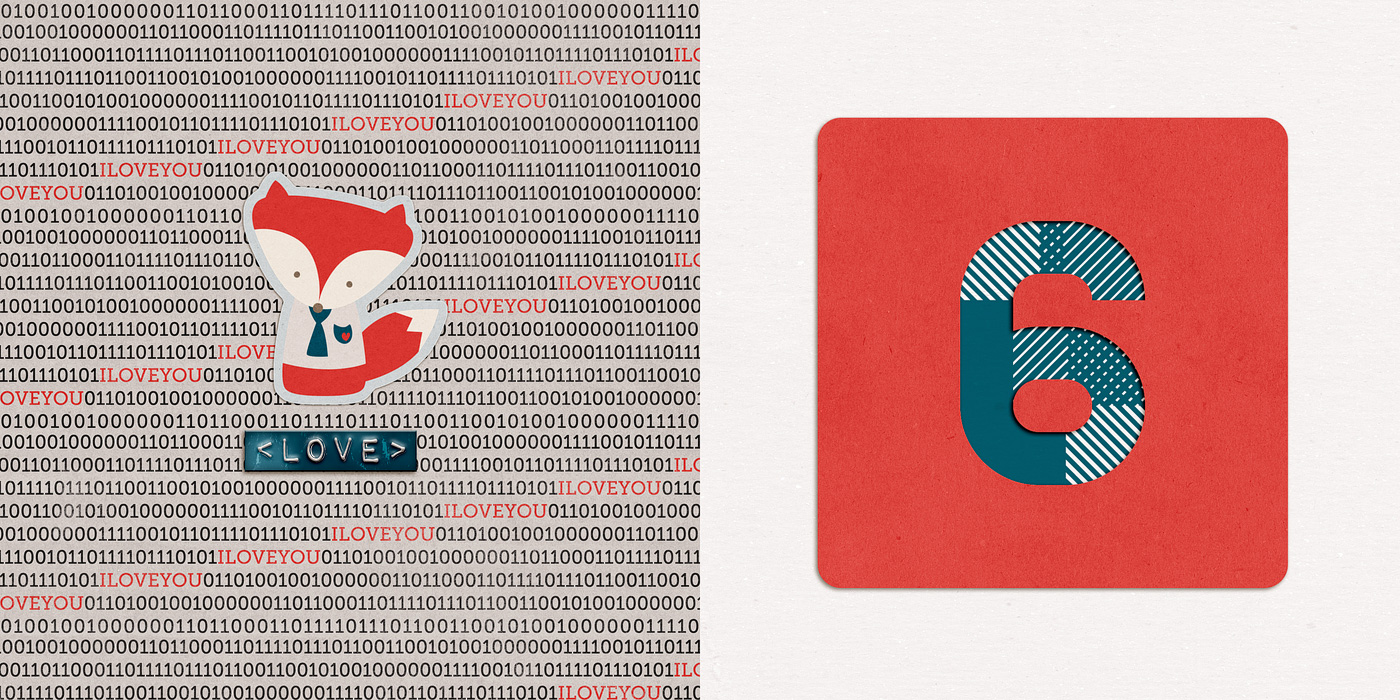
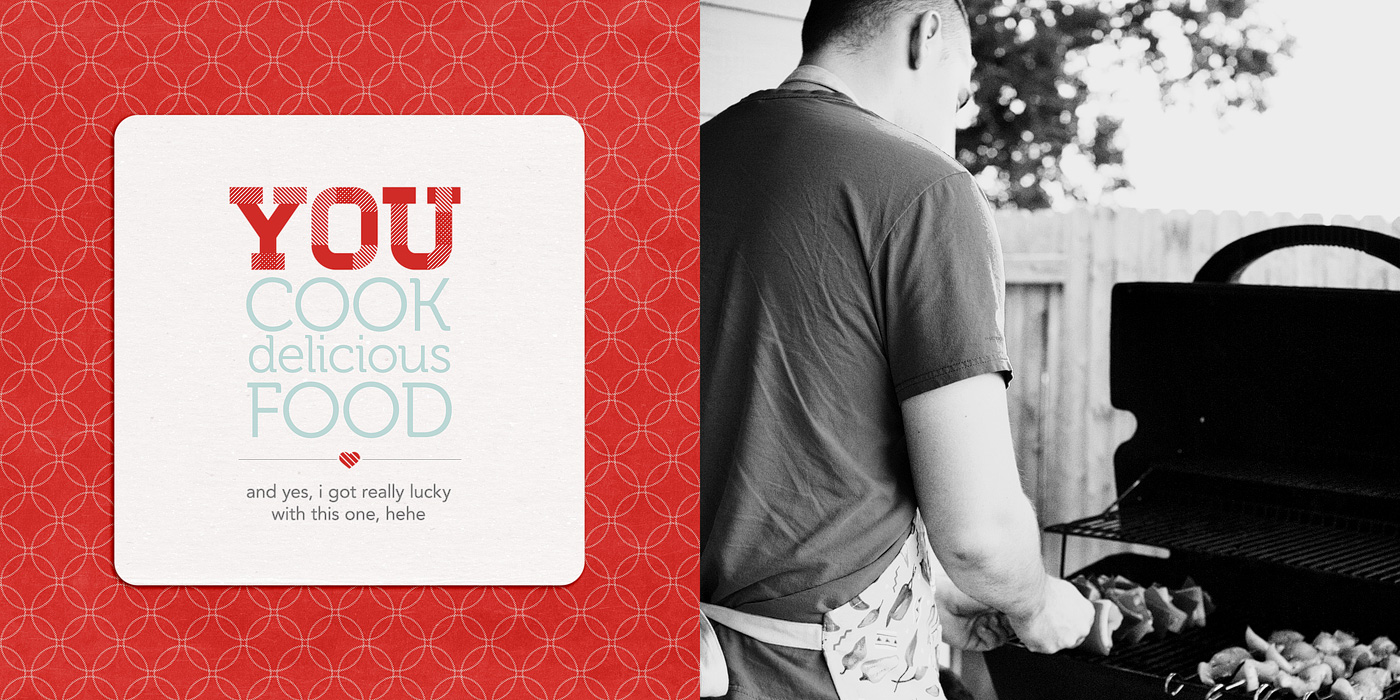
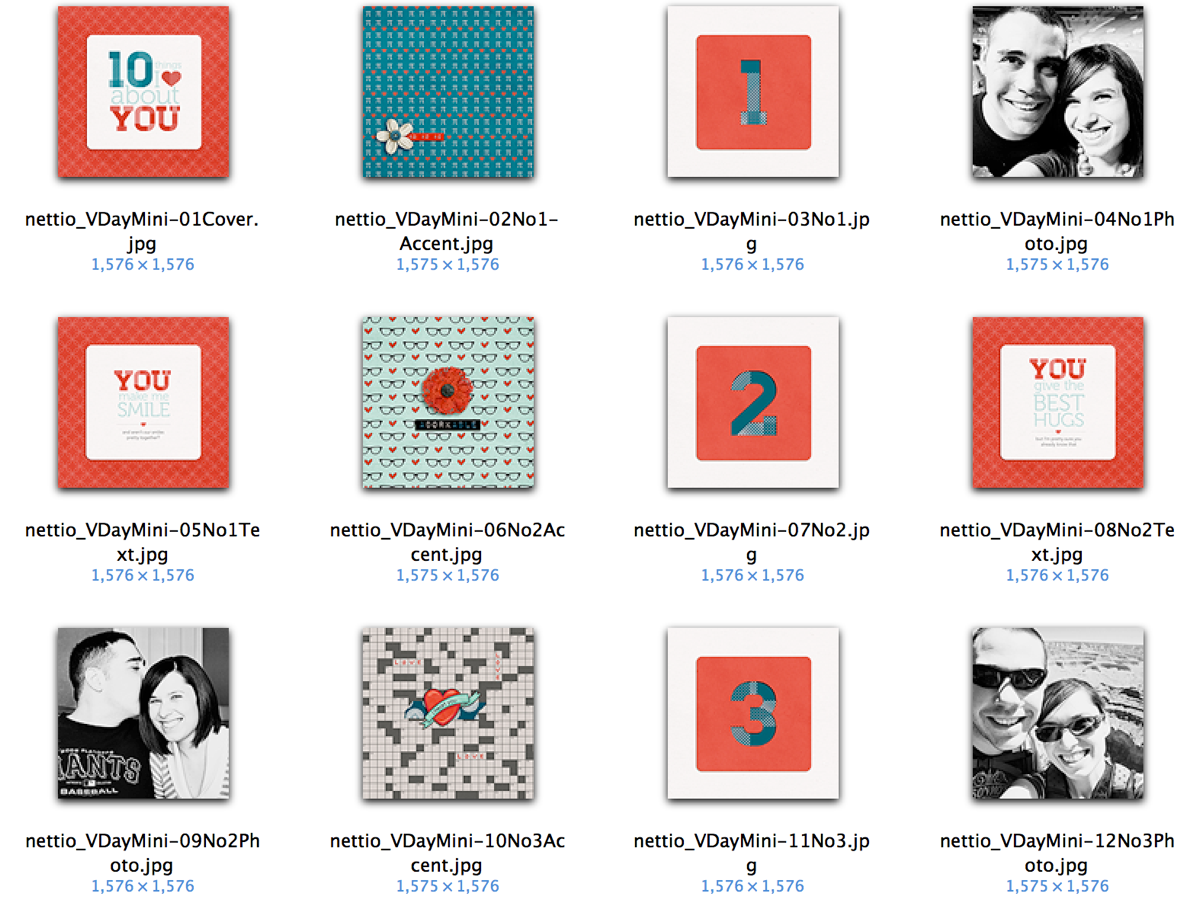
Nettio CA5 VDayMini Step5

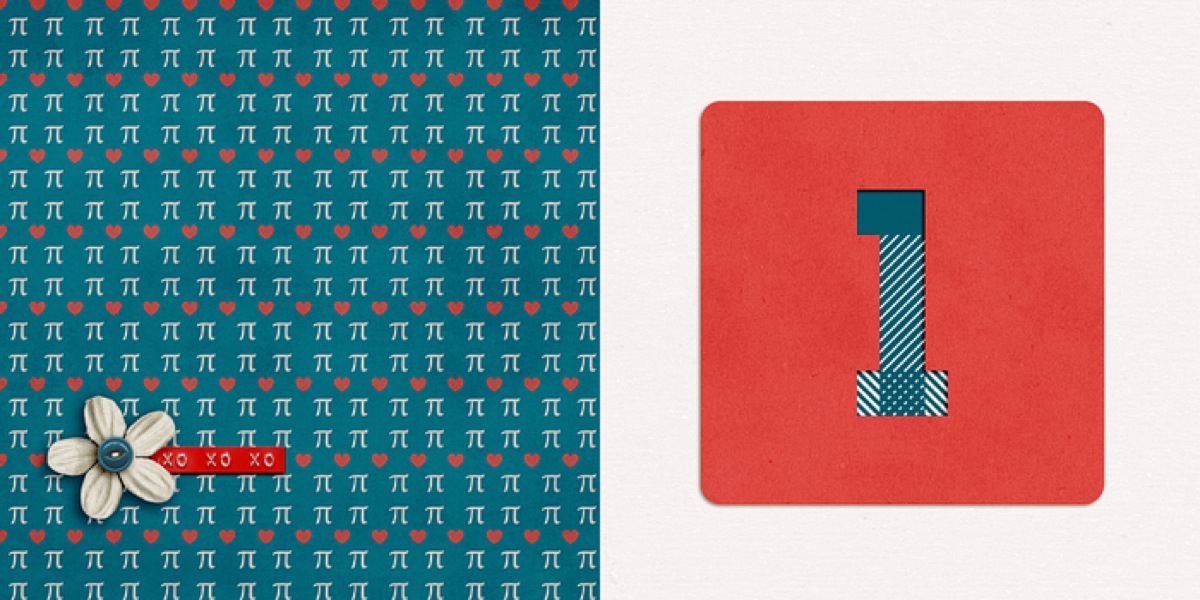
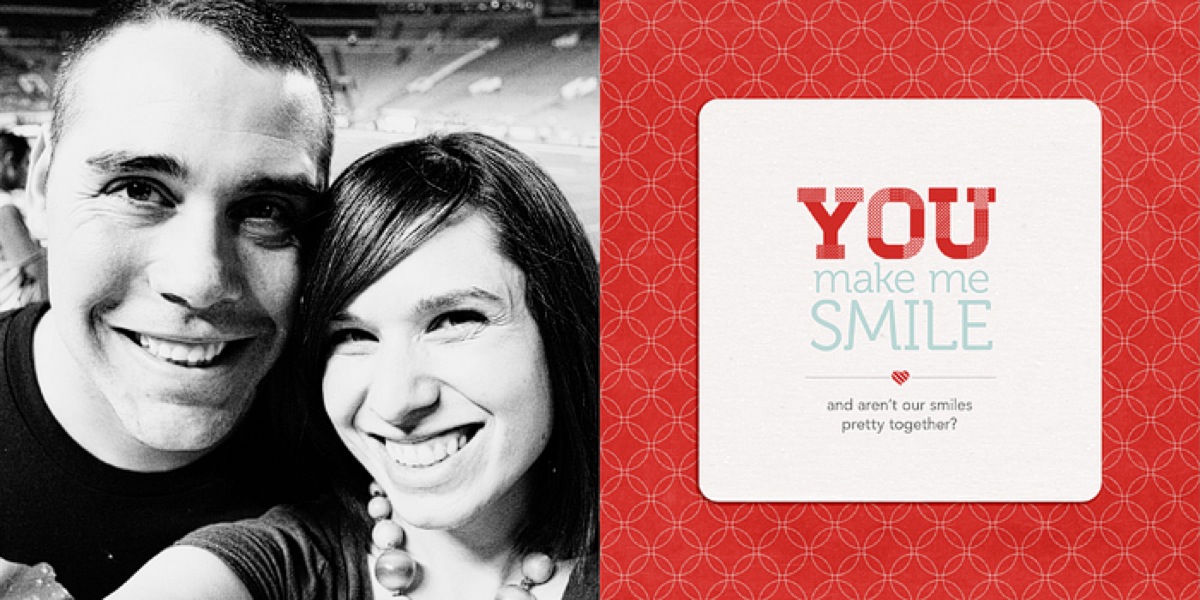
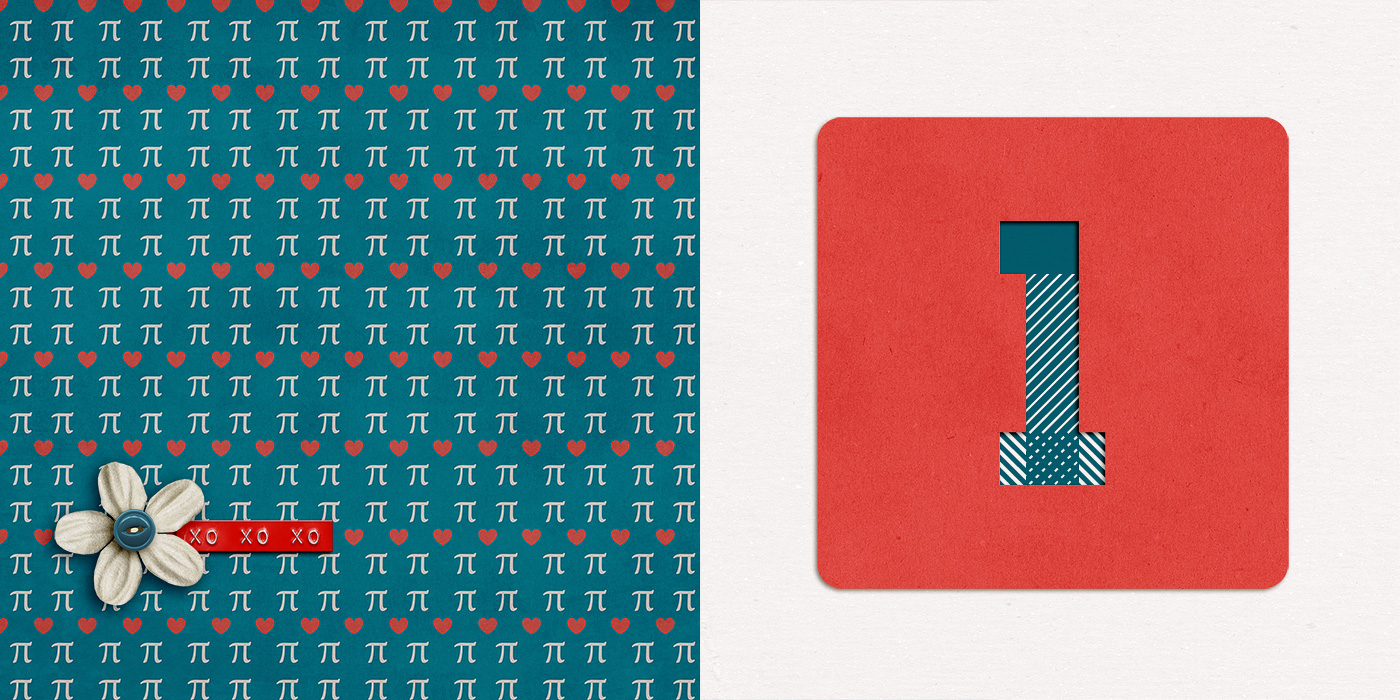
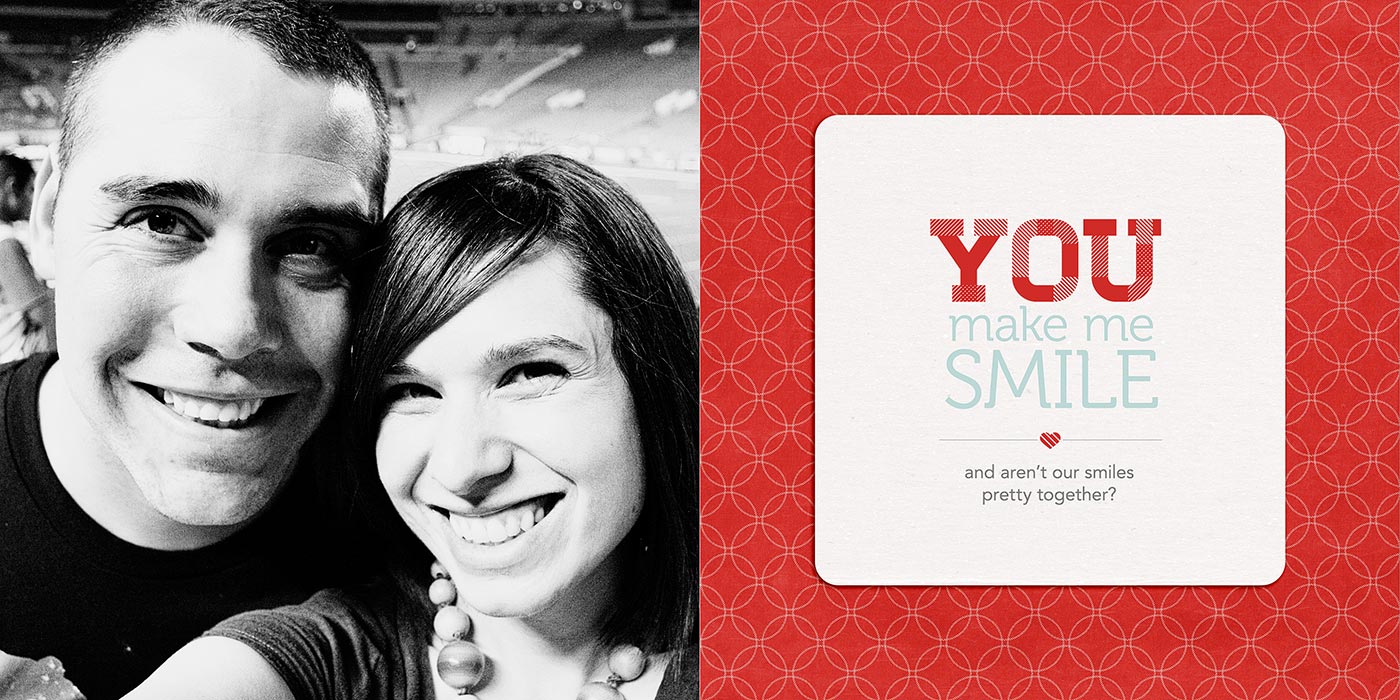
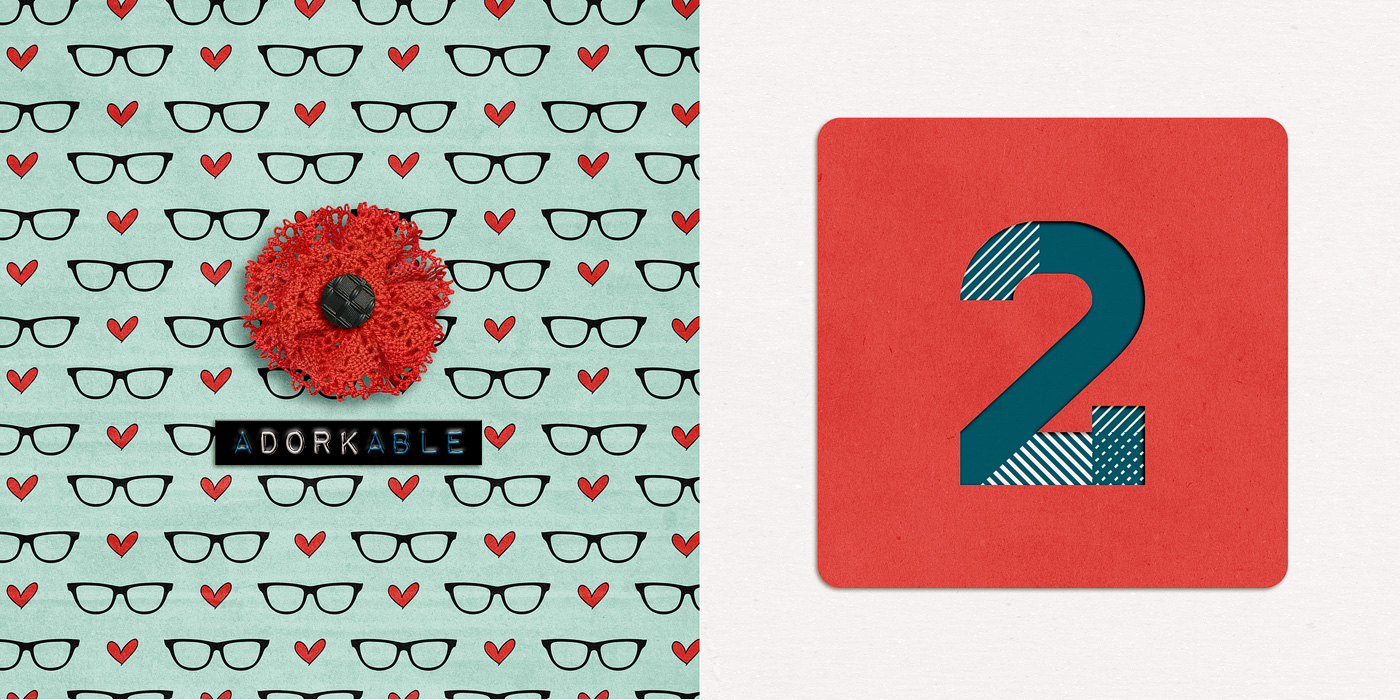
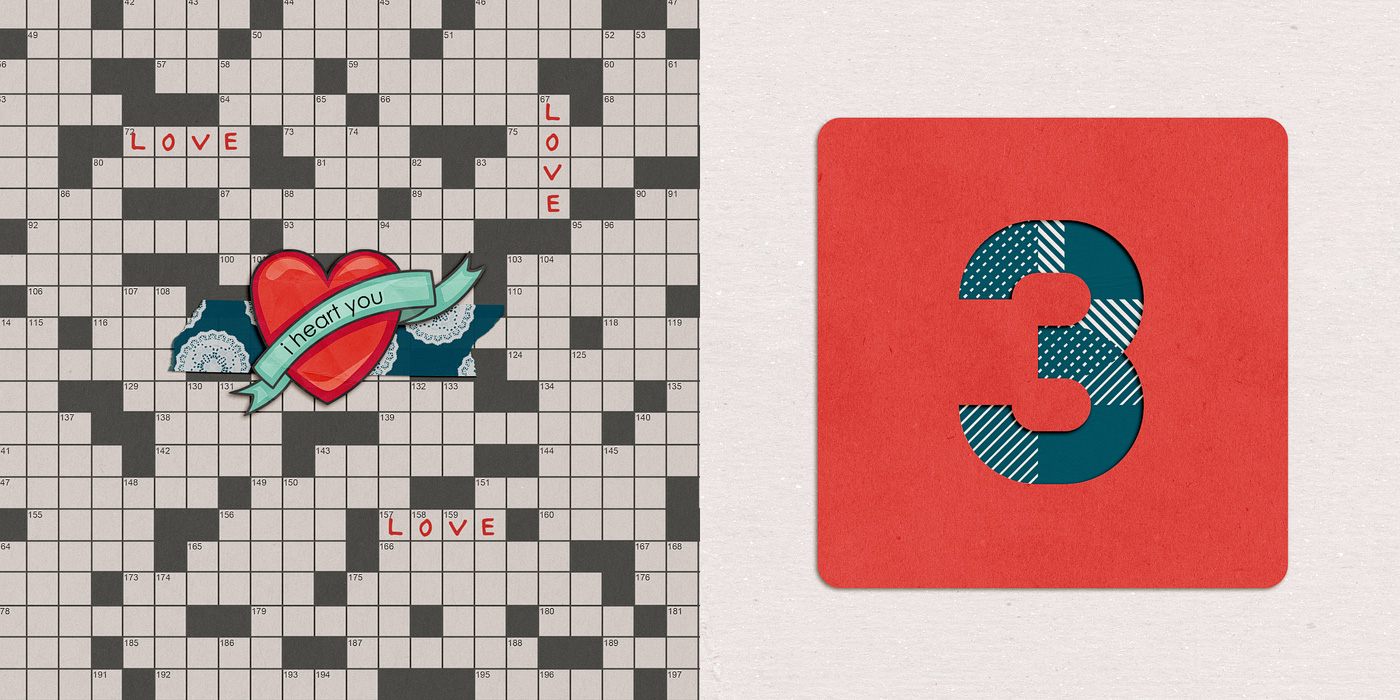
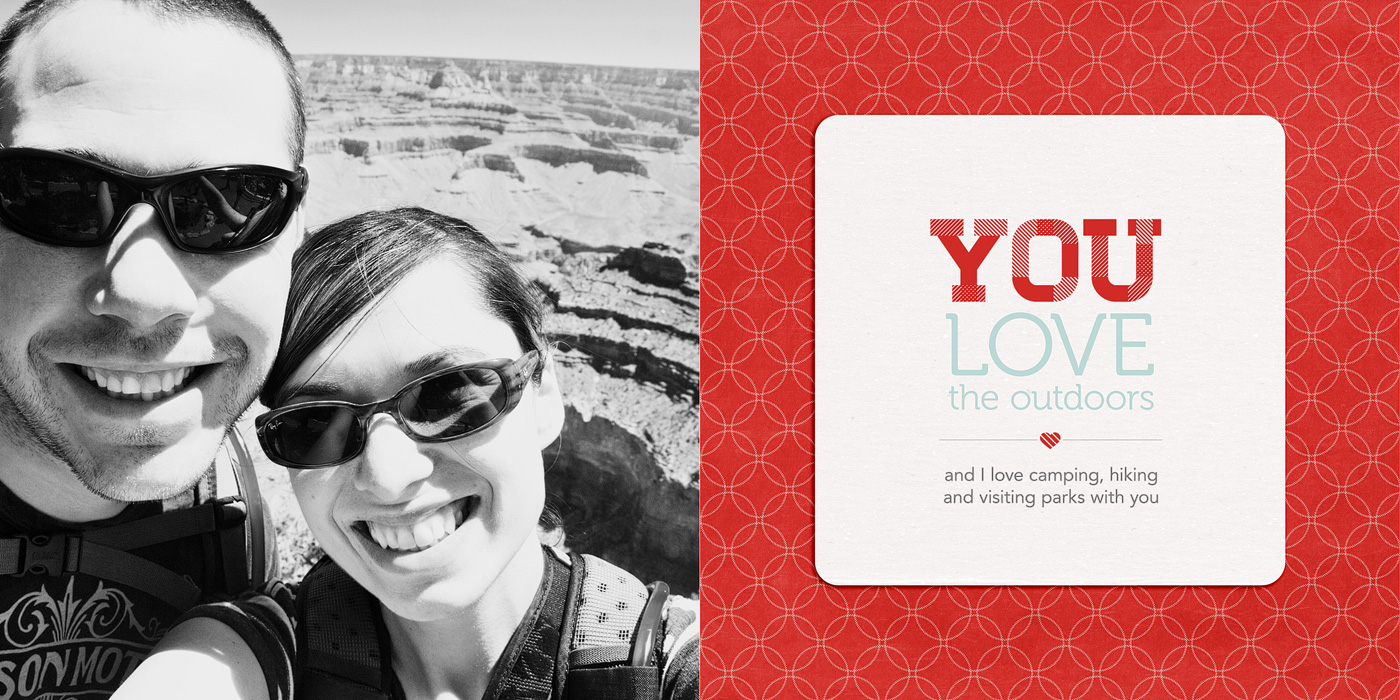
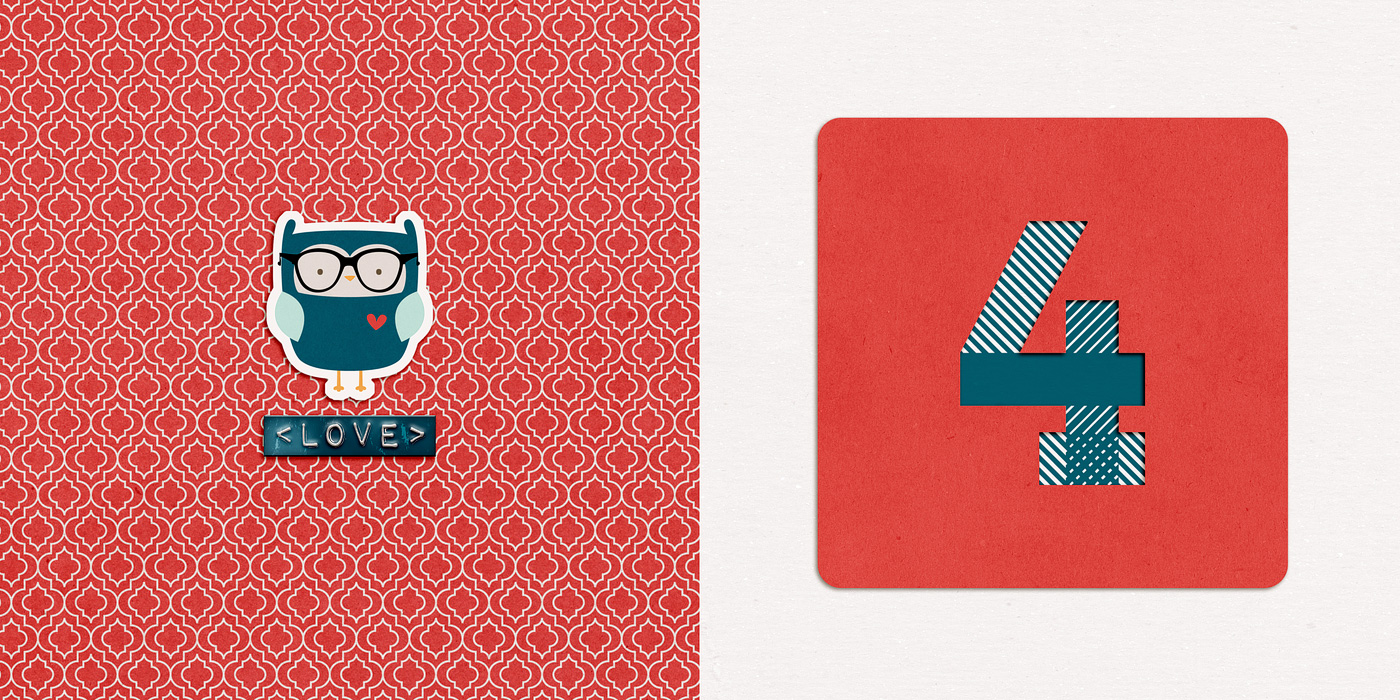
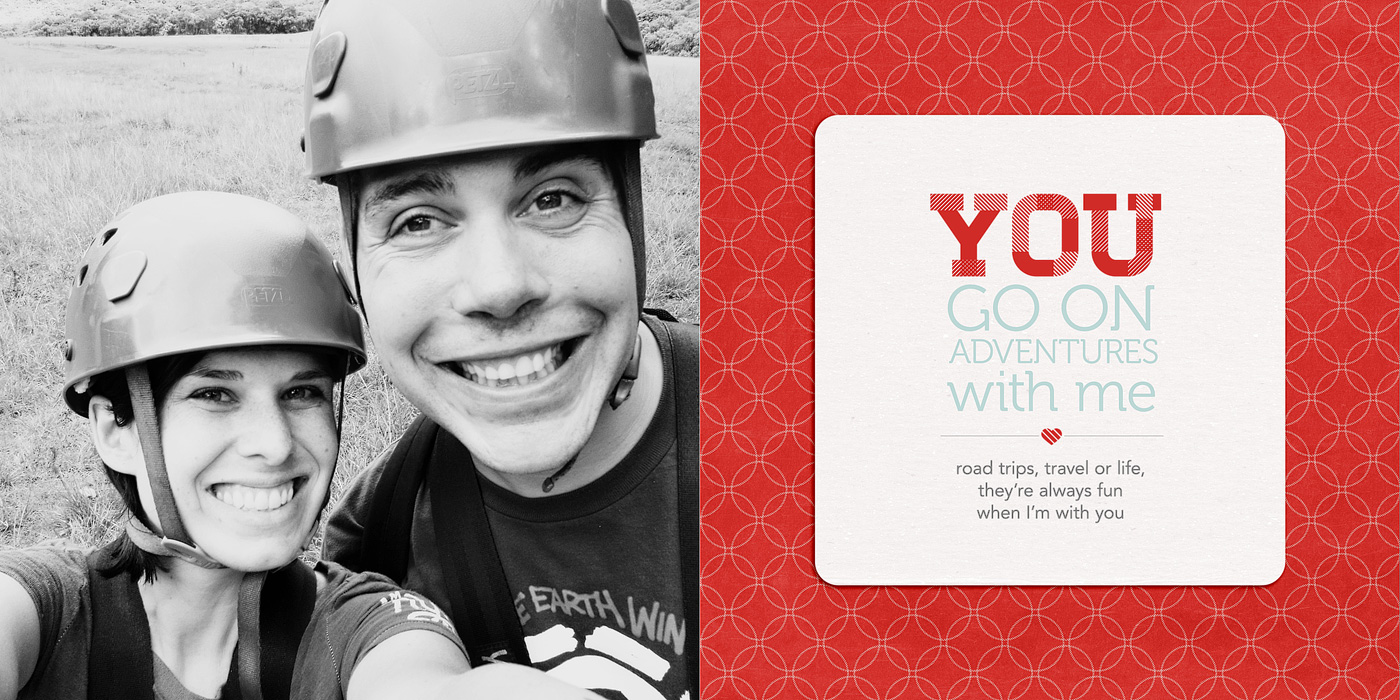
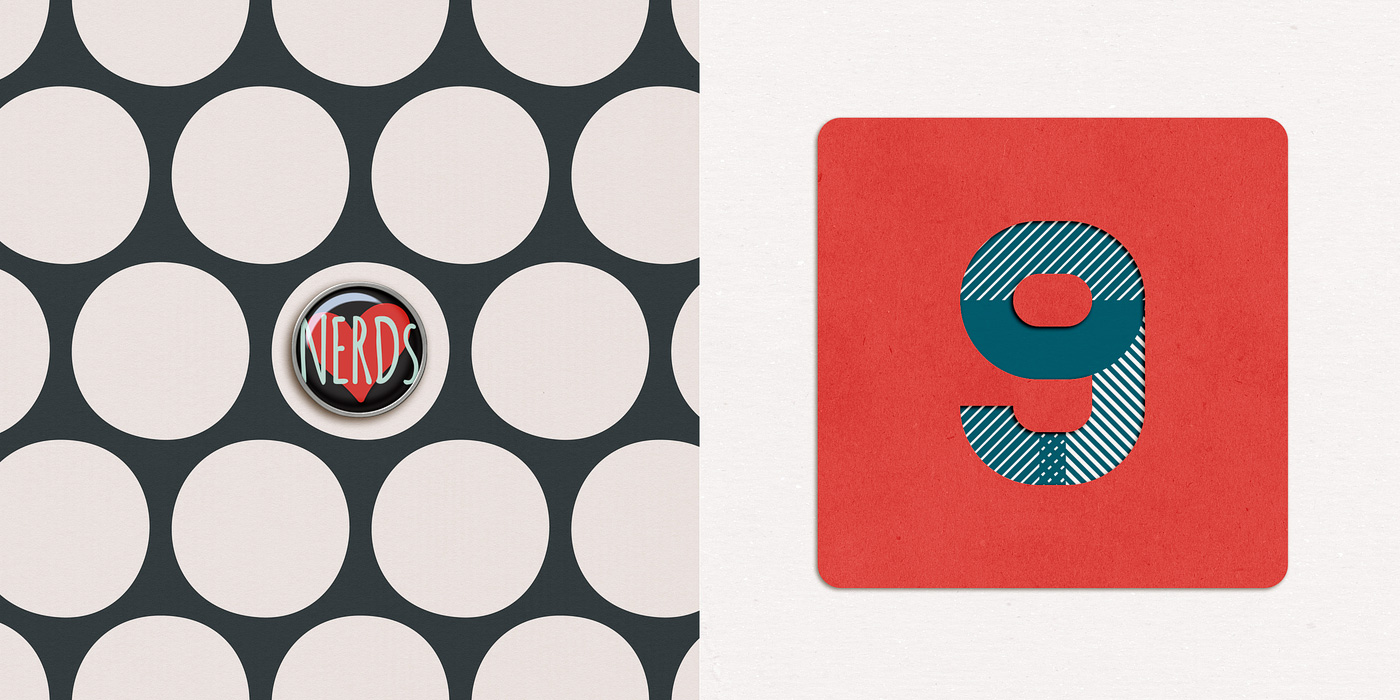
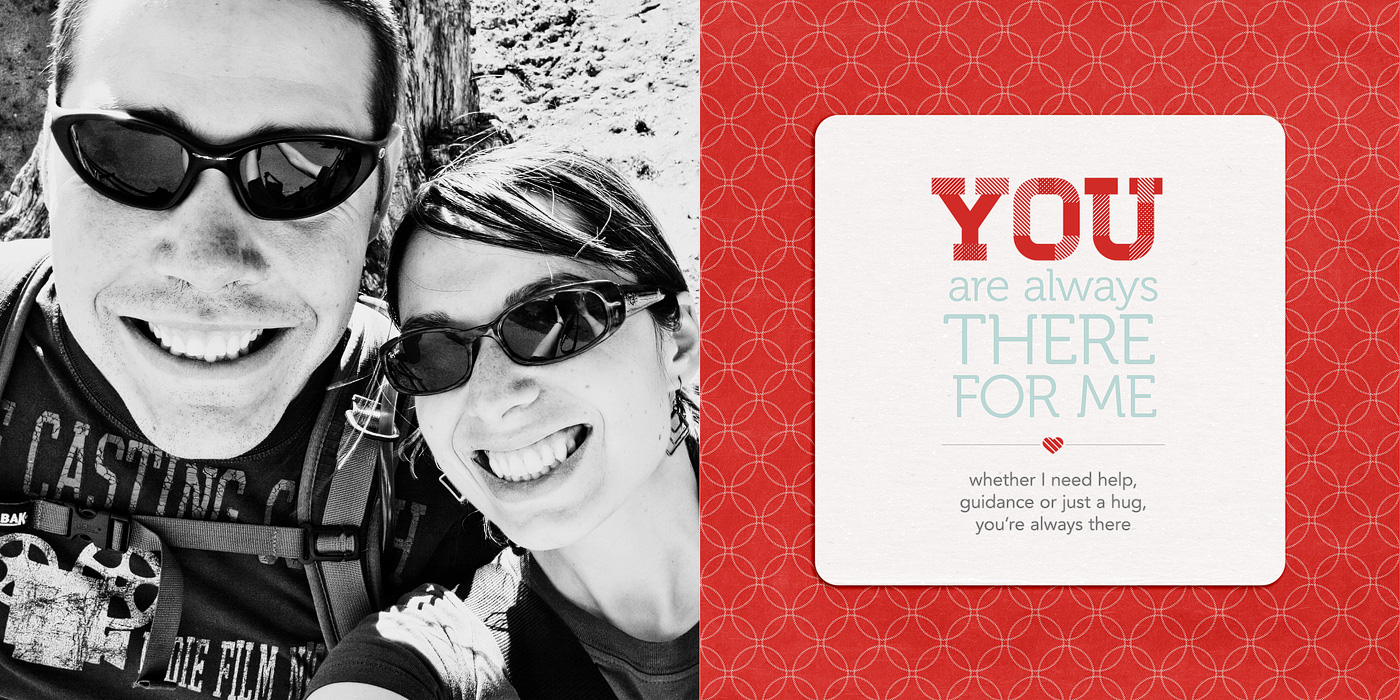
And here’s a bigger version of the two spreads for Reason #1. Each “reason” basically gets 4 pages.

Accent & Number page:

02 03 Number1 700

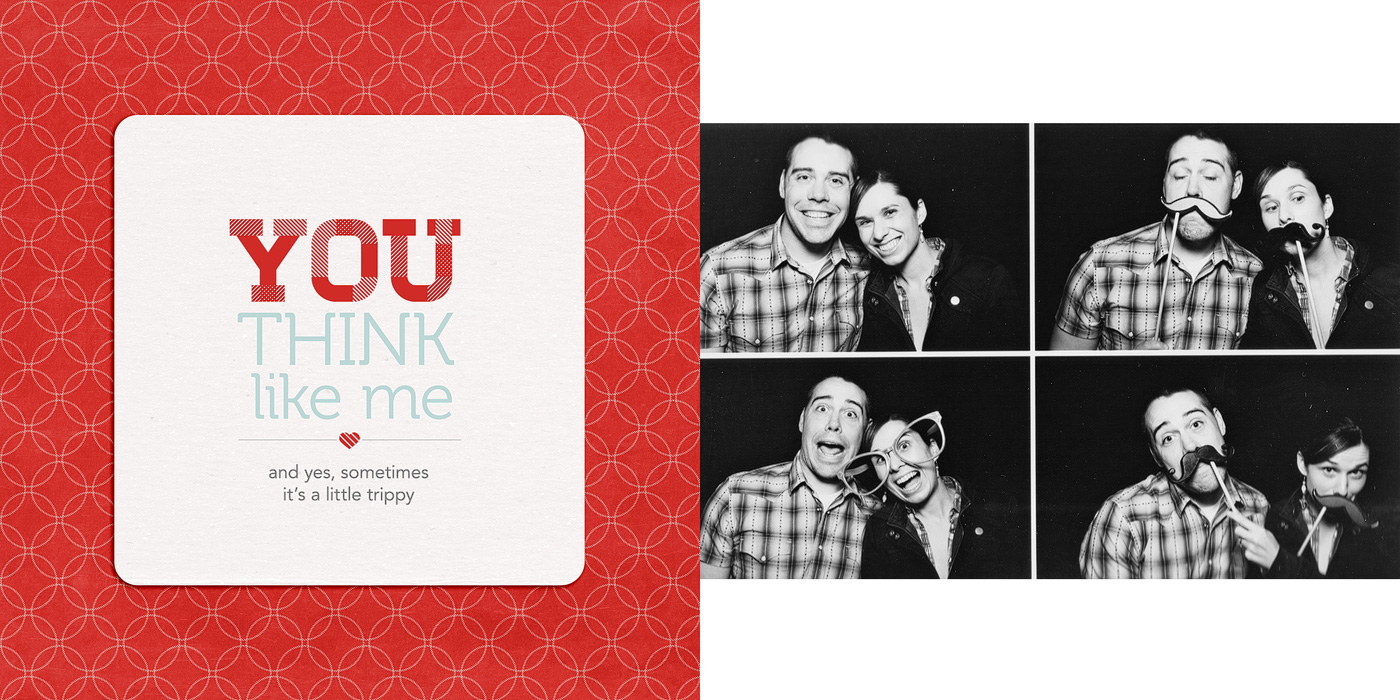
Photo and text page:

04 05 Number1Text 700

Here’s a little slideshow that includes all my pages in case you want to see them all together…

Step 5: Printing My Mini Photo Book

Once I had all my pages designed, the next step was to save and upload them to be printed. Which meant cropping each two-page spread back into single files. Blah. Not my favorite part of the process but a bit of a necessary evil I think since designing the pages together makes more sense than as separate files. But it definitely made me long for the “upload a single PDF to Blurb” process I did with my Week In the Life photo book, haha.


Nettio CA5 VDayMini Step6

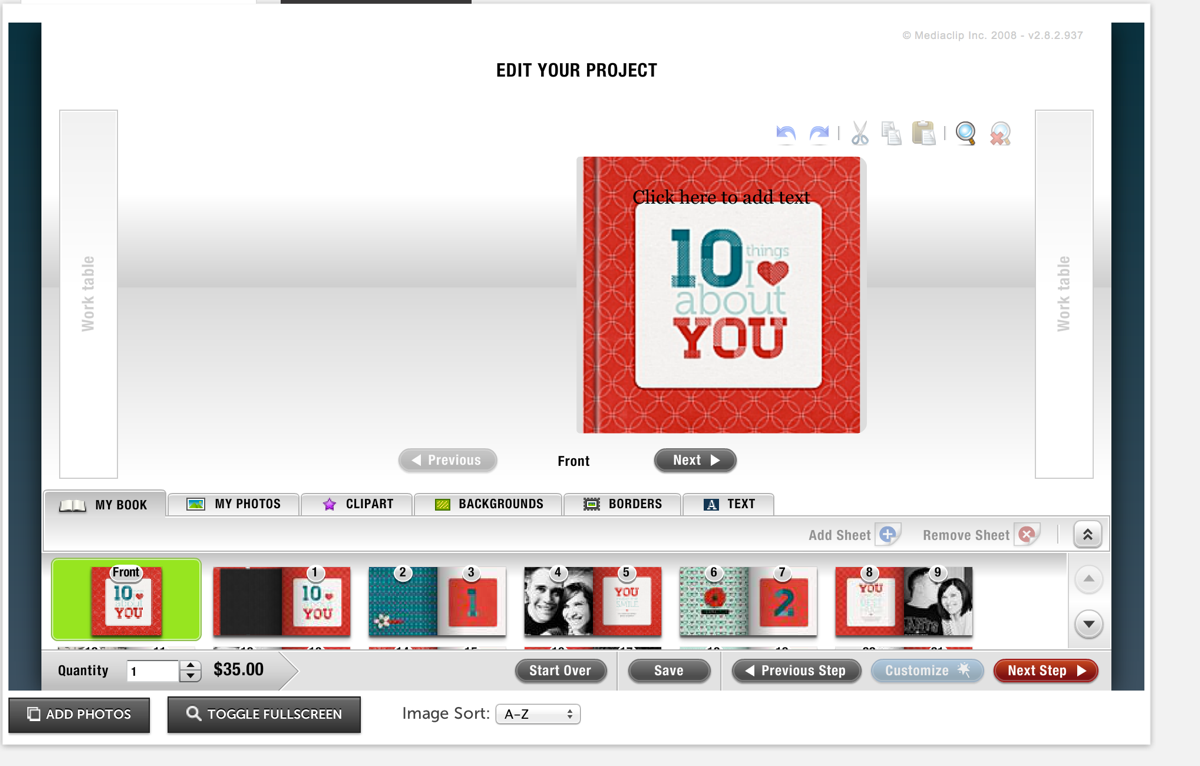
Thankfully, one of the fastest parts of the process was uploading my pages to Mpix. Two thumbs up for their online software because it was really easy to use. Just upload your images, drag them onto the pages of the book and set them as a background. My pages all fit perfectly since I’d used their sizing template when I designed them.

I did run into some issues getting the cover just right but I think that was more due to user error. Once I went back and double-checked my page against their template, it worked fine.

Screen Shot 2013 01 30 at 3 38 24 PM

Step 6: Receiving My Mini Photo Book

Another huge positive for Mpix, they printed SUPER fast. Like within a day or two my book had shipped. And since I’d paid for 1-day shipping since I wasn’t sure how long the process would take, my book arrived in like 3 days. I was amazed.

And even better, I’m really happy with how my mini photo book turned out!

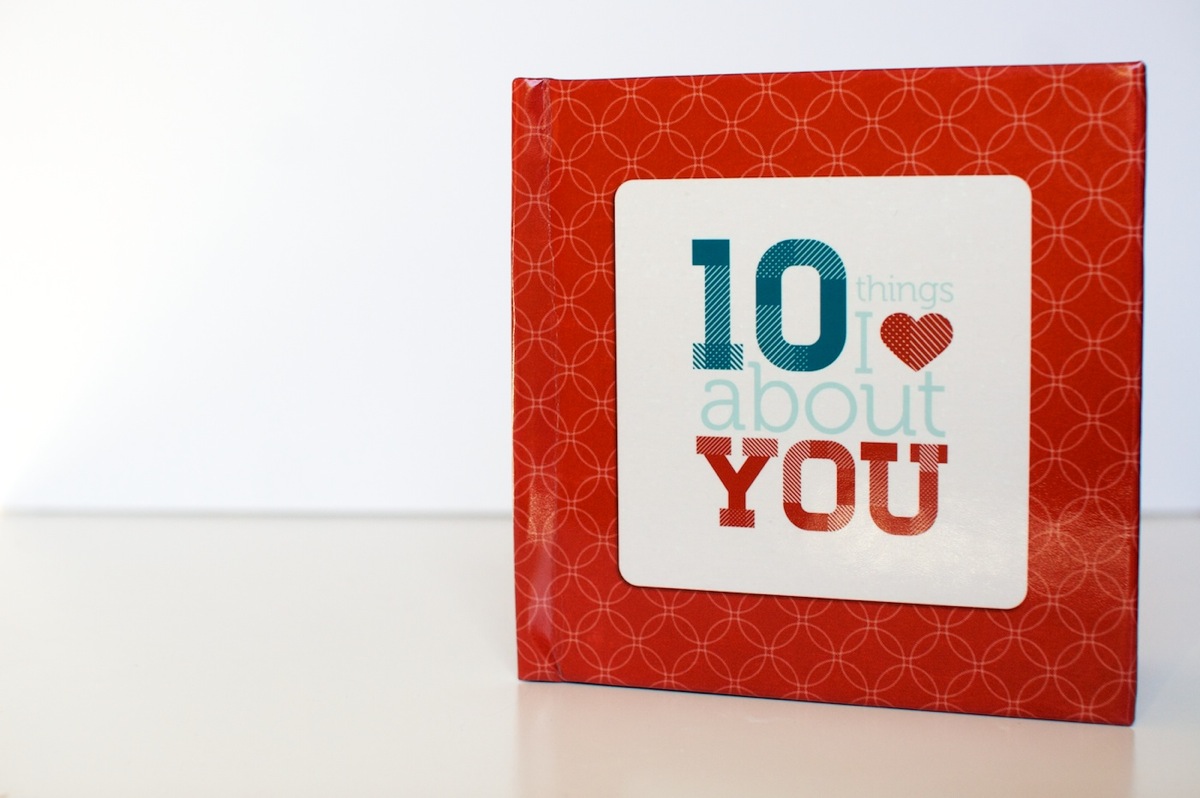
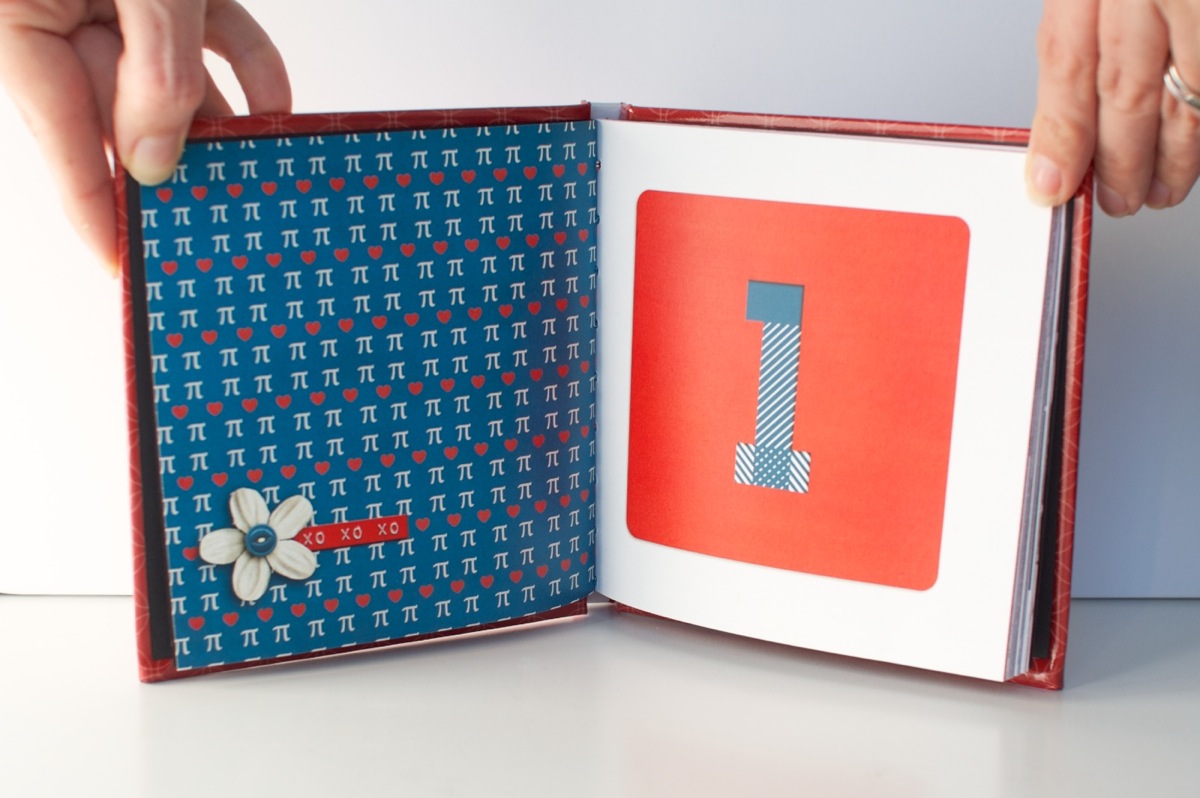
Here’s a look at the cover. I went with the custom 5×5-inch hardcover book and it’s nice and sturdy – sturdier than the cover of my Blurb photo book. Plus I love that it has a glossy finish to it. Adam’s comment when it saw it was that it looked like I’d had a real book published.

Nettio Valentine Mini Photo Book 1

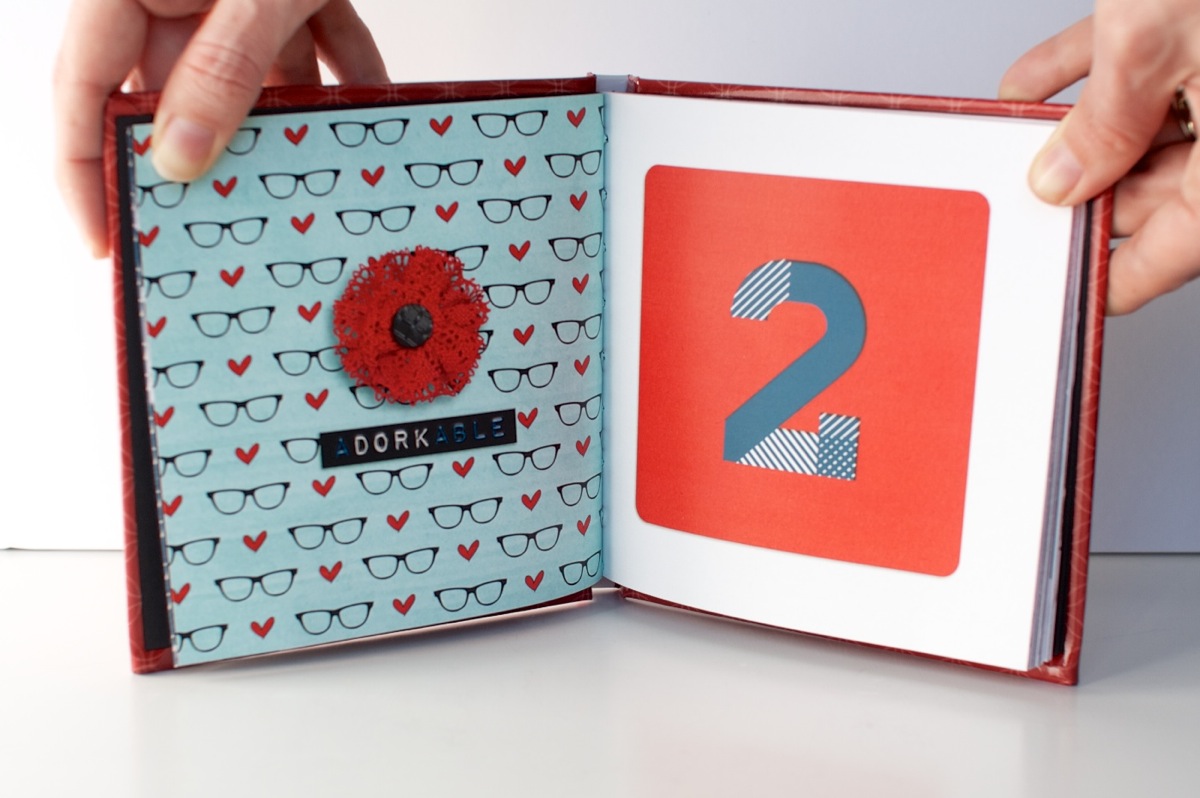
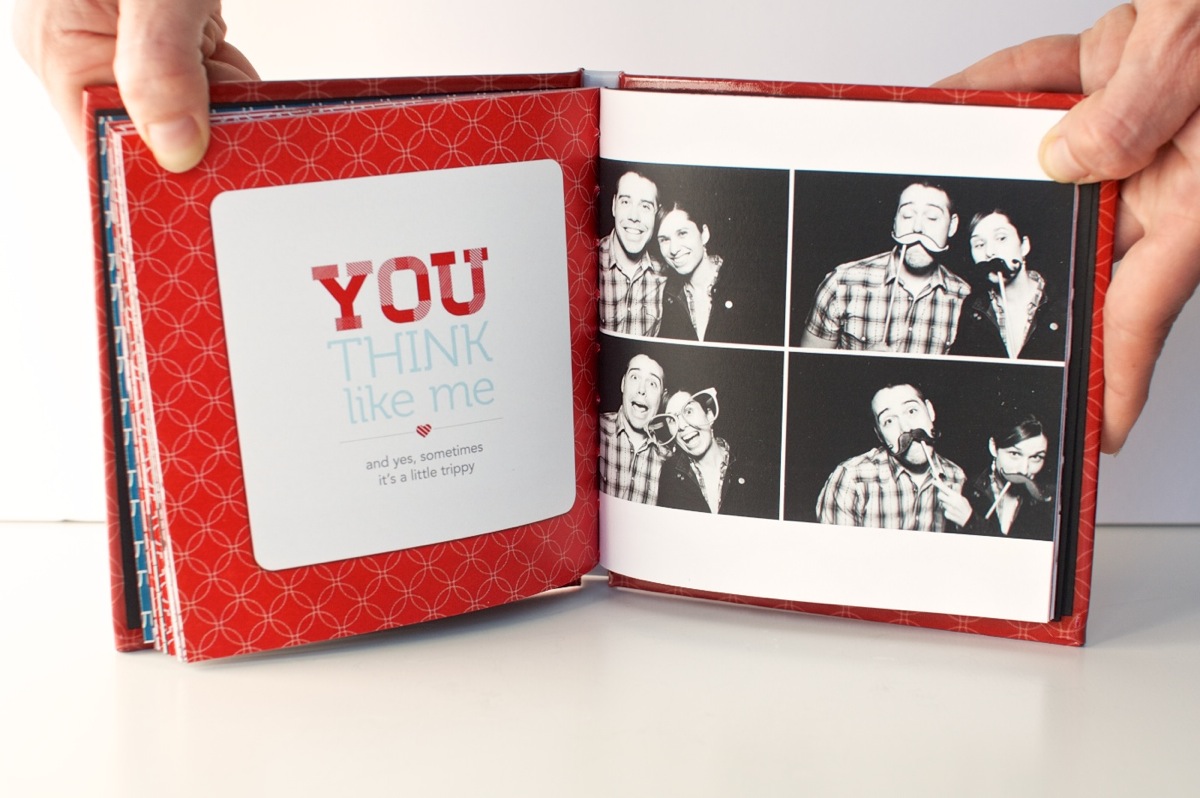
A look at the interior pages. The one thing I don’t love is the binding on the book is really tight, almost too tight. It’s hard to keep the pages open and it makes me nervous to pull the book open too far because you can start to see the stitching at that point. It also made taking these photos a bit interesting, haha.

Nettio Valentine Mini Photo Book 11

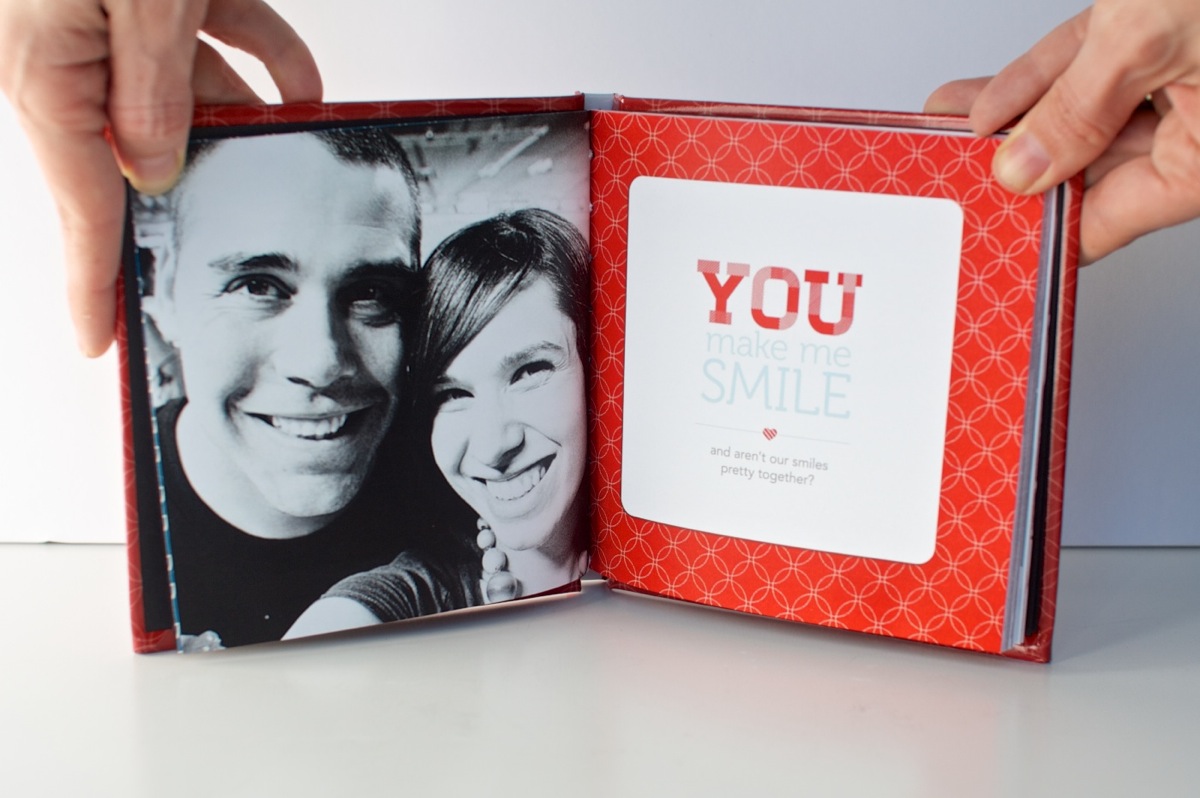
A look at one of the photo/text pages. The actual color is more rich and less saturated than this photo – it’s looking a little crazy here, haha.

Nettio Valentine Mini Photo Book 2

I do love the way the cover design wraps around the edges of the book. Makes it seem legit, haha.

Nettio Valentine Mini Photo Book 3

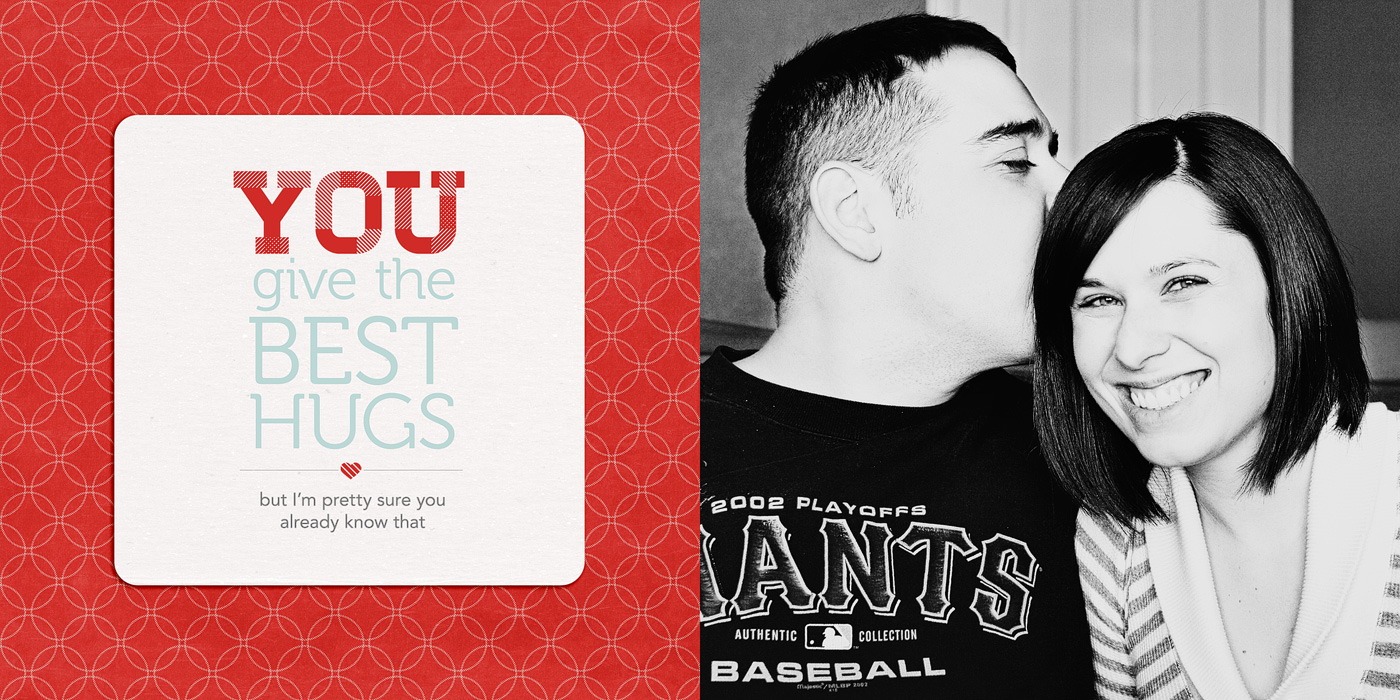
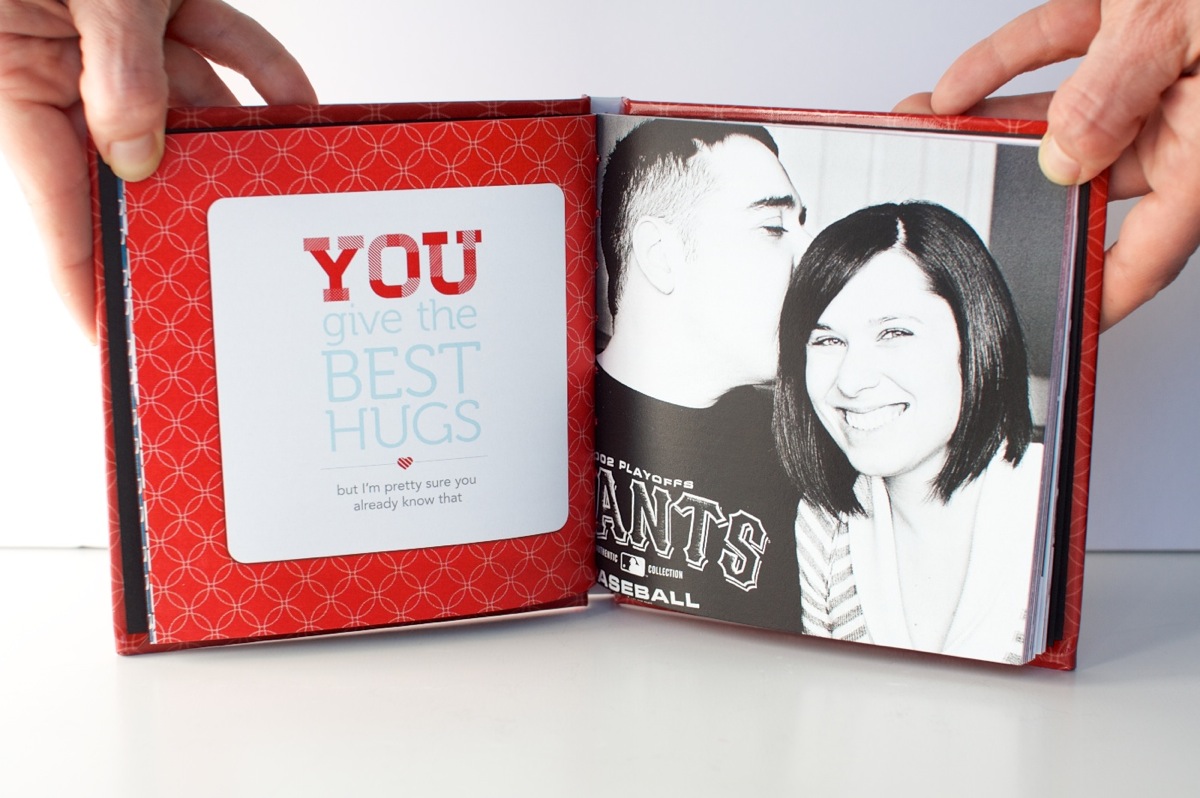
Another photo/text page, this time with the text on the left & the photo on the right.

Nettio Valentine Mini Photo Book 5

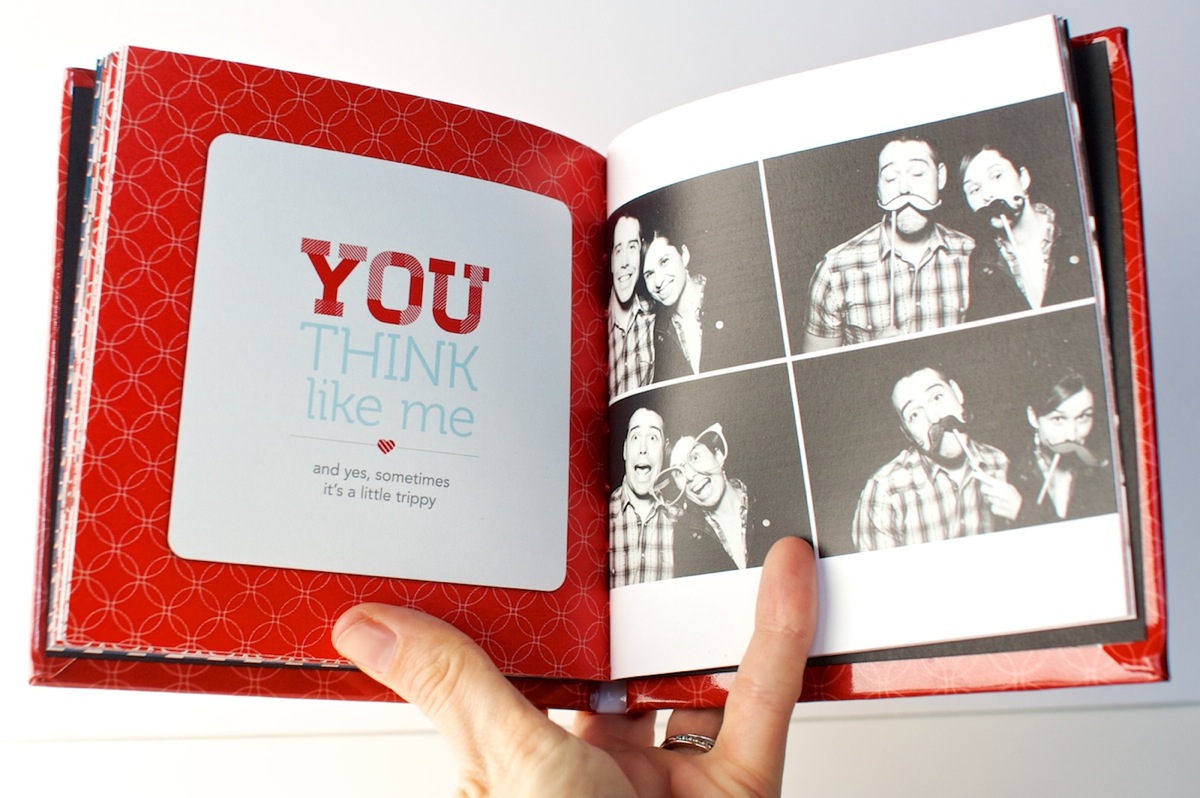
This page may just be my favorite. The photos make me laugh every time. And no, other than saying things like “let’s do a normal one first” or “silly face” the poses were not planned. Apparently “silly face” means “mouth opened really wide & crazy” to both Adam and I, haha.

Nettio Valentine Mini Photo Book 9

A closer look at the book. This is a good example of how far you can open the book. If you open it too much more you start to see the binding.

Nettio Valentine Mini Photo Book 10

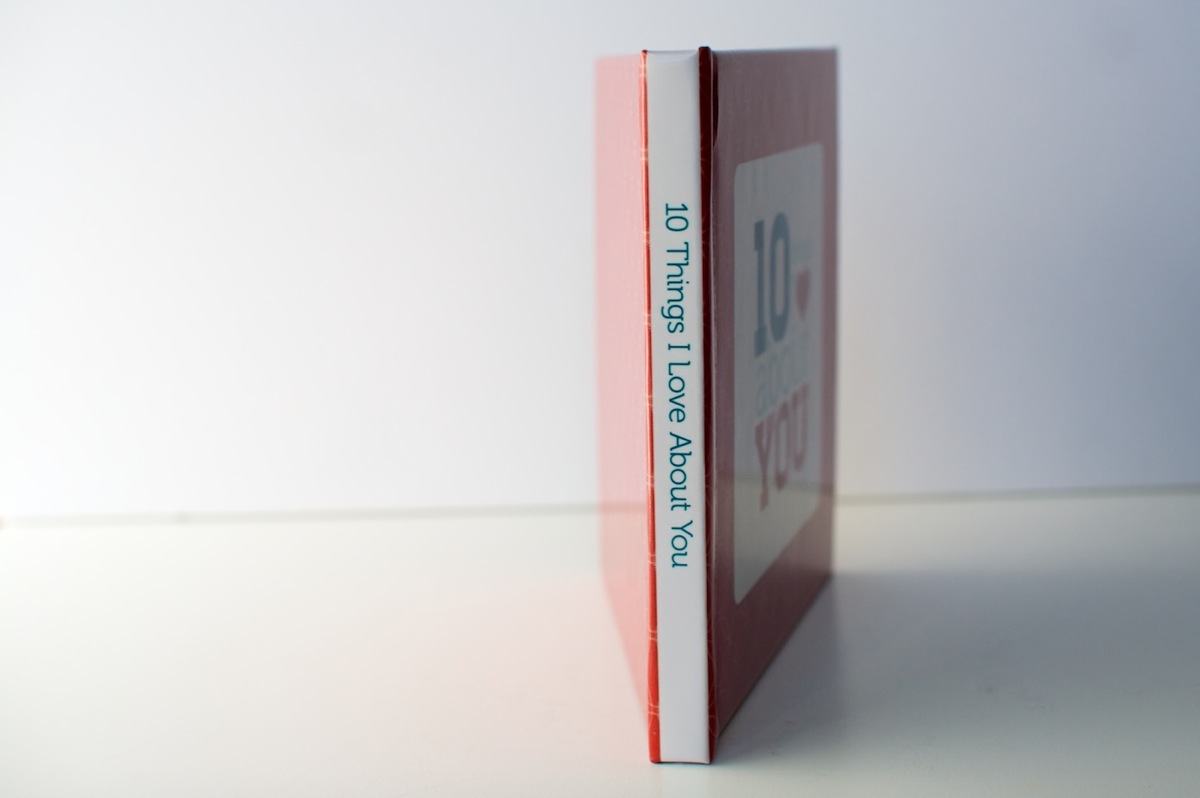
A look at the text on the spine. Using the template made it pretty near perfect. Good thing since I was worried about it!

Nettio Valentine Mini Photo Book 4

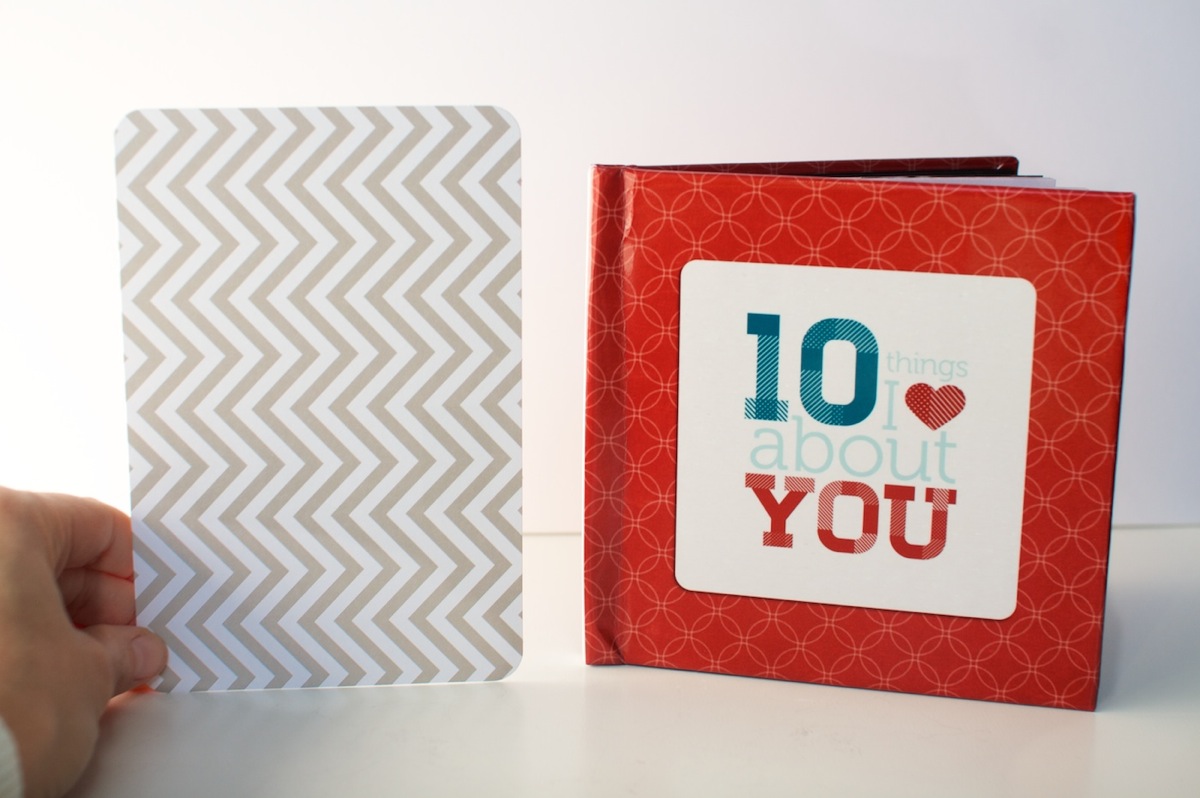
And for those of you wondering about the 5×5-inch size, here’s the mini book compared to a 4×6-inch Seafoam Project Life card. It’s pretty petite but exactly the size I was imagining in my head so I love it. I don’t know that I’d do a super detailed book in this size though – I think it works best as being similar to a mini album. I can totally see it being a fun way to do like a vacation highlights album or something though! Hmm, now there’s any idea…

Nettio Valentine Mini Photo Book 6

And that’s how I used Photoshop to create a hybrid Valentine’s gift 5×5 mini photo book! I have to say while it was a lot of tedious work, my only comment when I got the book was “WHY DO I NOT DO MORE OF THESE!!” Seriously, I was excited, haha. It’s just so so cool to see something you’ve designed as it’s very own little book.

And as a Valentine’s Day gift, Adam gave it too thumbs up. Maybe even got a little teary over the fact that I, the non-mushy one in the relationship, had gone to all the trouble to make him a little book. Thinking I scored some major wifey points there, haha. 

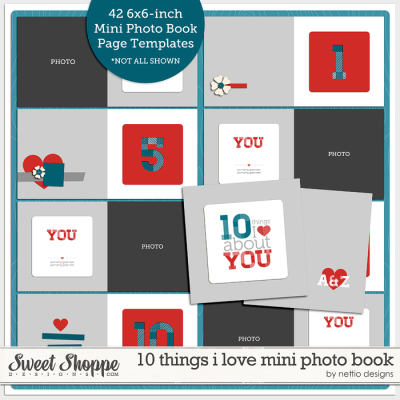
If you’re interested in making a 10 Things I Love About You mini photo book of your own, stay tuned, because I may just have a little something coming tomorrow (Feb 1st) at Sweet Shoppe Designs. Just consider this an extra special sneak peek, hehe.

And with that, I’m calling Creative Adventure #5 a wrap! How about you? Have you ever designed a photo book using Photoshop? Do you design your two pages together and then crop them into separate files? Do you find the process a bit tedious but well worth it like I did? Have any tips to share? Let’s discuss in the comments below.

Want to make your own “10 Things I Love About You” mini photo book and show your love in fun & creative way? Then check out my 10 Things I Love About You Mini Book Templates available at Sweet Shoppe Designs.


______________________________________________________________________

ABOUT THIS PROJECT

In honor of my 30th birthday, I’m challenging myself to go on 30 creative adventures before the end of 2013. This is Creative Adventure 5 of 30. You can read all the details behind this project here and find links to all my completed adventures here.

How do I purchase Levitra without going to the doctor

POSTED IN 10 Things I Love Mini, 30 Creative Adventures, Memory Keeping, Digital Scrapbooking, Hybrid Scrapbooking, Mini Albums

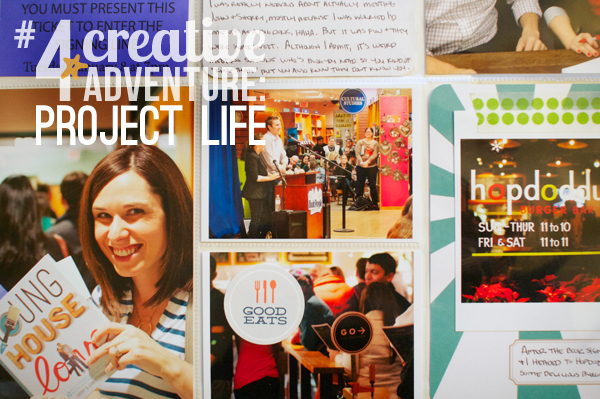
Creative Adventure #4: Project Life

POSTED ON January 22, 2013 IN 30 Creative Adventures, Memory Keeping, Project Life

I bet you thought I’d forgotten all about my 30 Creative Adventures goal, right? I mean, it has been awhile since I last shared an update – all the way back to this one from September. But, I haven’t, not exactly anyway.

Around my half-birthday in November, I made the decision that rather than rush through trying to complete all 30 Creative Adventures before my 31st birthday on May 24 (which would have meant at least 1 a week and then some), I’d rather give myself until the end of this year to finish all 30. That gives me a nice 2-a-month pace which is a lot more reasonable given all I have on my plate already.

Really, my goal with this project was never about the timeline – it was about pushing myself to step outside my comfort zone and try new things creatively. Whether I do that within a year or a year and half, it doesn’t really matter to me.

I’d actually been doing pretty well with this project (I have more adventures completed/in-progress than I’ve shared here so far), up until the point my grandma passed away in August and I spent a month back home in California. It killed my mojo. So I’m giving myself a break on this one. It’s how life goes sometimes and well, it’s my goal after all, so I can change the rules if I want, haha.

The good thing about extending my 30 Creative Adventures to the end of this year is that it allows me to take on one much larger year-long adventure this year: Project Life.

Creative Adventure #4: Project Life

Nettio CA4 projectlife title

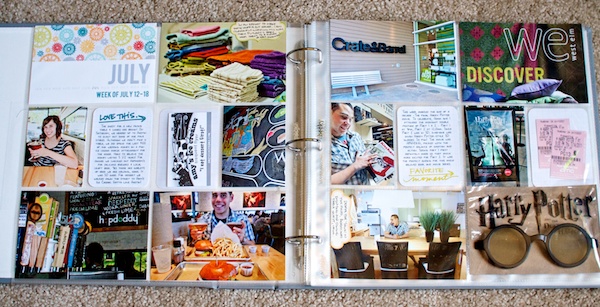
For those of you who haven’t heard of Project Life before, Project Life is a memory-keeping system created by Becky Higgins which I’d describe as a photo album on steroids. You start with pre-designed 12×12-inch pocket page protectors and then you slip printed photos and/or journaling cards in it to create your album.

What I love about the Project Life format is that it’s super adaptable to your own life. Most people do Project Life in a weekly format – one two-page spread per week – but because everything is movable, you can easily skip a week or do a single page per month if you like.

From a creative perspective, I love that you can really dress it up or down as much as you want – you don’t have to create an entire scrapbooking layout just to capture that story.  That’s one of the reasons I think it’s become SO popular within the scrapbooking community: because it can really be anything you want.

Those of you who’ve followed my blog for awhile might remember that I started a Project Life album once before, back in May of 2011, when I turned 29, as a way to document the final year of my twenties. I even created and shared this two-page spread:

IMG 34947

And the truth is I LOVED it. But I had just started Nettio Designs a few months earlier and I felt that as a weekly project, it was just more than I wanted to commit to at that point. My focus needed to be elsewhere.

So I put it on the back burner all the while occasionally pulling the album off the shelf to admire that lonely little two-page spread. There’s something about it that just kept calling to me. I don’t know if it’s the larger photos or the the everyday-ness of it but I can’t help but smile every time I look at it. I connect with it in a way I don’t always feel with my digital pages.

When 2013 started drawing near I started thinking again about Project Life. I’d really enjoyed watching Elise’s album take shape this year and the fact that she’s a child-free scrapper as well gave me a bit more confidence that this format could be doable for those of us who don’t have a bunch of kids or pets roaming around.

But what really sold me this year was, back in December, I was looking back through all my photos from this past year and I realized there are so many awesome photos and stories that I’d love to capture, but I have no desire to scrap them digitally.

Which is maybe a strange thing for a digital scrapbooker to admit, haha.

But I’ve always looked at my digital scrapbooking albums more as journals than strict memory keeping. And I’m not sure if it’s partly because I scrap 8×8 which doesn’t leave a ton of room for photos but event scrapbooking has never been my jam.

Plus there’s also the problem of memorabilia. I LOVE collecting bits of paper from the places we go but as a digital scrapbooker, I’m never really sure what to do with them. It’s one of the reasons I love my Holiday Faves album so much – because it gives me a home for all those bits & pieces of life I want to save.

So after thinking and debating and thinking some more I took the plunge and ordered the Seafoam core kit when it finally was released earlier this month. I figured since I already owned an album and a bunch of page protectors, I might as well give Project Life another shot. A fully committed and ready shot this time around. 

And what better way to do that than as one of my Creative Adventures for the year, right?

Because I am really really excited about the creative aspect of Project Life. I’m excited for the chance to dabble in hybrid/paper scrapbooking more than just once a year and umm hello, grid-based page design where you give “homes” to all your elements? SO totally my thing.

Nettio CA4 PLIntro2

My Plan for Project Life 2013

Since I don’t have my first two weeks of Project Life ready to share just yet, I thought I’d share a little bit about my plans and how I went about setting up my album.

As I mentioned, I already owned this American Crafts leather album and the Design A and the Photo Pocket Pages Variety Pack 1. I knew going into this that I wanted to mix up the designs, as opposed to using all of one style for the entire year, but I also knew I wanted there to be a pre-planned method to the madness because I know if I have to decide which page protectors to use each week, this album will never get done.

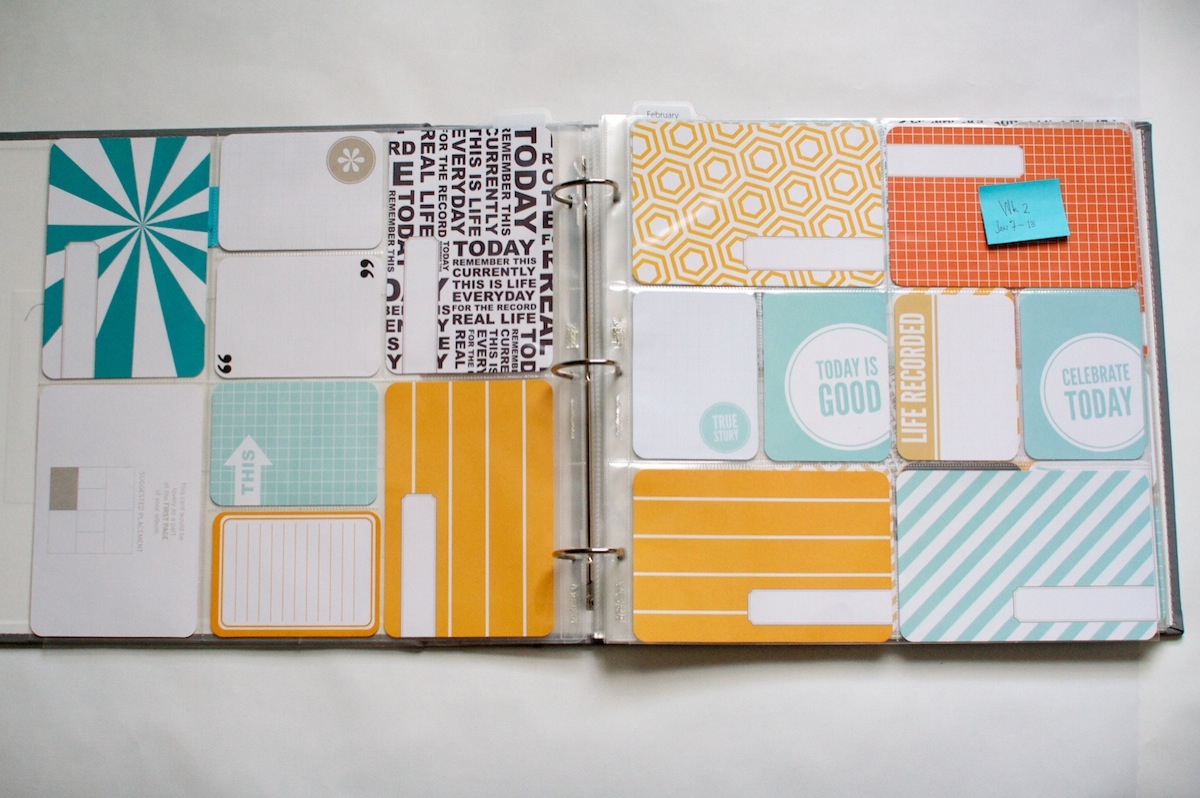
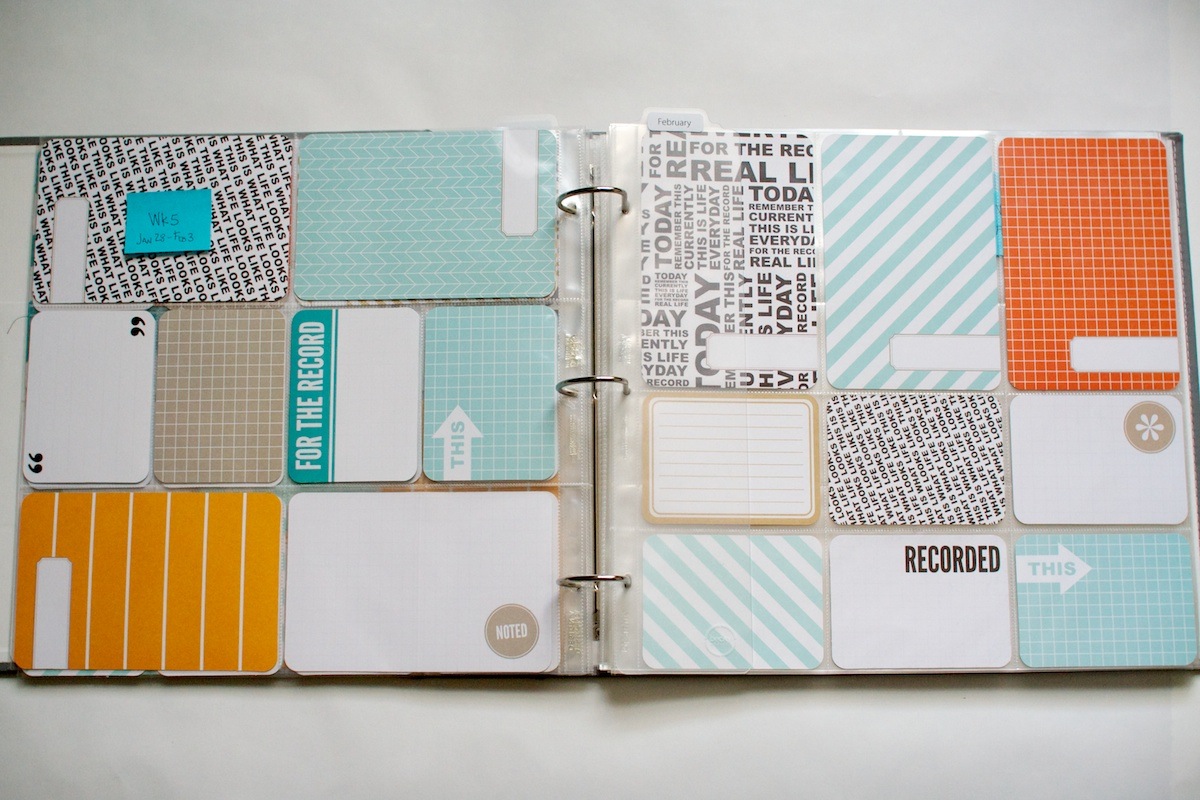
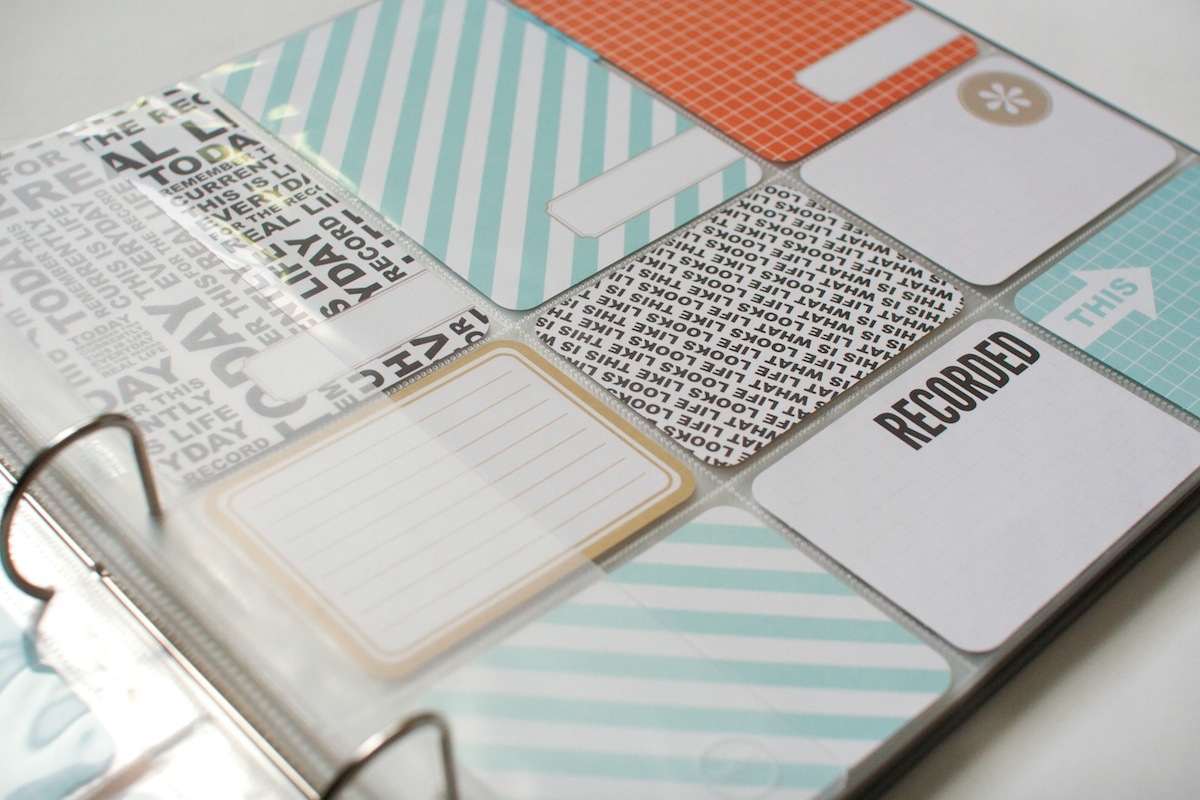
So I started by laying out ALL of the page protector designs in stacks and then mixing and matching them until I got a flow that I liked. And since the page protectors are clear and I was having a hard time visualizing the mix of cards, I temporarily filled a bunch of pages in with the Seafoam cards like so:

Nettio CA4 PLIntro3

Isn’t this Seafoam kit pretty? I feel like it’s going to mix in really nicely with other products since it’s fairly neutral.

Nettio CA4 PLIntro4

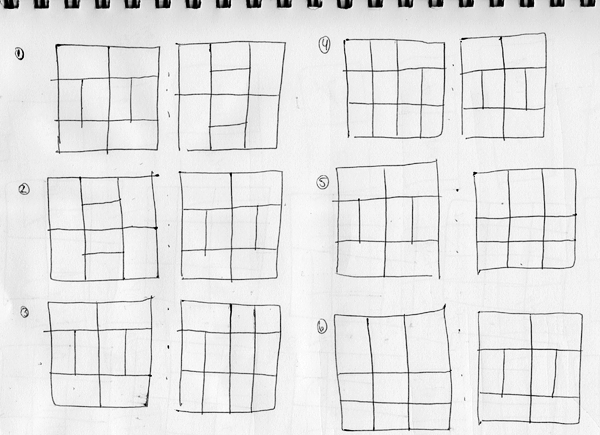
Once I had a flow to the album I liked, I drew a quick sketch of the order of the pages so I could visualize them on paper. Try not to be too in awe of my mad drawing skillz…

Nettio PLsketch

The pattern I liked best ended up including a Design A page protector in each spread with one of 3 different designs for the second page: Designs B, D & F (which I think might only come in the variety pack).

Because of the way the pages work front to back, each two-week period will basically have the same design, just flipped. Which I think will be good since it’ll add consistency to the album but still keep it interesting for me to do it this way. I know from my Project 365 album that if I tried to do only all Design A pages, I’d get bored really fast.

A few other things I’m planning to do for this album:

  • Weekly two-page spreads: I debated a lot about this, whether I wanted to commit to a weekly format or whether it would be too much. But I tend to be a creature of habit and so I thought my best chance for making it through the entire year would be to make it a routine. So I’m currently planning to do weekly spreads but share my pages bi-weekly here on the blog.
  • A mix of hybrid/paper: Much like my Holiday Faves mini album, I’ll be using a mix of printed digital elements and pre-made paper elements. I’m sure I’ll end up designing some of my own stuff as well, which should make you fellow Project Lifers happy.
  • A few repeating cards: I’m currently planning to have a consistent title card for each week as well as one or two other items that’ll repeat every week/month. I think it’ll add some consistency to the design while also allowing plenty of room for creativity.

That’s what I’m thinking so far anyway – how it’ll pan out over 12 months, who knows! But I’m super super excited about this adventure and I have to say, seeing Adam’s reaction when looking at the week I have completed spread, assures me think I’m on the right track. He’s always been supportive of my digital scrapbooking but I just think this format is easier for a non-scrapbooker to “get” than a printed digital page.

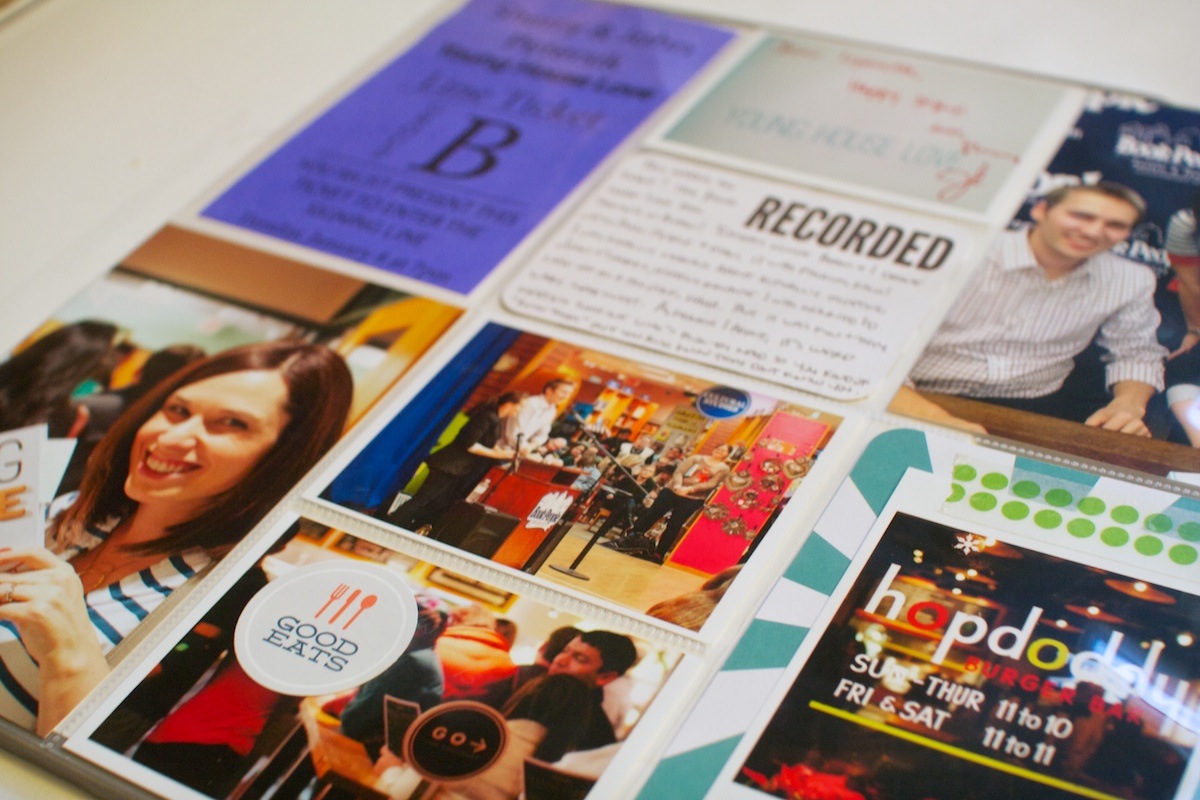
And since Adam already got a sneak peek, here’s a little sneak peek of my Week 2 spread for you as well…

Nettio CA4 PLIntro1

I’ll be doing a full Project Life update next week so stay tuned for that.

Anyone else doing Project Life this year? Have any good tips or tricks to share with me? I’d love to hear them so please share them in the comments below! I’m pretty sure I’m going to need all the help I can get to make it through the entire year, haha.

ABOUT THIS PROJECT

In honor of my 30th birthday, I’m challenging myself to go on 30 creative adventures before the end of 2013. This is Creative Adventure 4 of 30. You can read all the details behind this project here and find links to all my completed adventures here.
Fraudulent Drugs Are A Huge Global Problem

POSTED IN 30 Creative Adventures, Memory Keeping, Project Life, Hybrid Scrapbooking

Creative Adventure #3: Steal Like An Artist with Austin Kleon

POSTED ON September 27, 2012 IN 30 Creative Adventures

I knew when I started this whole crazy 30 Creative Adventures project that one type of adventure I wanted to include was reading books. I love reading and as much as I like reading blogs and such, there’s something about a book that has the power to make me think in a different way.

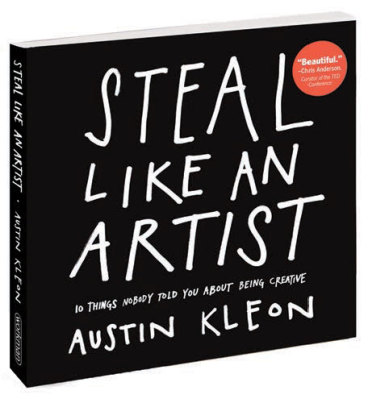
Since this whole year long project is all about expanding my creativity, it seemed only fitting to kick off my first book-tastic creative adventure with a book described as a “guide to creativity in the digital age,” Steal Like An Artist: 10 Things Nobody Told You About Being Creative by Austin Kleon.

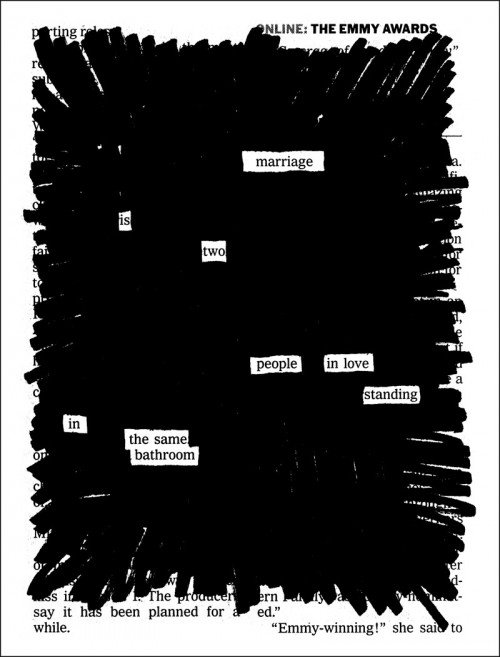
If you haven’t heard of Austin Kleon before, he’s an artist and writer from Austin, TX who uses a sharpie to black out bits of newspapers to create poems/art that look like this:

Marriage border 500x657

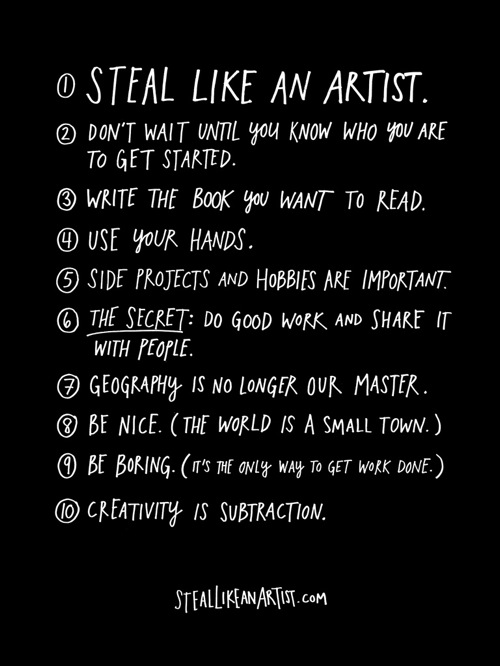
His book, Steal Like An Artist, started as a talk he gave at a community college that included a list of 10 things he’d wished he’d heard when he was first starting out. A list that looked like this:

Steallikeanartist manifesto

I have to say I LOVED this book. Yes loved, in all caps.

What I loved most about this book was not only was it fully of inspiring thoughts on creativity but the design of the book itself, from the awesome handwritten notes to the fun doodles was totally inspiring as well.

I’m not going to get into all the juicy details of the book because we’d be here all day (and well, you should really check it out for yourself because it’s awesome) but I did want to share two of the takeaways that really resonated with me as a digital artist & designer.

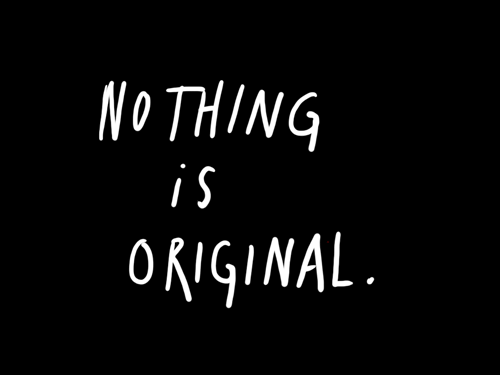
1) Nothing is truly original

Steallikeanartist nothing

That’s right, that crazy brilliant idea you had? Probably been done before. But that’s ok! Because the reality is no idea is truly original and great artists know that. As Kleon points out in his book:

“A good artist understands that nothing comes from nowhere. All creative work builds on what came before. Nothing is completely original. Some people find this idea depressing, but it fills me with hope. If we’re free from the burden of trying to be completely original, we can stop trying to make something out of nothing, and we can embrace influence instead of running away from it.”

Can we say liberating?

I don’t know about you, but there have been many times as both a digital scrapbooker and designer where I’ve felt the pressure to come up with a truly unique idea. So much so that at times I wouldn’t even allow myself to browse digital galleries out of fear I might see an idea I loved and feel I couldn’t use it because someone else already had.

Which is exactly why I find this idea of embracing influence so liberating.

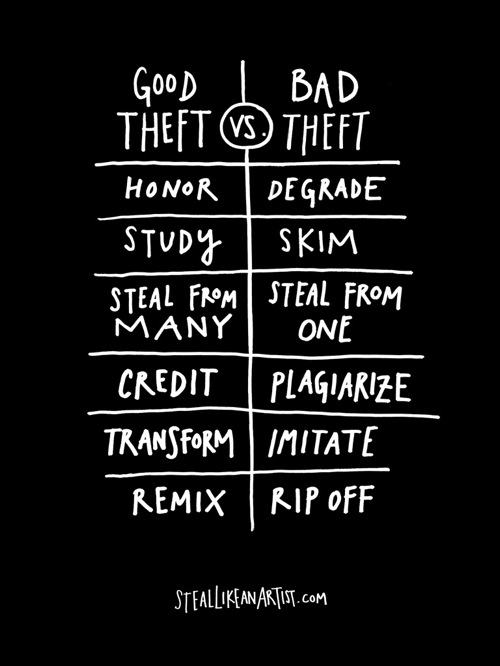
For the record, I’m not in the least bit talking about digital piracy or attempting to pass someone else’s work off as your own. That’s a whole different story. Give credit where credit is due. But as this graphic from the book points out, there’s a difference between good theft and bad theft:

Steallikeanartist goodtheft

Good theft is what great artists do. They take existing ideas and inspiration from their idols and transform those influences into a style that is unique to them by adding their own sparkle and twist. Then in turn, others take their idea, add their own special spin to it and the cycle of creativity and evolution continues.

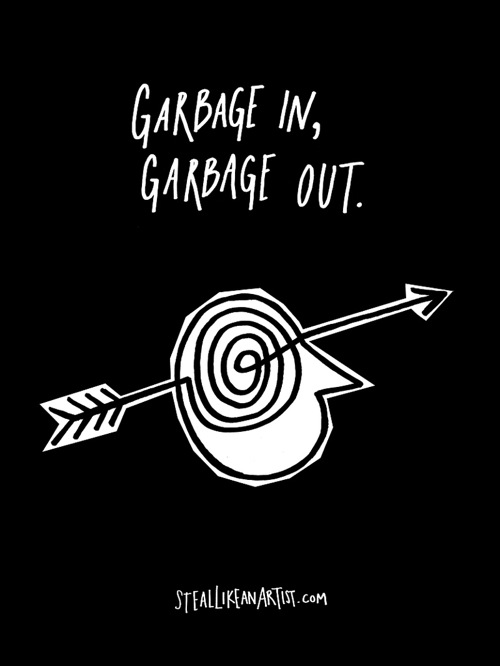
2) Collect Good Ideas

Steallikeanartist garbagein

In this high-speed, high-tech digital world we live in, we are constantly being bombarded by information and inspiring content on a daily basis and well, it can get overwhelming! So if we consider that all of our most creative work is the sum of our influences then we need to be choosy about what inspiration we let into our creativity.

Kleon points out, “You’re only going to be as good as the stuff you surround yourself with…Your job is to collect good ideas. The more good ideas you collect, the more you can choose from to be influenced by.”

Or to put it another way, keep the ideas most worth stealing.

Even Steve Jobs (with the help of Pablo Picasso) knew this to be true…

httpv://youtu.be/CW0DUg63lqU

This is exactly why I started this creative adventures project. Because I felt my circle of creative influence had grown a bit small and I wanted to push myself to seek out a wider variety of inspiration. So I loved that this point was made in the book.

In a lot of ways, as a creative artist, you need to think of yourself as curator of the digital world. You’re looking for the absolute best tidbits of inspiration that you LOVE to be inspired by. Be choosy about what you let into your world. I do this all the time with Pinterest. I’ll go through periods where I’ll pin and pin and pin and then I’ll go back later and delete the pins I don’t truly love, leaving me with just the best, most inspiring content to pull from later.

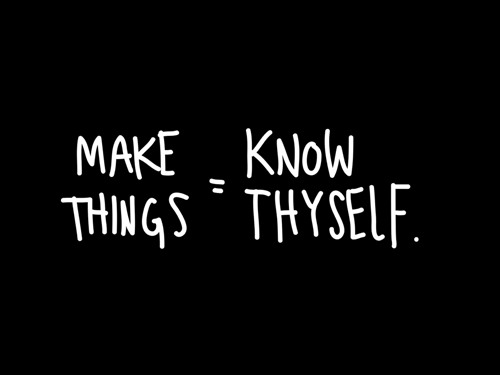
3) Make Things, Know Thyself

Steallikeanartist makethings

I’ve always believed the key to finding your own personal design style is by playing. Making stuff, pushing your creative side outside your comfort zone and taking bits and pieces of inspiration from of your idols while adding your own personal twist.

This idea of finding your style has been on my mind lately so I absolutely loved reading the way Kleon broke down stealing style from your heroes:

“Don’t just steal the style, steal the thinking behind the style. You don’t want to look like your heroes, you want to see like your heroes.”

Steal the thinking behind the style so you can learn to see like your heroes.

LOVE that.

As I said before, I really loved this book. Not only was it a quick read (you could easily read it in an afternoon!) but it was also inspired me to think a bit differently about what it means to be creative. As I mentioned before, I really only touched on a few points of the book so if this post has peeked your interest, I highly recommend you check out the book for yourself!

As always, I receive no perks for promoting this book. I’m just a happy reader sharing my love. If you want to check out Steal Like An Artist or any of Austin Kleon’s work, you can find his website here. All photos are courtesy of steallikeanartist.com.

……………………………………………………………………………………………………………………………………..

ABOUT THIS PROJECT

In honor of my 30th birthday, I’m challenging myself to go on 30 creative adventures before I turn 31 on 05.24.2013. This is Creative Adventure 2 of 30. You can read all the details behind this project here and find links to all my completed adventures here.
Can diabetes cause erectile dysfunction

POSTED IN 30 Creative Adventures

  • 1
  • 2
  • Next Page »
HI I'M LYNNETTE. Graphic designer, tech-lovin’ memory keeper and lover of bold colors & patterns, good food and the great outdoors. Here at Nettio Designs, I share a behind the scenes peek at my own creative & life adventures. Read more...

KICKSTART YOUR CREATIVITY


By popular demand, photo book templates are back! Grab all three sets in the shop.
ADVENTURES IN ORGANIZING
GOAL-SETTING
MEMORY KEEPING
PROJECT LOVE
LIFE ADVENTURES
TIPS & TRICKS
BEHIND THE SCENES

POPULAR PROJECTS

TO SEE ALL MY PROJECTS, CLICK HERE

MUST READ POSTS

  • WHY EVERY SCRAPPER SHOULD SCRAP A FAVES PAGE
  • HOW TO CREATE A SCRAP-WORTHY MAP WITH PHOTOSHOP
  • REMEMBERING THE IMPORTANCE OF TELLING YOUR STORY
  • WHAT DOES IT MEAN TO CREATIVELY CAPTURE YOUR LIFE ADVENTURES?
  • BROWSE BY CATEGORY

    BROWSE THE ARCHIVES

    GET IT FOR FREE

    Copyright © 2025 ·Dynamik Website Builder · Genesis Framework by StudioPress · WordPress · Log in